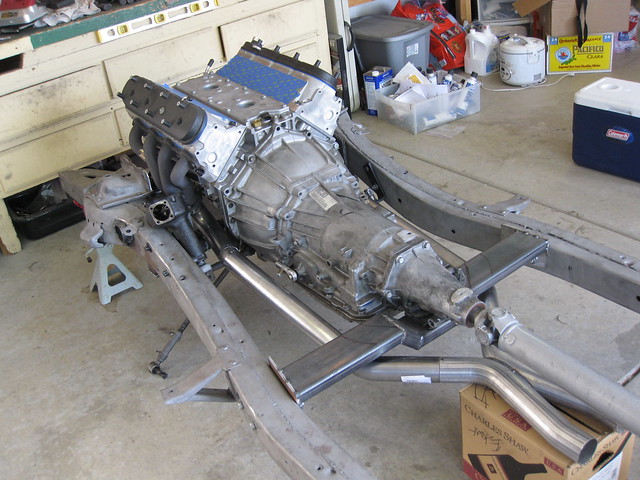
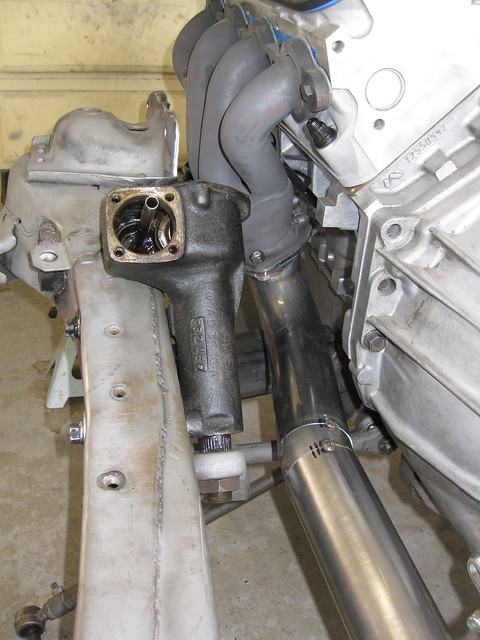
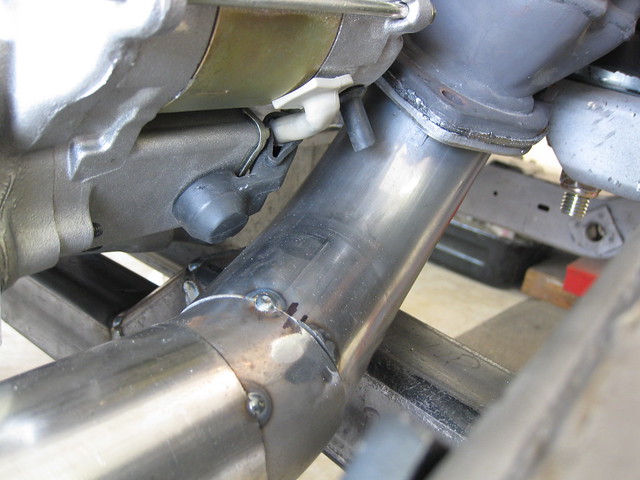
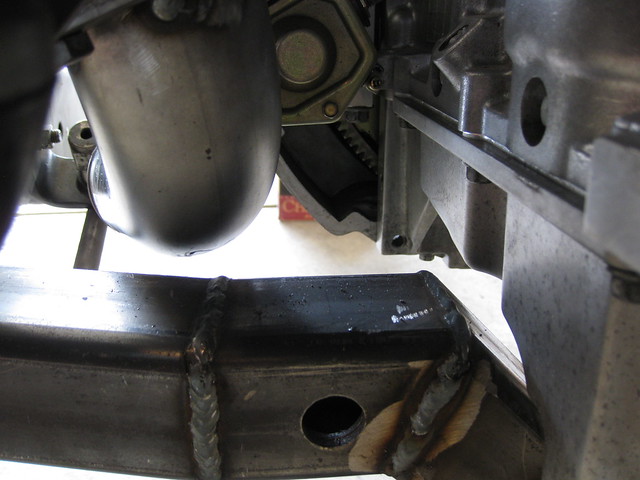
Thursday, June 12, 2014

Post 29: Where has the time gone?

I haven't posted in almost a month!

That doesn't mean I haven't worked on the car for a month, though. When I have time to wrench, I wrench. When I have time to write a blog post, something else seems to pop up that takes precedence.

Today I have a minute to write. I won't write much...actually, I will probably have just enough time to throw up some pictures that I'll write about later.

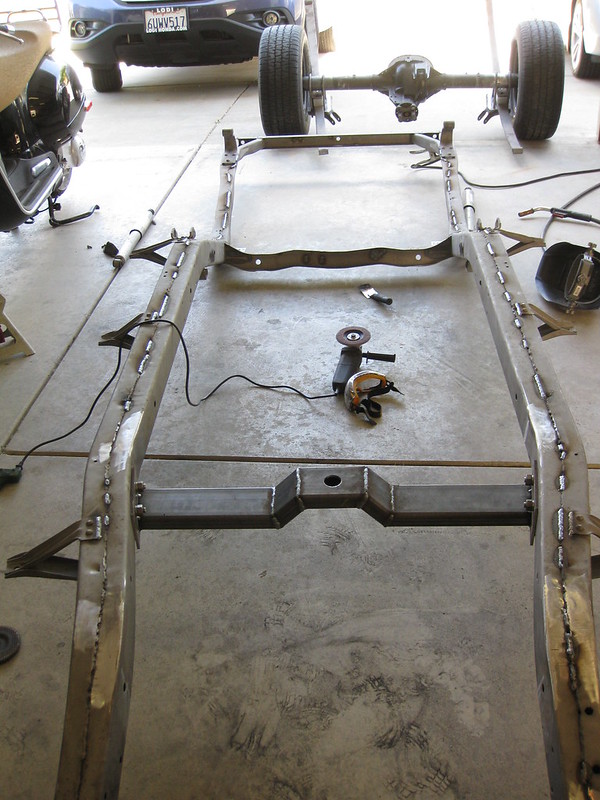
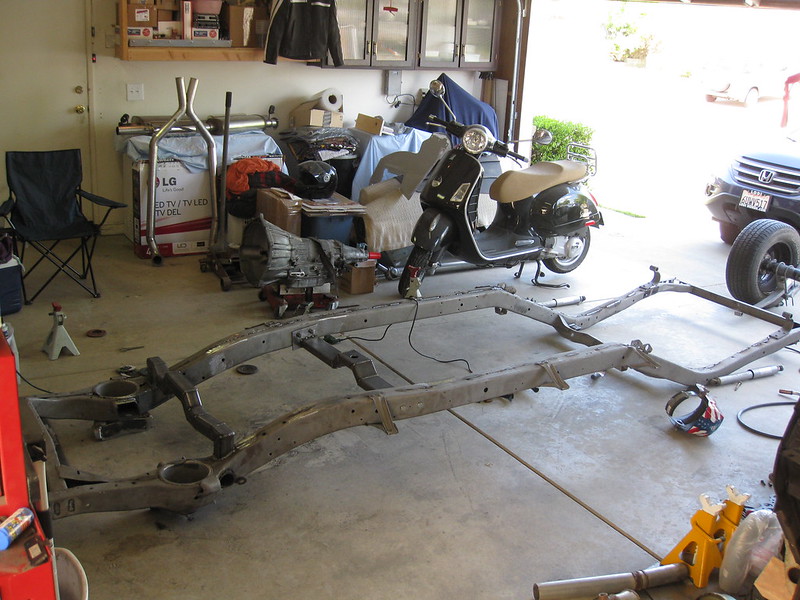
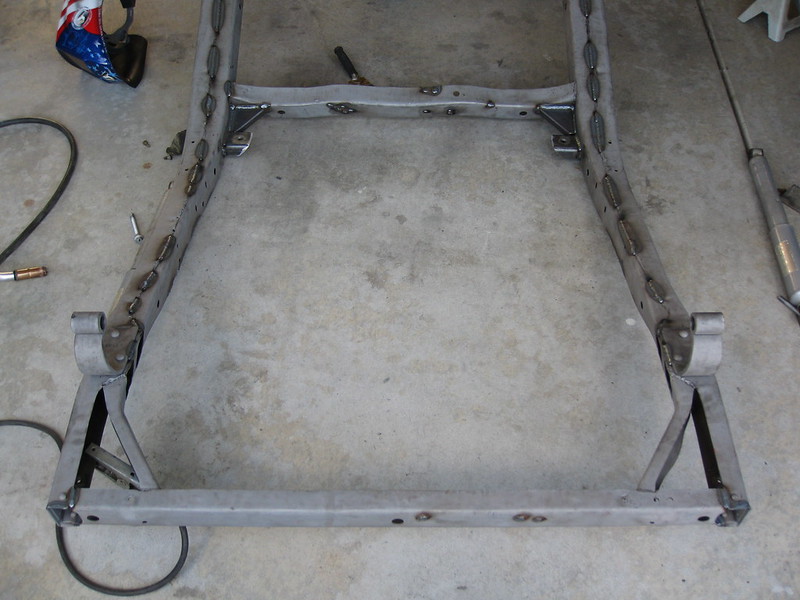
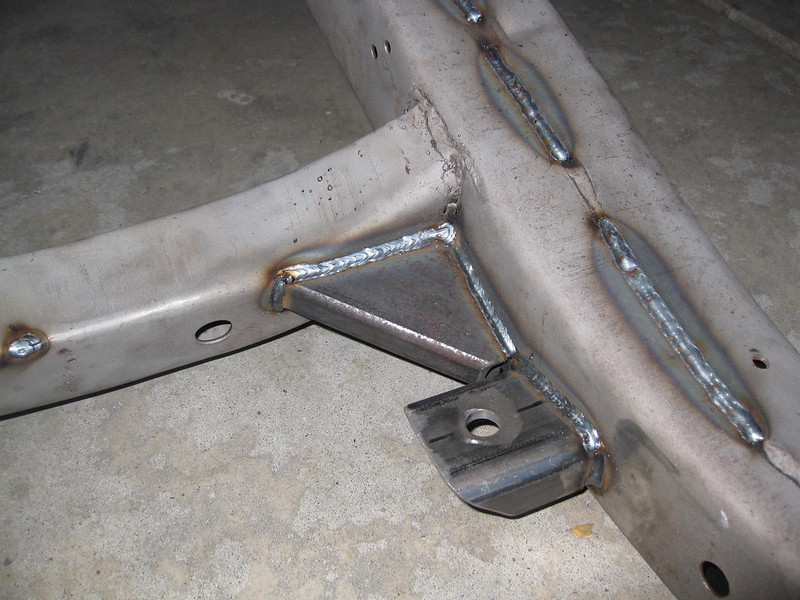
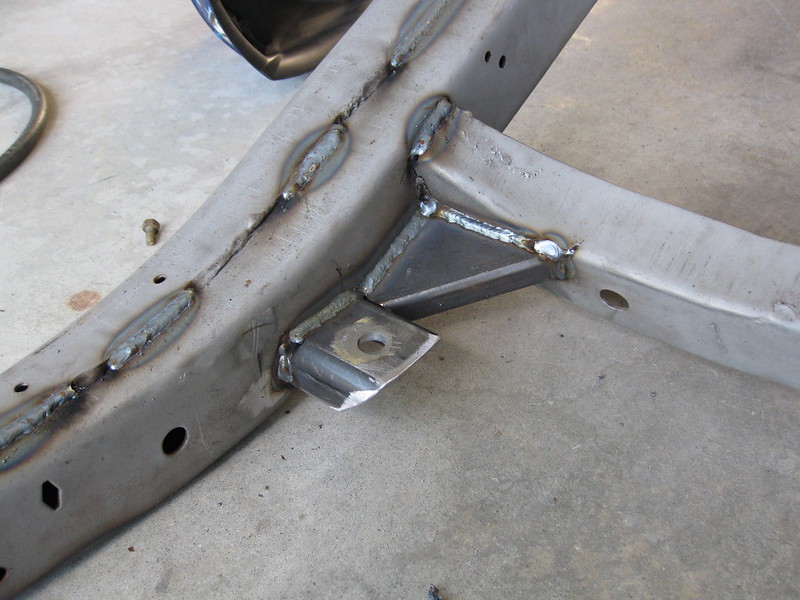
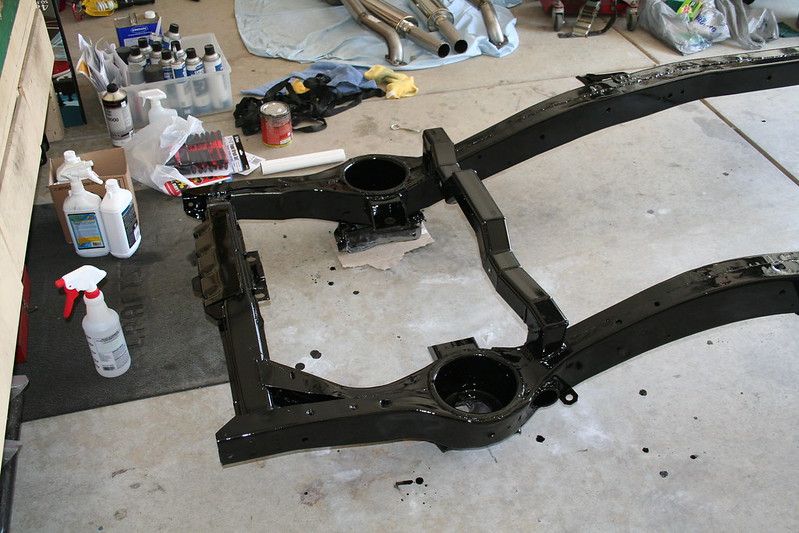
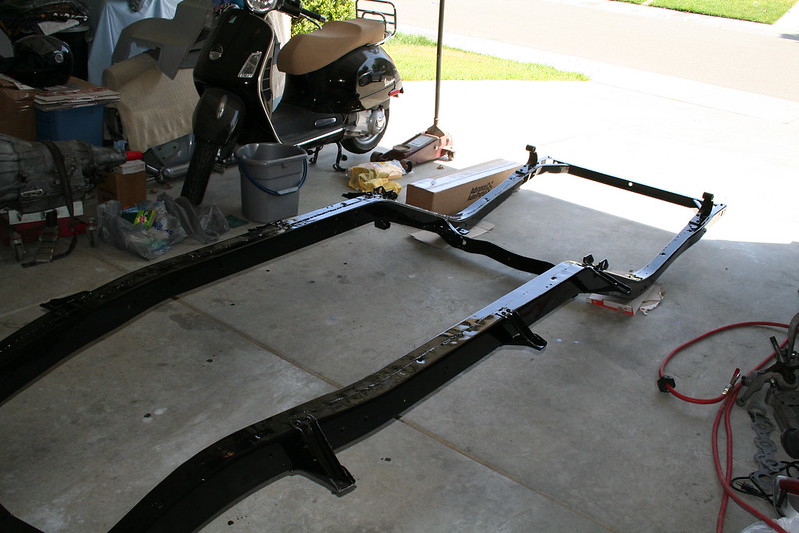
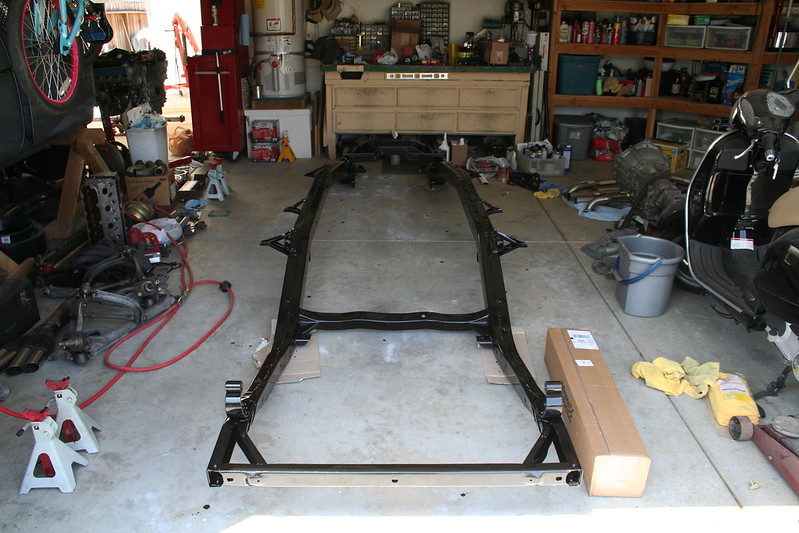
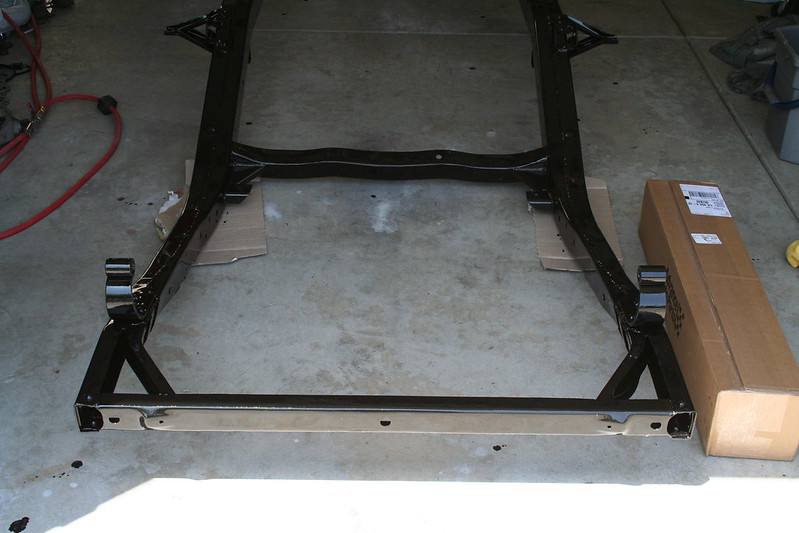
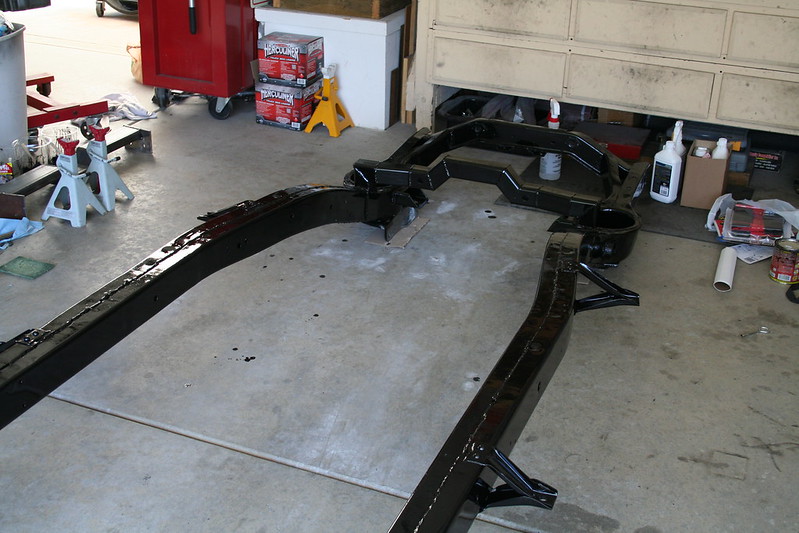
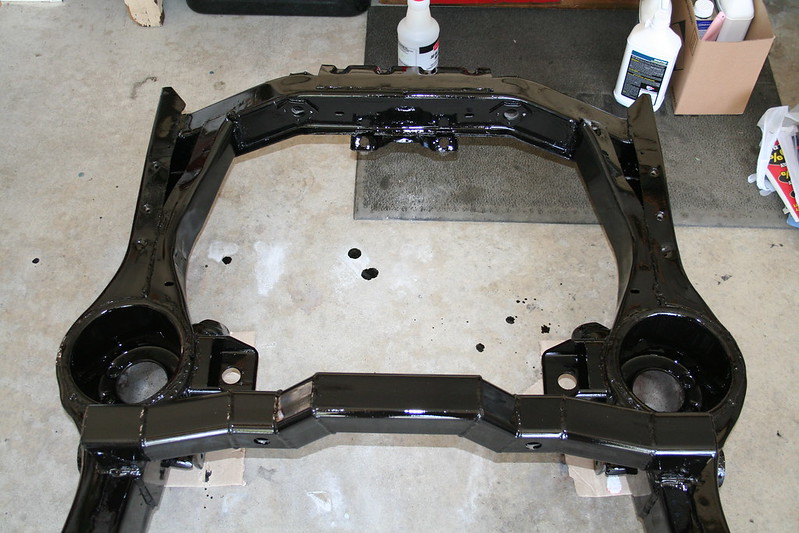
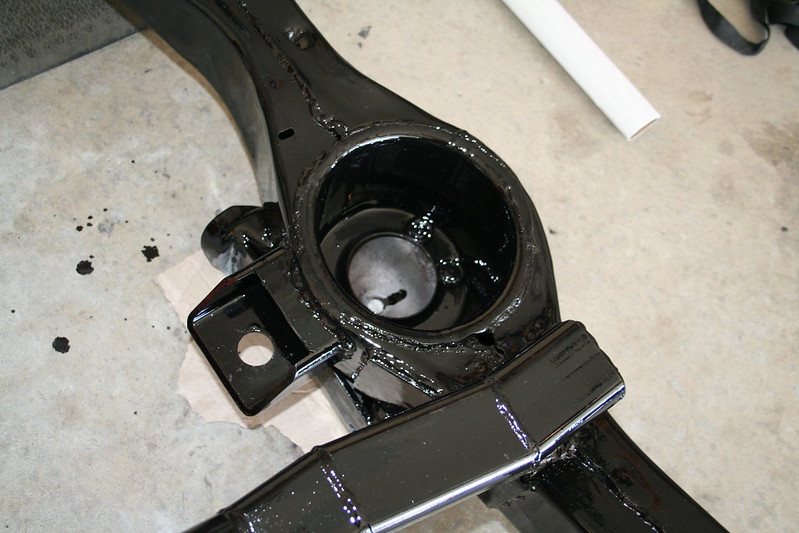
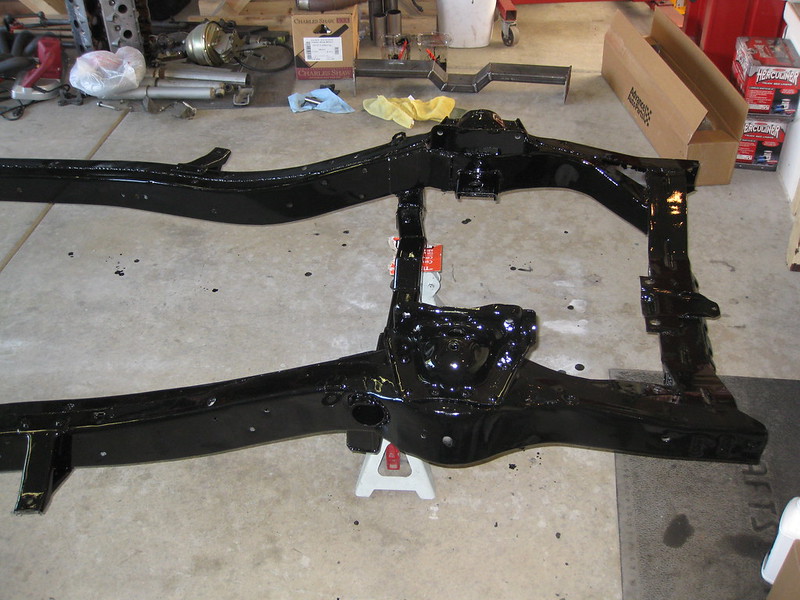
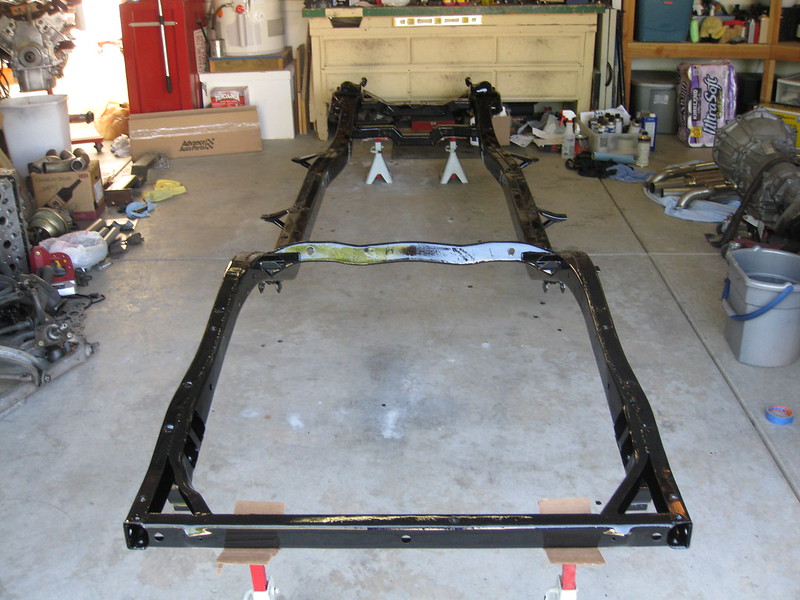
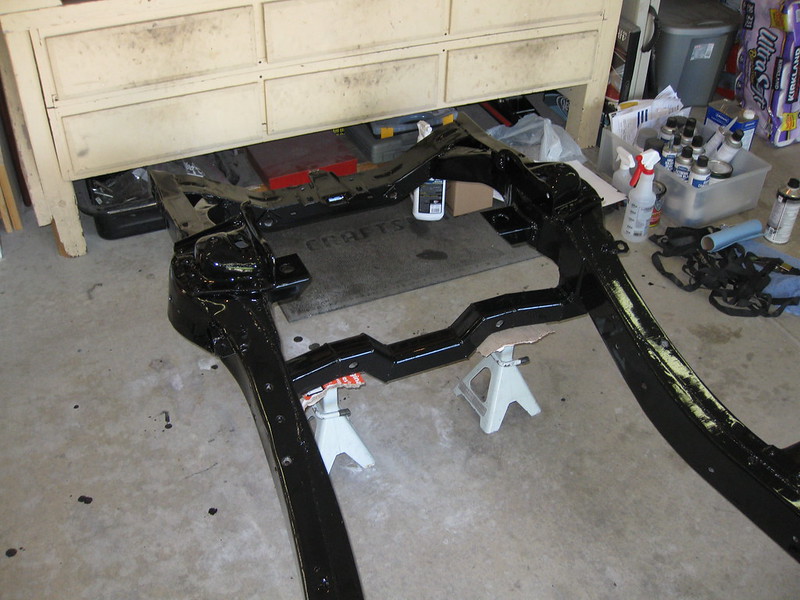
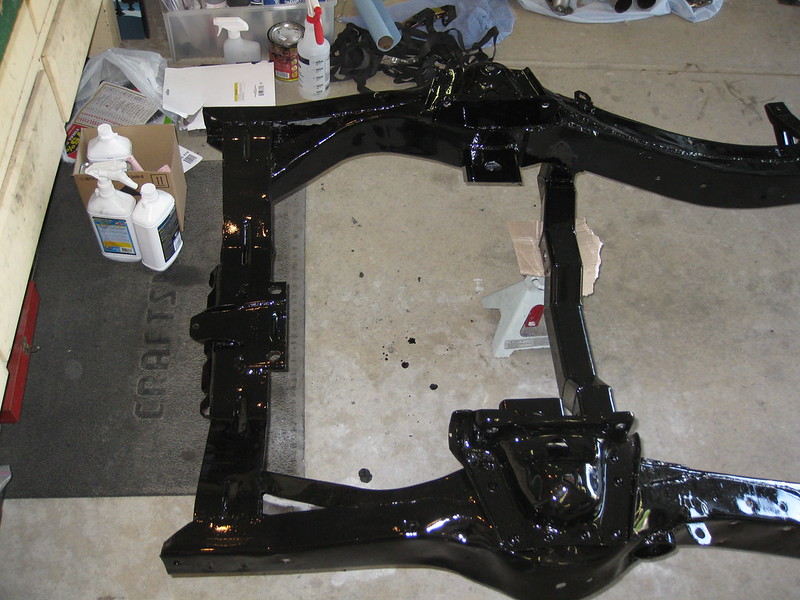
Over the last month I've managed to finish modifying, cleaning up, and painting the '54 frame. It was a ton of work, most of which I never expected to do when I separated the body from the frame last December. The cleaning and painting, yes, but not so much modifying. Regardless, I'm glad I did the work and I'm now glad it's done. I have plenty of suspension and drivetrain parts to paint still, but I feel like I'm finally at the point where I have (almost) nothing left to buy*** and (almost) nothing left to hose down with Simple Green and scrape grime off of. Now I get to start putting things back together, which most of you would probably agree is the fun part.

001

002

003

004

005

006

007

008


Here she is, all dressed up with two coats of POR-15 applied with a few cheap-ass foam brushes. I decided not to use the Eastwood paint system because 1) I think POR-15 is more durable and I don't ever want to do this again, and 2) the drying/flash times on the Eastwood products are outrageous. Sorry guys, I'm not going to wait 24 hours between each coat of primer. Anyway, I've never painted with a foam brush before and it worked great. The POR-15 went on smooth and I don't have any brush marks. I'm happy with the gloss finish and I plan to continue to use this stuff on the suspension, rearend, maybe even the inside of my wheels.

101

102

103

104

105

106

107

108

001

002

003

004

(*** I'm not that naive. I know there are plenty of little bits and pieces left to buy. What I meant was that I already have the big stuff waiting in the wings. I have a whole front suspension kit, body mounts, brake and transmission lines, fuel system, the motor is built, the transmission needs rebuilding but I have the kit already, etc. etc. I think the major purchases are out of the way at this point.)

Friday, May 16, 2014

Post 28: Exhausted

Finally getting to the good stuff around here. I'm sure everyone reading is as bored with the '54 frame as I am.

All that frame work was purpose-driven, though. Having never done a frame-off restoration before (and not wanting to do ever do it again, at least on this car), I wanted everything to be clean, solid, and reasonably good-looking. I wanted the engine positioned better. I wanted to move the shocks and reinforce the frame at potential weak points.

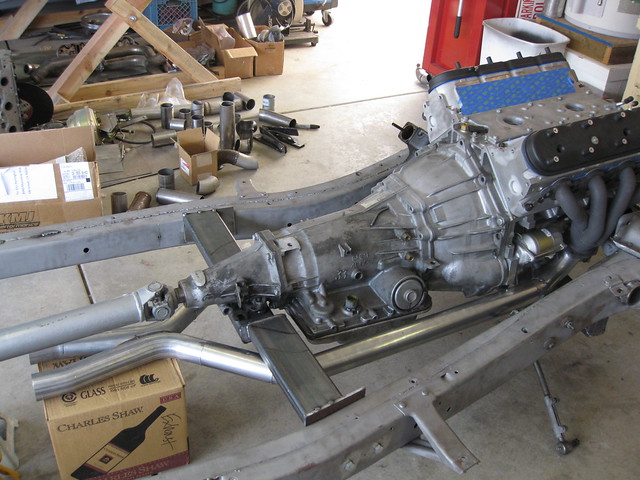
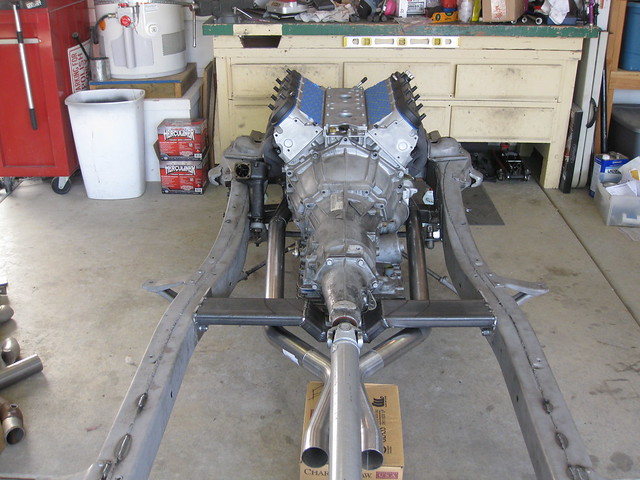
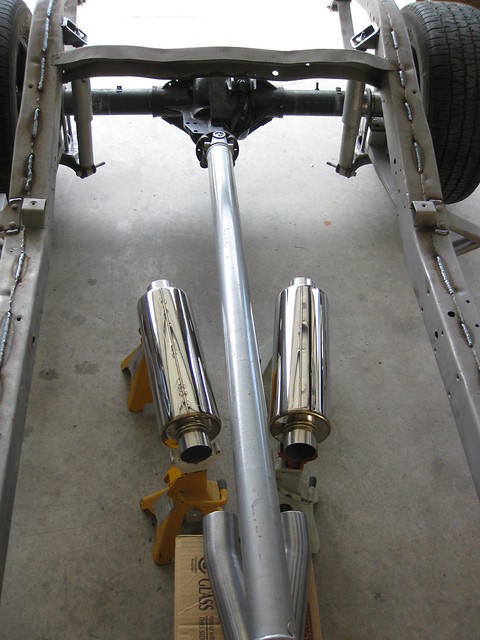
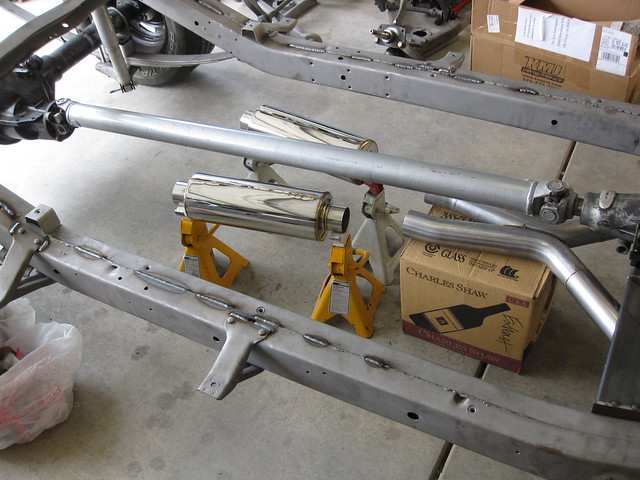
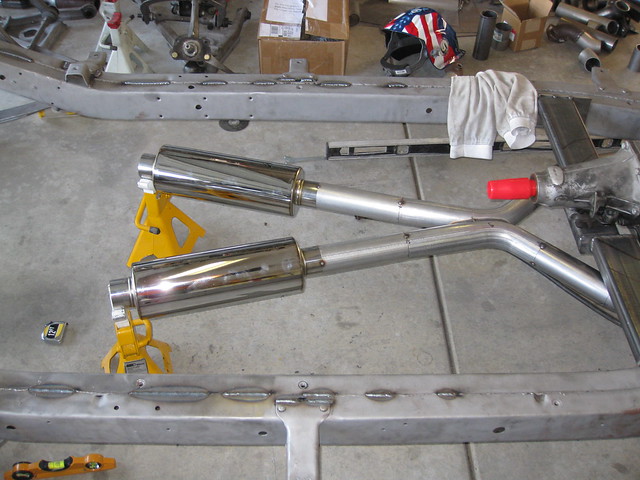
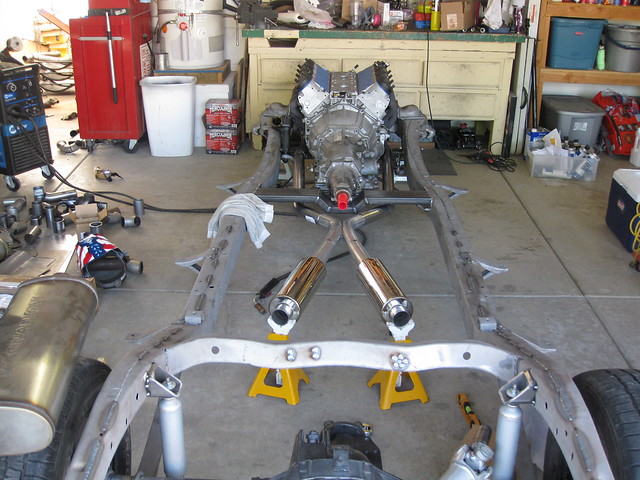
But really, because I have a problem, I wanted to make more room for the exhaust. All that other stuff is great and I'm glad I did the work, but the underlying motivation was MORE EXHAUST. More clearance, more flow, more awesome (less noise, which is uncharacteristic, but necessary as I get older and wiser). I just love doing this stuff.

I spent a few days designing and mocking up the new pipes, making it from the headers back to the axle. I'm not sure how I'm going to do the hangers yet, so I quit there. I can't keep going with the tailpipes because I need the body back on the frame so I can see how to get around the gas tank. I could probably measure and figure it out now, but if I screw up I'll be really pissed, and I'll have to redo it under the body anyway. I may as well leave it how it is and drive it up to my dad's shop someday to do the tailpipes on his lift.

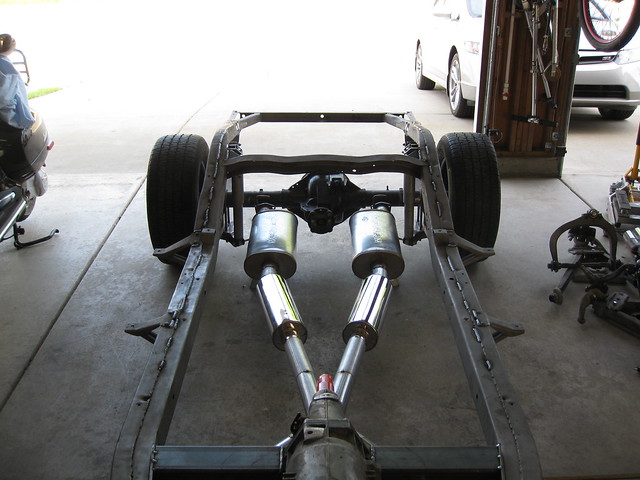
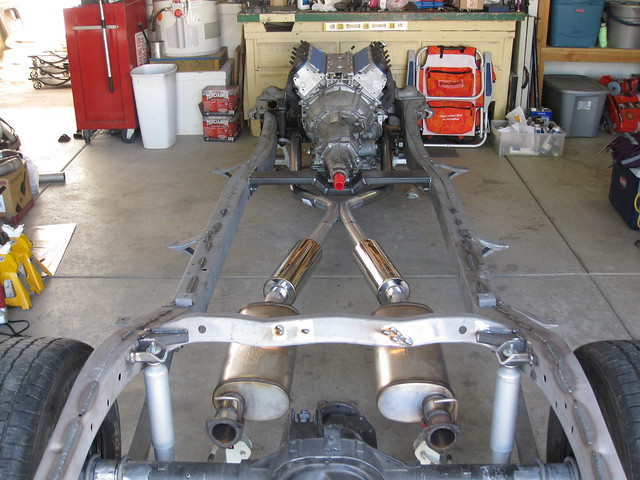
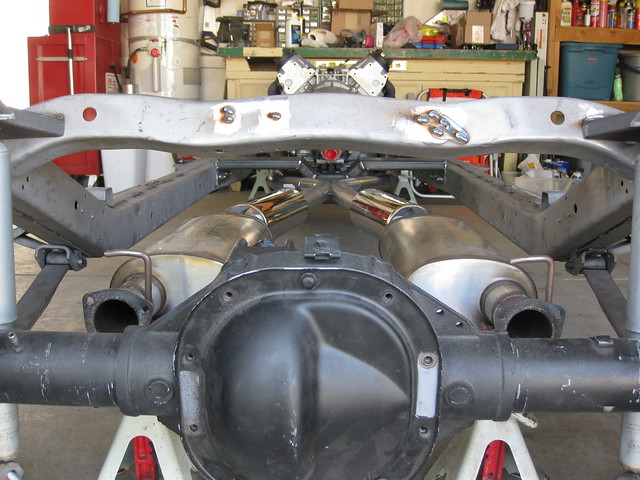
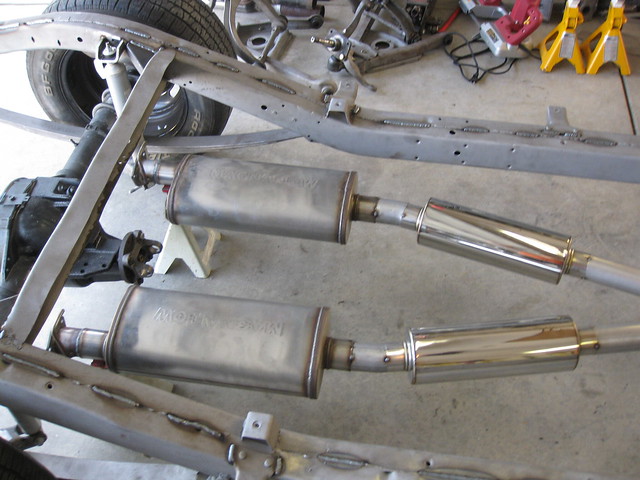
Here's how she came out.

001

002

003

004

008

011

012

013

014

016

017

018

001

002

003

006

007

The x-pipe is from ebay, as are the bullet-style mufflers. I think they're essentially glasspacks, although they're marketed as "resonators." I really wanted to install them after the Magnaflows, in some kind of cool cross-over arrangement behind the axle and before the gas tank (I've seen this on Mustangs before and just really like the look). However, I came to accept that 1) I have more room before the axle than after, 2) all that work would have necessitated buying more pipe bends, which are expensive, 3) the mufflers would have been really close to not only the gas tank but the lines and pump, and 4) I'm not a professional exhaust fabricator, with bending machines and lots more welding experience. I decided that the bullets will probably just act like catalytic converters and mellow out the exhaust, which is exactly what I'm after and exactly what happened on my dad's '56. We built a similar setup for him earlier this year - Moroso bullets followed by Flowmasters - and his big block is significantly quieter than before.

Pretty sweet, eh?

Thursday, May 8, 2014

Post 27: Playing catch-up

Not catch-up on actual car work, because that would imply some sort of deadline or schedule (or plan). This thing moves along as fast as it wants, usually. I'm talking about catch-up on the blog. I've done a bunch of work on the car but haven't had time to write about it. Here we go...

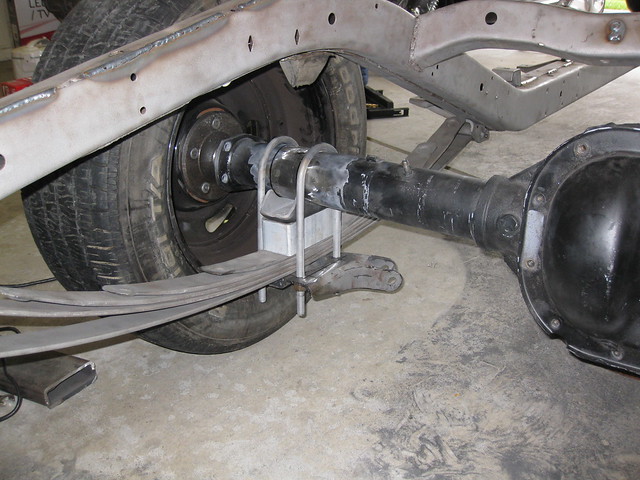
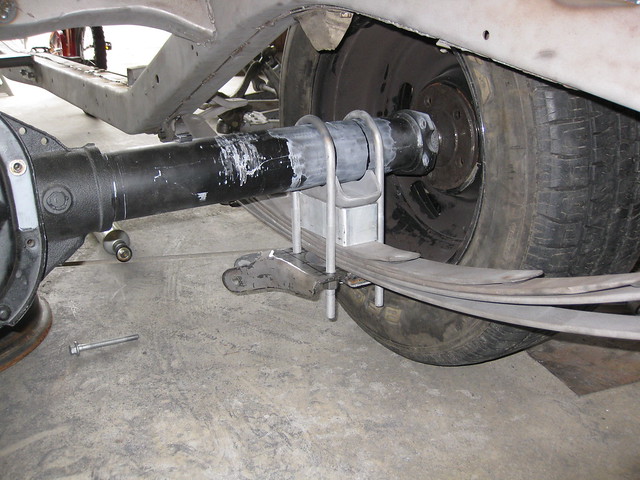
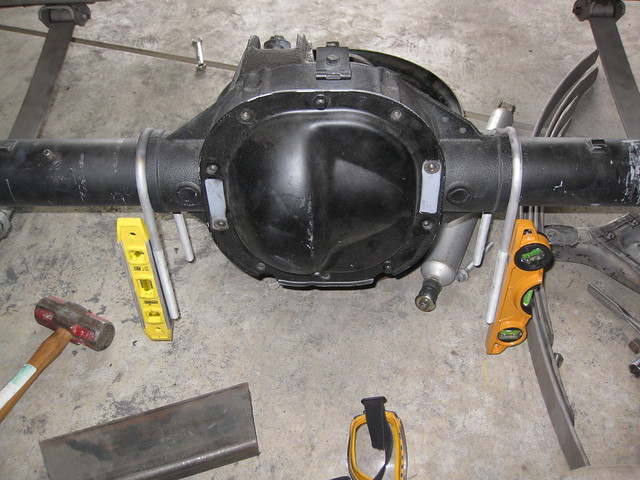
Once I knew my modified shock mount plates were going to work, I had to do some serious measuring to figure out where they were going to sit. Not even the plates so much as the spring perches. Measuring the overall length of the rearend was tricky because the center section gets in the way of the tape no matter how you do it, but here's my high-tech solution.
001

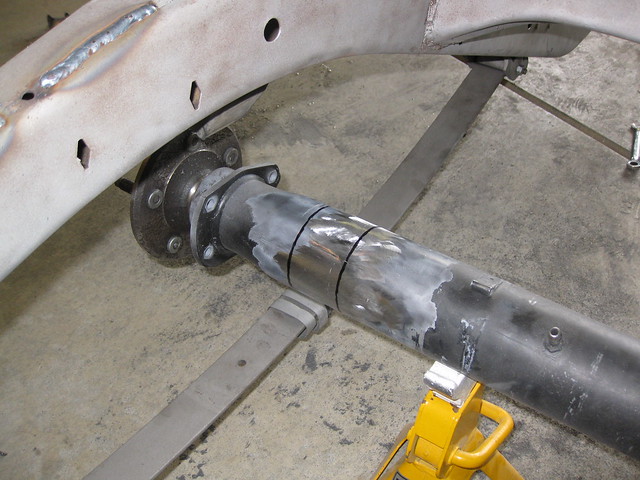
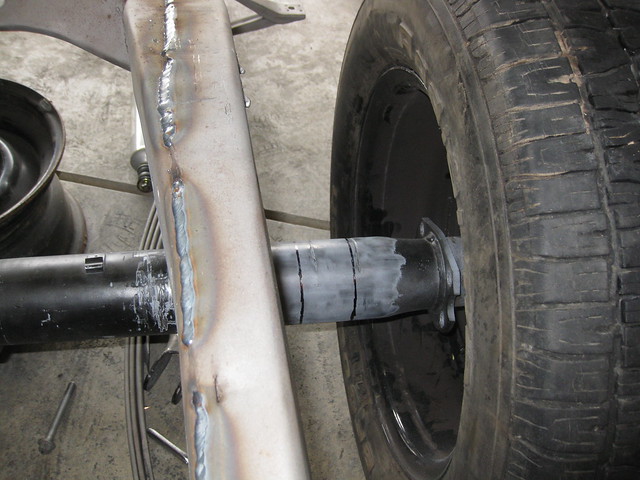
I measured the axle tubes individually, then the distance between the two u-bolts in the picture. Not that it matters now, but I think it was 47 1/4" flange to flange. Then I finally dressed the weld from the tube narrowing job and started marking where the perches would go.
002

003

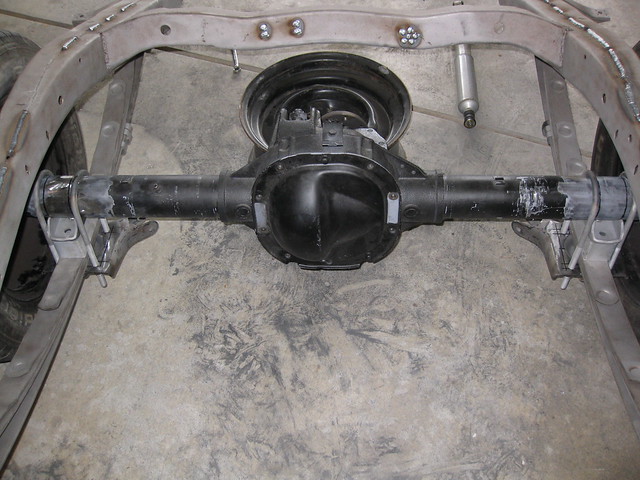
Here's everything pretty much lined up, with the leaf springs still put together backwards.
004

005

006

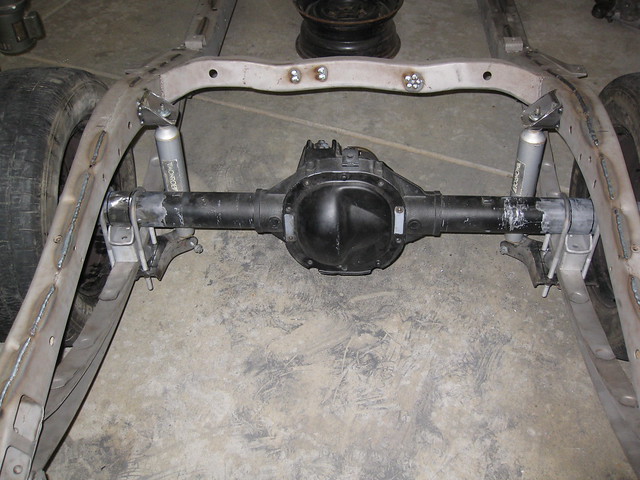
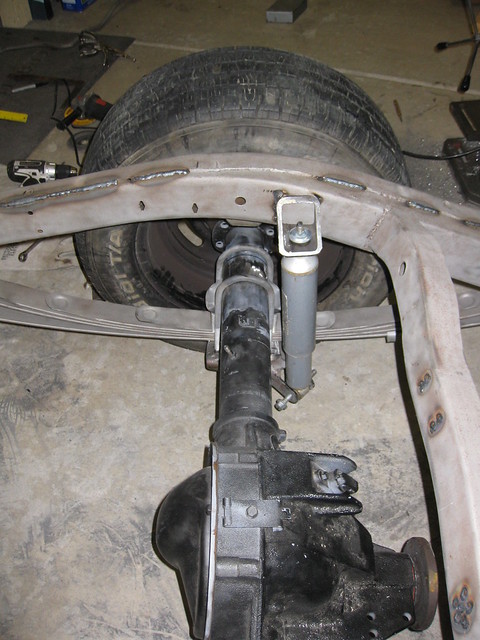
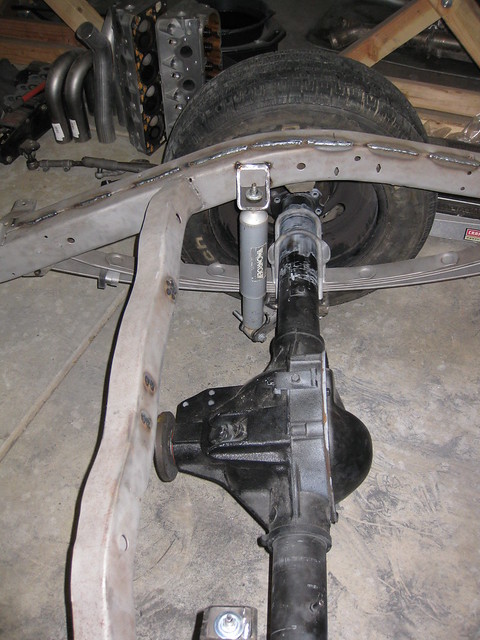
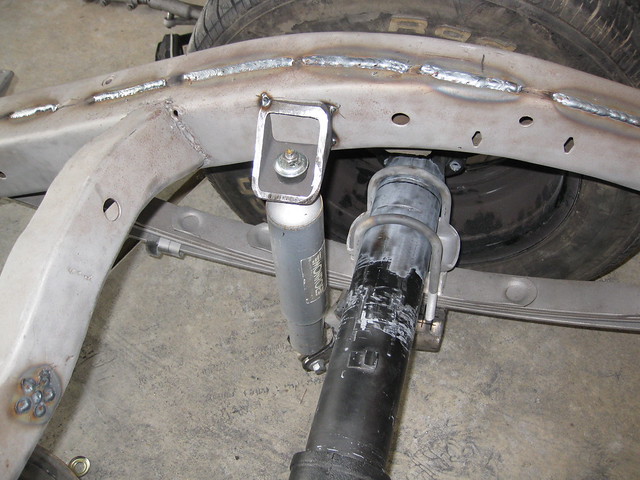
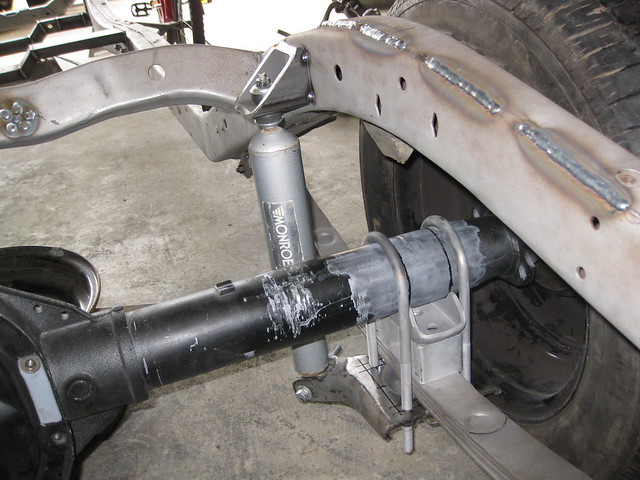
Next came the upper shock mounts. I decided to move them out to the framerails instead of putting them back on the crossmember. I don't see why they need to be installed at an angle, and I've seen this modification done on many tri-five Chevys. I'm sure it's been done to every kind of hot rod in existence at some point. I used some leftover trailer hitch stock from the engine crossmember - just cut a 45, drilled a hole, eyeballed the location on the frame, and tacked it on.
007

008

009

010

011

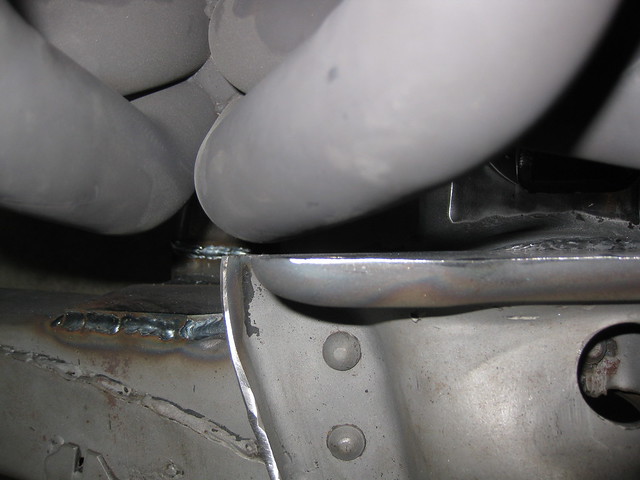
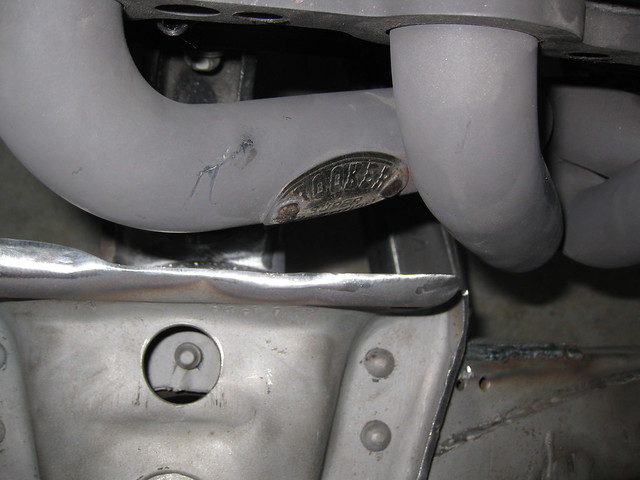
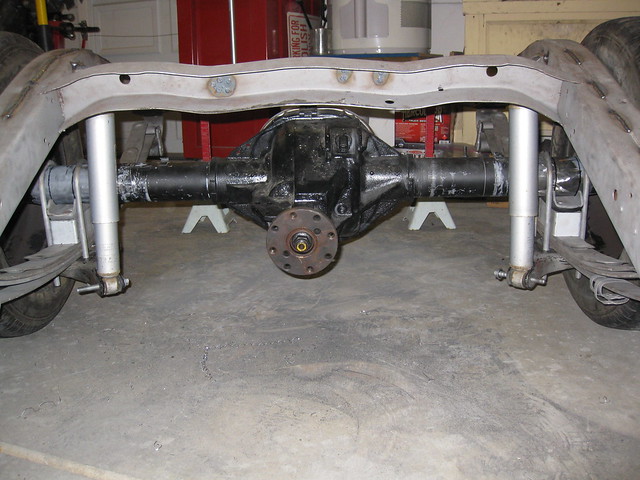
You've been reading this blog long enough to know what I see in the following picture.
012

That's right. Sweet, sweet exhaust clearance.

Readers with keen eyes will notice that I am no longer using OEM-style rear shocks, with the straight shaft on both ends. I've seen guys weld tabs on the top of the shock plate and drill a hole to use those shocks, but after doing this swap on my dad's car it seemed like less work to use Chevy-style shocks with the eyelet on the bottom. That's where the shocks in the pictures are from - dad's car. They are junk that he just replaced and I kept them for mock-up.

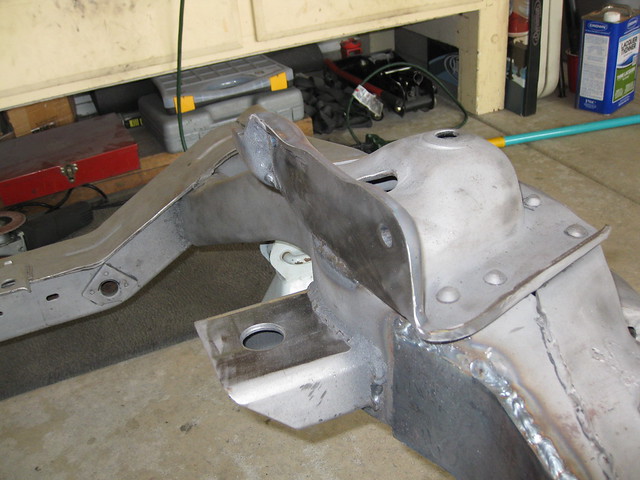
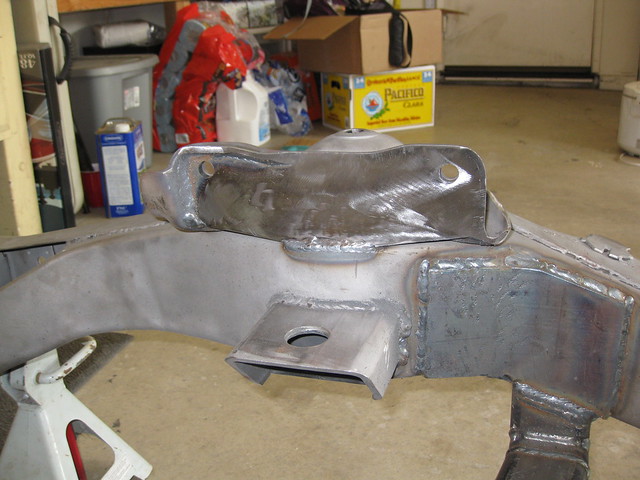
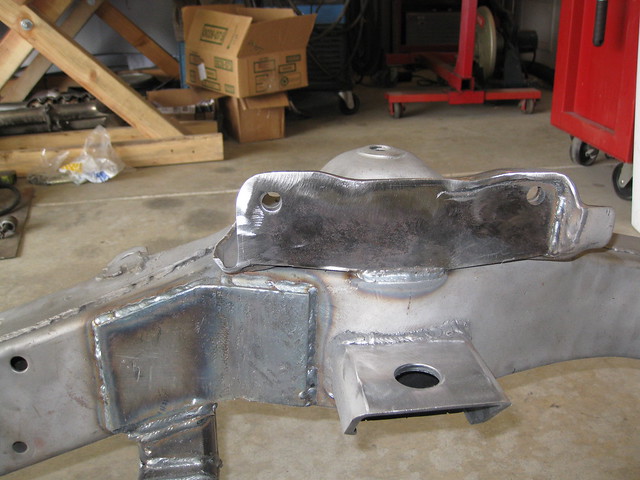
With tires on the rear and a little car dolly under the engine crossmember, it was easy to roll the frame out of the garage and turn it back around. I got to work finishing up some of the planned mods to the front end frame, including grinding down the A-arm brackets and finish-welding the top of the engine crossmember.
001

002

003

004

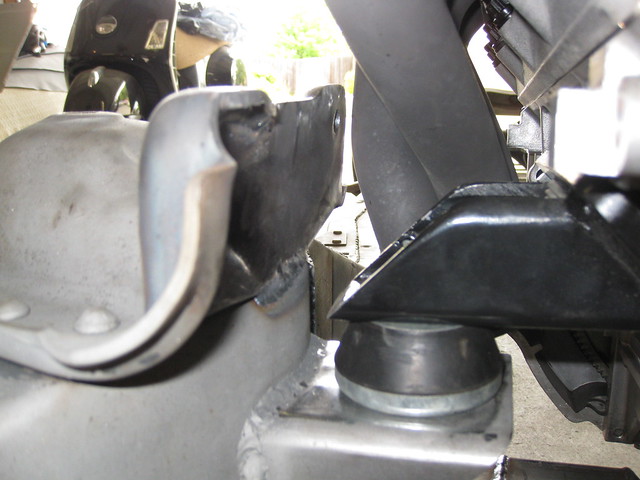
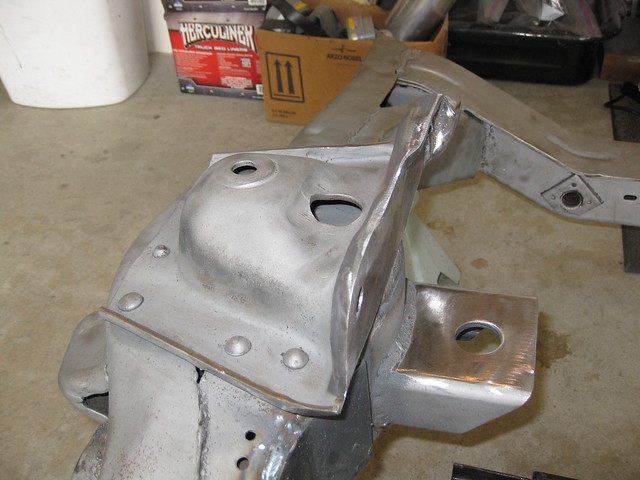
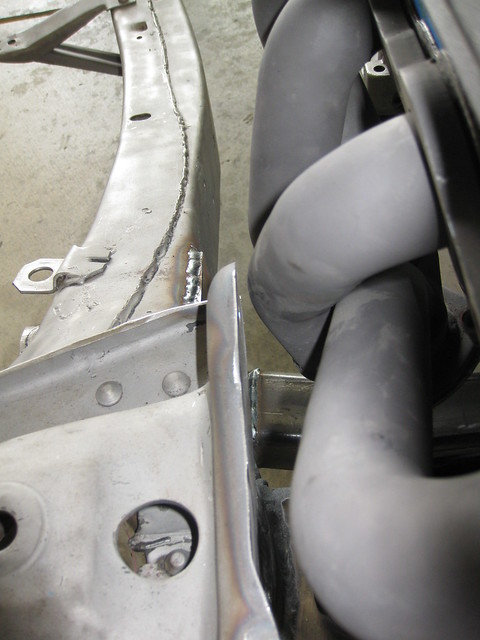
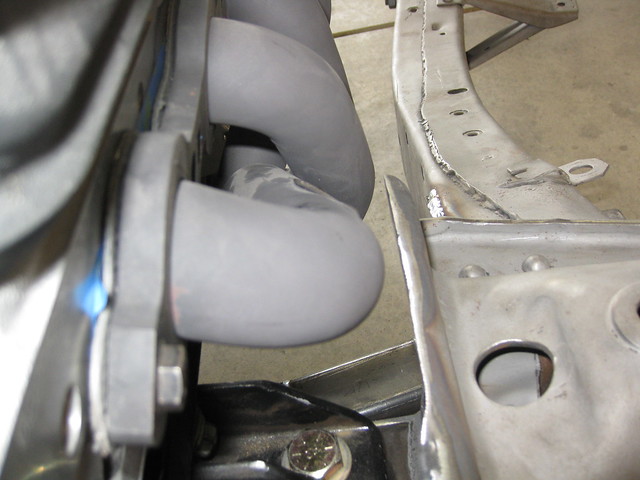
The clearance on the A-arm is about as good as I could have expected, though there is a new problem I hadn't thought of before. Now that I've added an extra 1/4" to the bracket, the bolt that holds the passenger side control arm on is 1/4" closer to the header. I could countersink the hole, but then I will lose the extra strength the 1/4" plate adds and that seems like a bad idea. So, I will probably end up grinding off the bolt head just enough to clear. Hopefully it will be okay. The driver side will be fine because the header primaries are slightly different and don't go near the bolt.
005

006

008

012

011

The next thing I worked on was setting the pinion angle on the rearend. I decided, once and for all, not to mess with the angle or position of the engine anymore. I know the steering will clear, the suspension will be fine, and I'm hoping the transmission doesn't hit the floor of the car (it didn't before, but you may recall that I moved the tranny up about an inch when I built the new crossmember).

I tried out the old driveshaft with fingers crossed, but it's a bit too long as I expected. It's because of the weird flange on the 8.8" pinion, which necessitates the use of a u-joint adapter that takes up some room. I guess I'll have to get the shaft cut down and re-balanced one of these days. Then, I took the leaf springs out, re-assembled them the right way, and put them back in. I was about to try to level the frame as well as measure for shock travel, and I needed everything to be "suspending" the way it should.
013

015

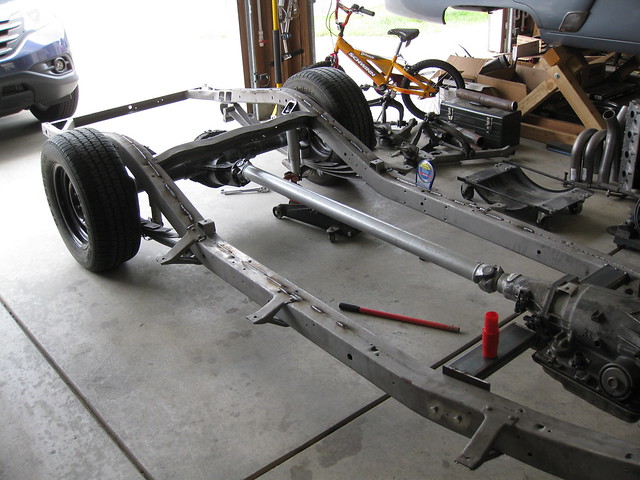
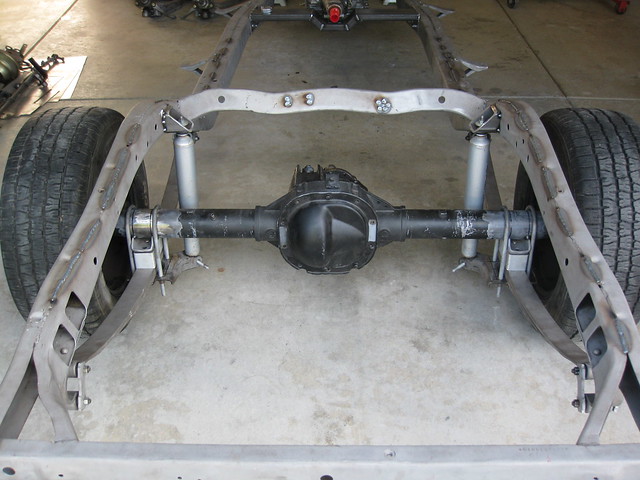
I guess that last picture is of the rearend with spring perches tacked in place. I thought I had more pictures of the process. It was pretty straightforward and easy enough even though I've never done it before. I leveled the frame as best I could, loosened the u-bolts on the rearend, measured the slope of the drivetrain using an angle finder (~4 degrees down), then put a jack under the pinion and moved the housing until it was about 4 degrees up. Then I tightened everything up, rechecked all angles, and tacked the perches on. Done!