Monday, November 3, 2014

Post 33: Redoing things, part 2

So yeah, exhaust problems.

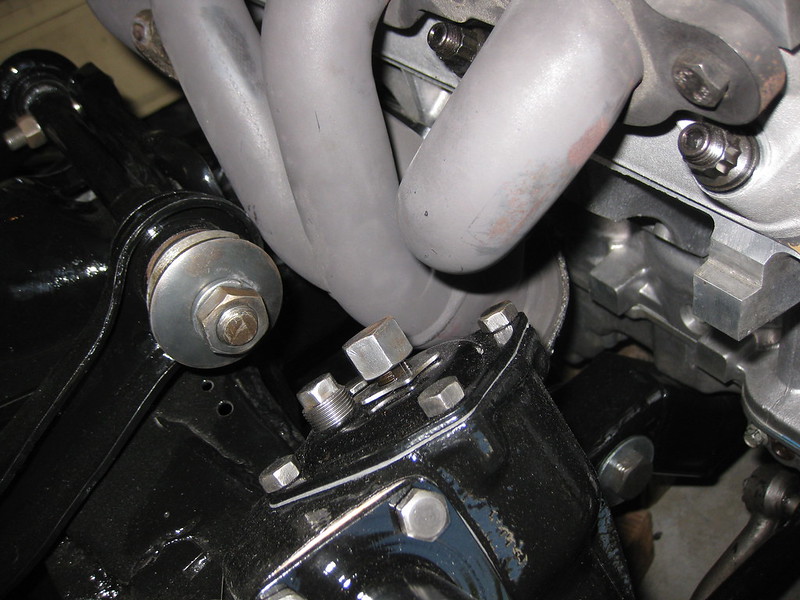
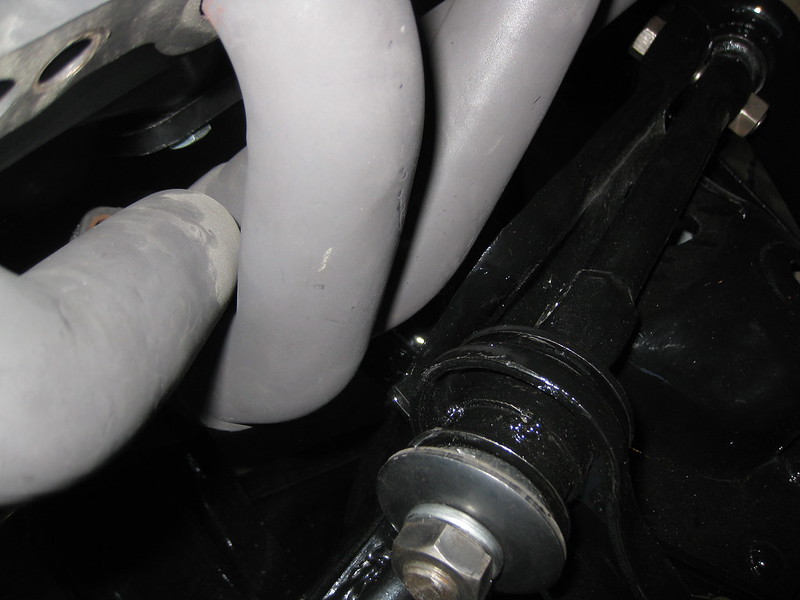
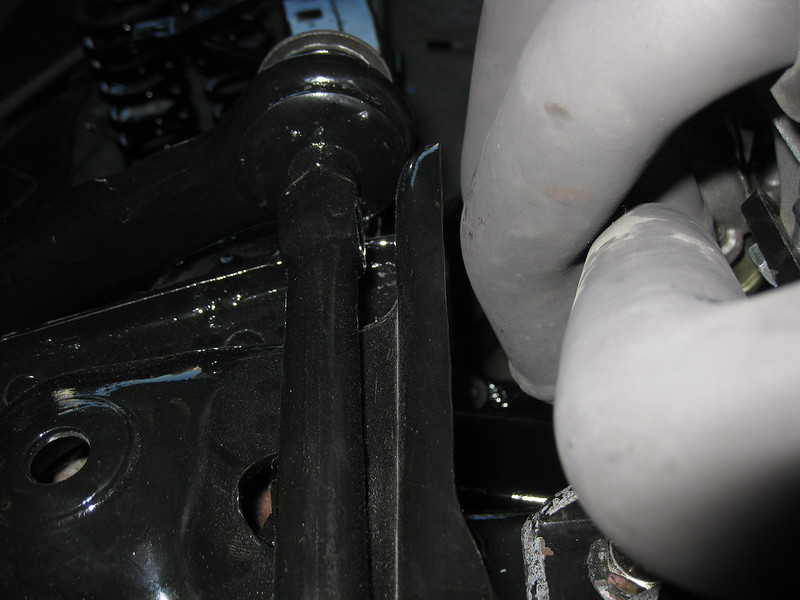
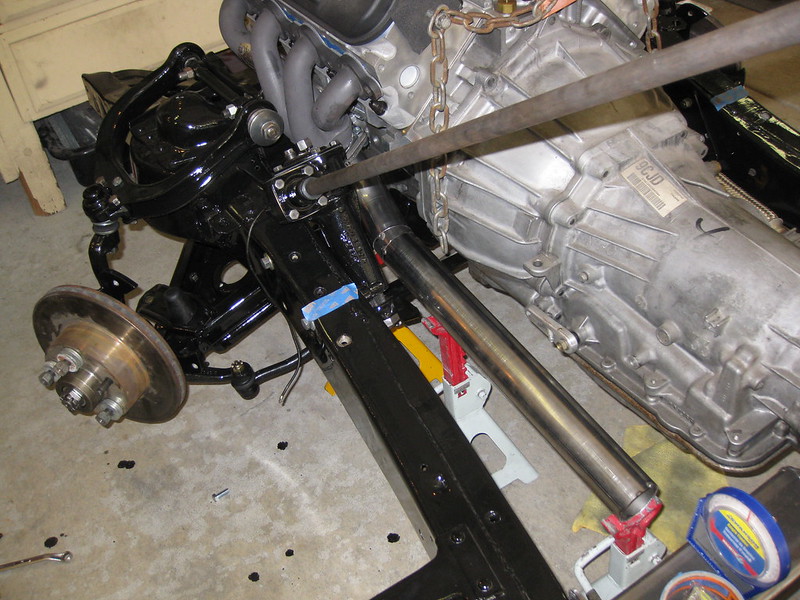
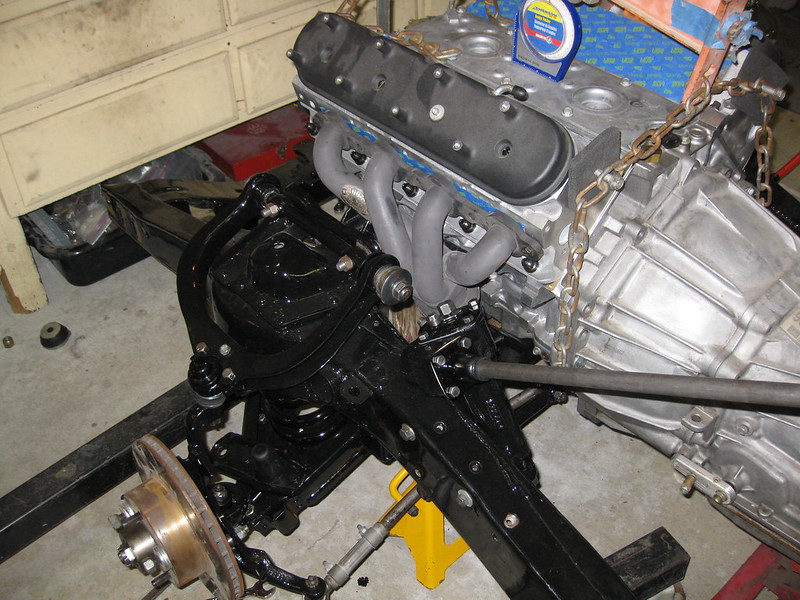
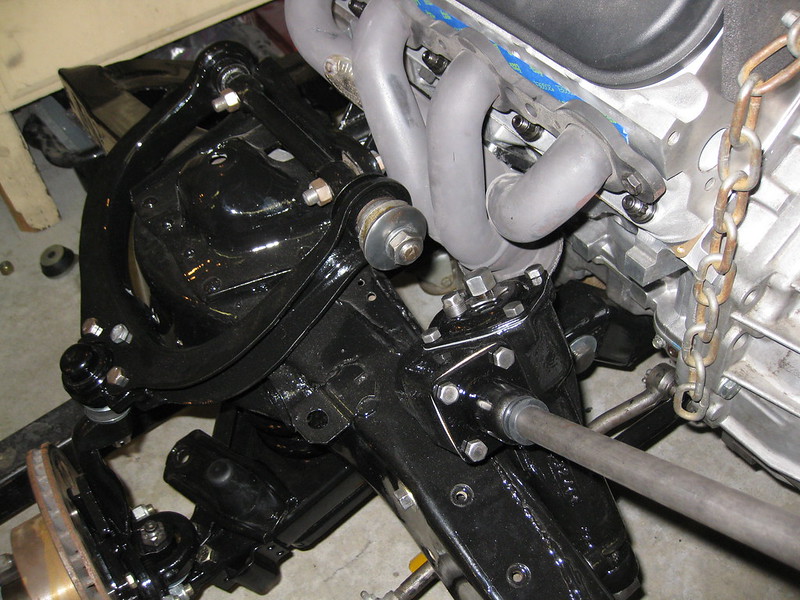
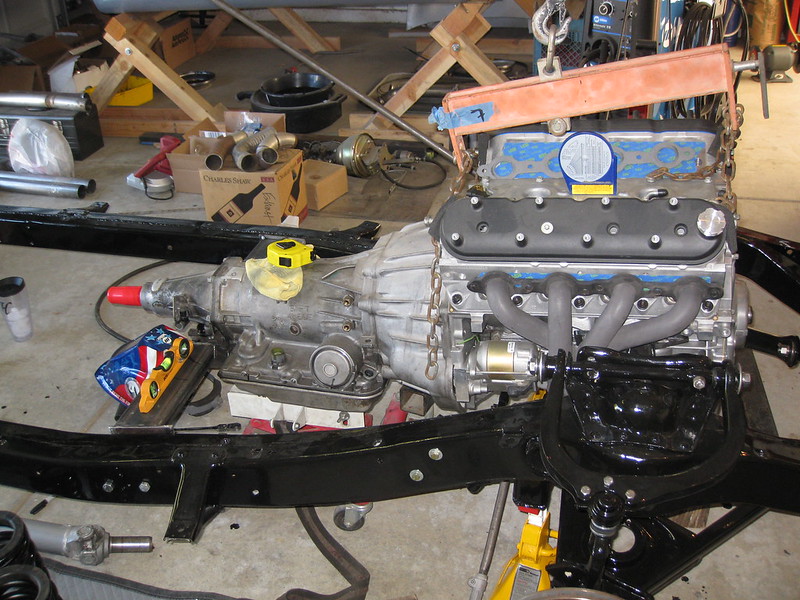
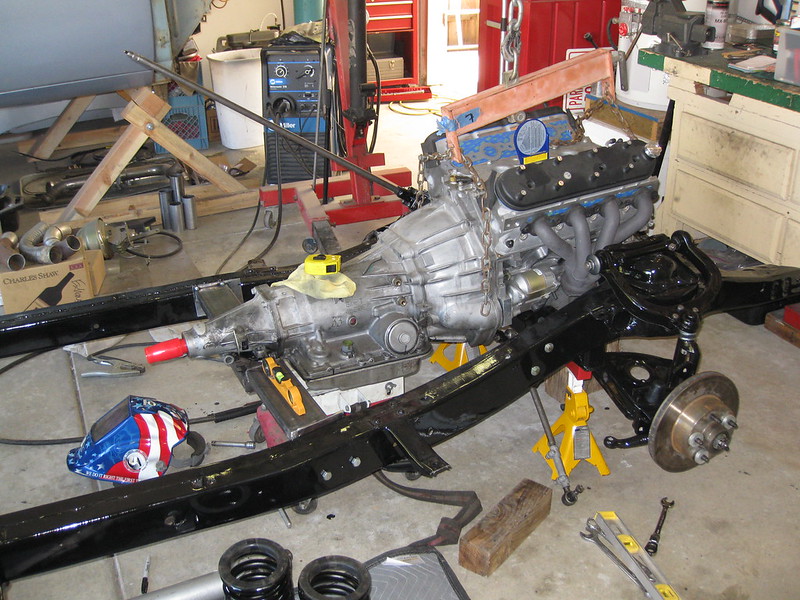
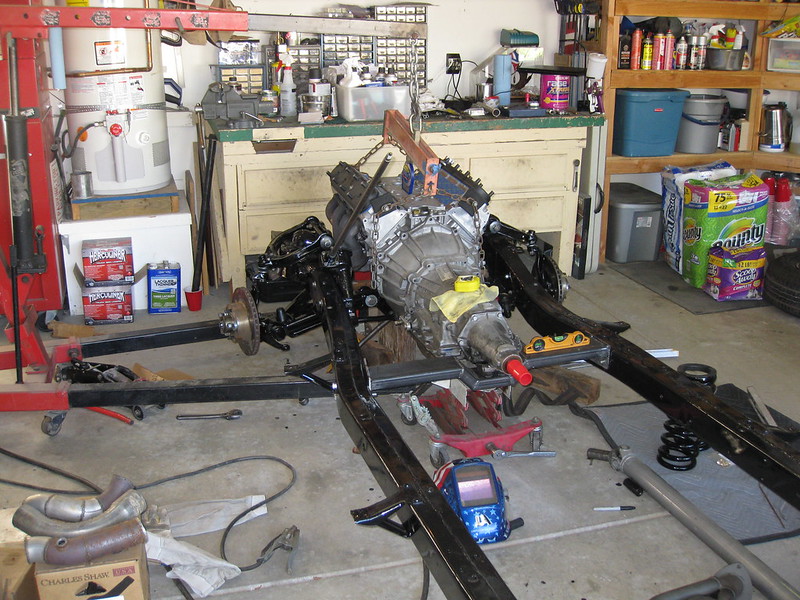
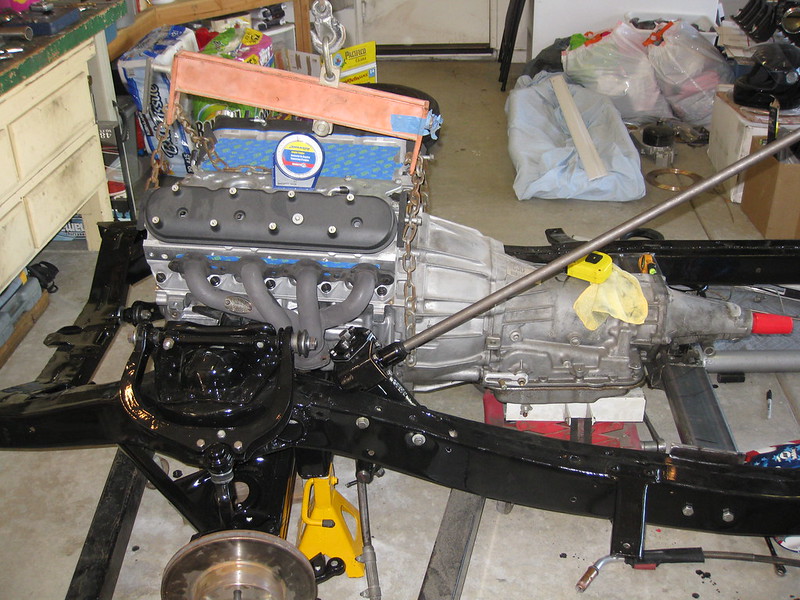
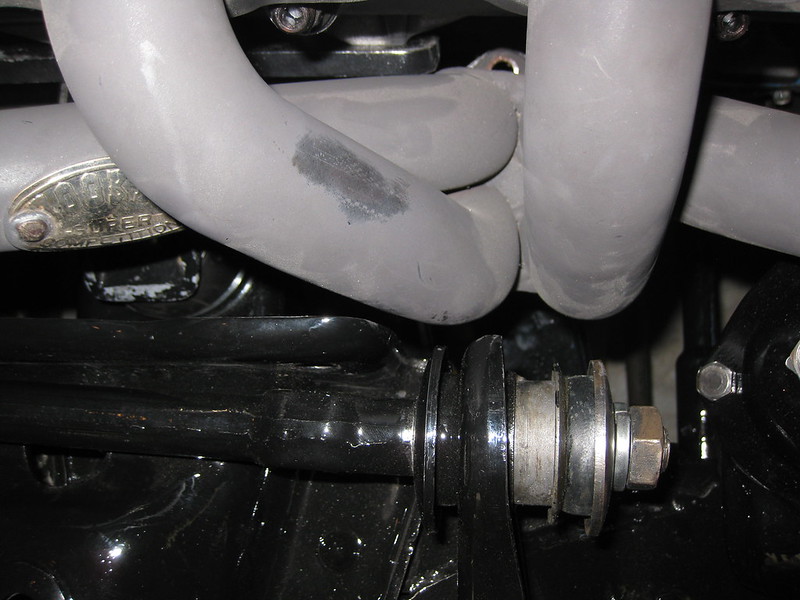
Moving the engine forward created two major issues: 1) the header collectors now dumped slightly on top of the engine crossmember instead of totally behind it, and 2) the primaries were hitting or nearly hitting the upper control arms and/or brackets.

I had more room on the driver side than the passenger.  I don't know if it's always been this way - maybe the header primaries stick out from the heads farther on the right side.  The main point of interference for the left side has always been the steering box, not the control arm.

Driver:
028

029

Passenger:
030

031

You can see that on the right, I couldn't even put the rearmost control arm bolt in. The header was too close - and that's AFTER moving it over 1/4"... What to do...

I didn't take any pictures of the crossmember interference, apparently. One thing I noticed is that the collector flange on the headers both kind of point forward, rather than straight down or kind of backward as one might expect. It seems that with engines typically being installed leaning back a few degrees, pointing the flange forward is a stupid thing to do. It forces the exhaust pipe to bend more than necessary to turn back toward the rear of the car. The way the flange is tilted in the picture below isn't an illusion - it's really the way it sits.
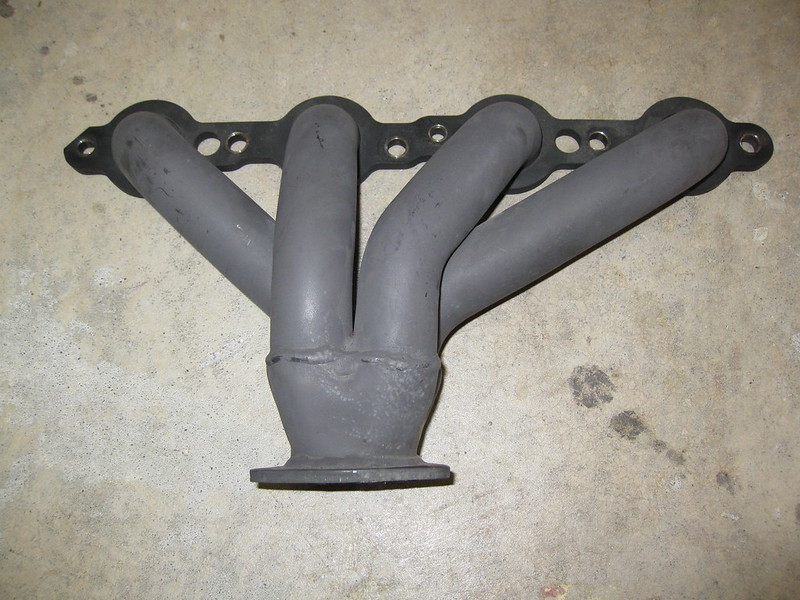
010

I decided I could kill two birds with one stone by cutting the flanges off both headers, plus about 1/4" or so of collector, then re-weld them on. This would position the flanges at a much better angle and also give me some more vertical space between the header and the crossmember. I vaguely remember considering this back in 2011 when I put the LS1 in the first time, but at that point I didn't want to mess up the header paint. Now that it's all scratched up anyway, it didn't bother me. I hope to get them ceramic coated in the near future, too.

As far as the clearance between the primaries and the control arms, I came up with the idea of replacing the rear bolt with a flat cap screw, countersunk into the mounting plate. I thought I had a picture of that but I can't find it, so I'll take one and put it up later. It took a while to find a fine thread 1/2" cap screw, but Fastenal came through for me.

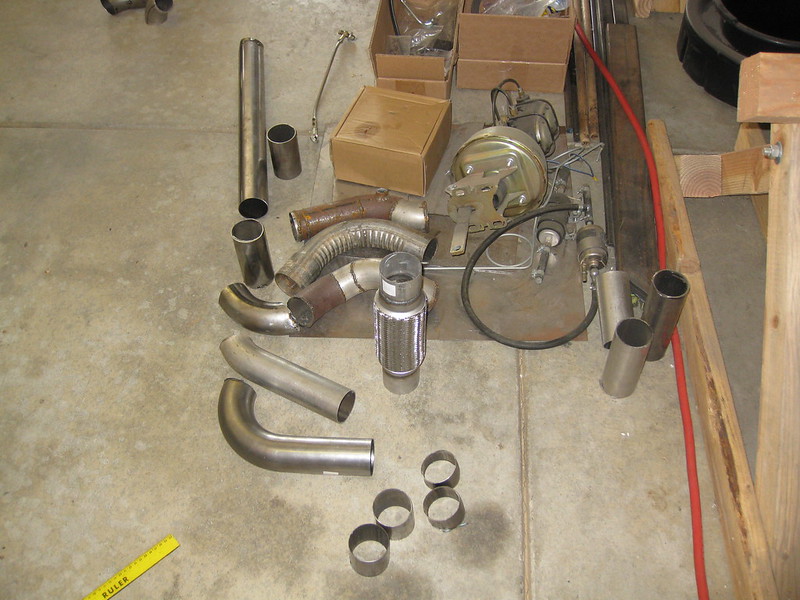
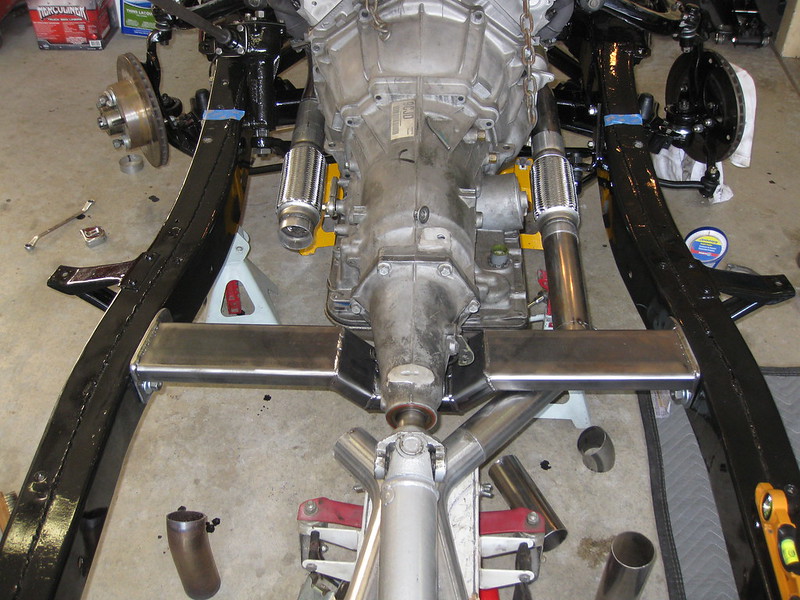
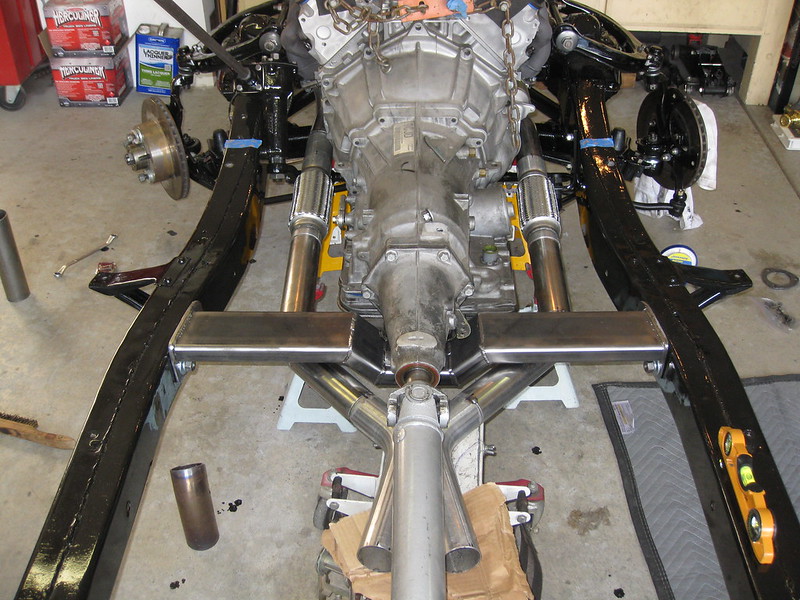
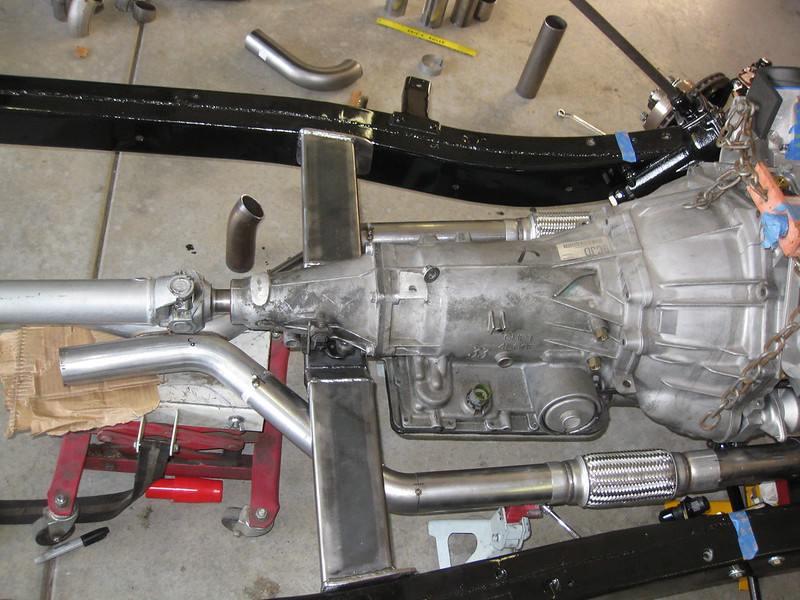
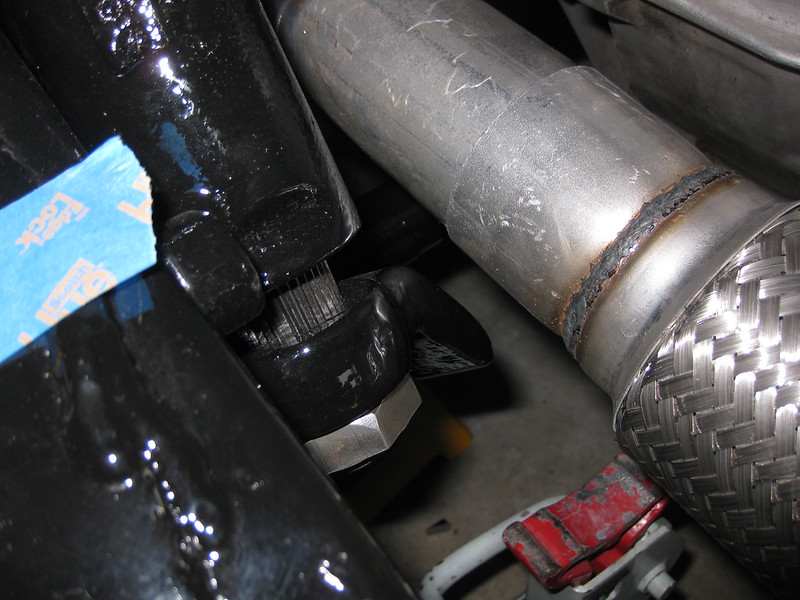
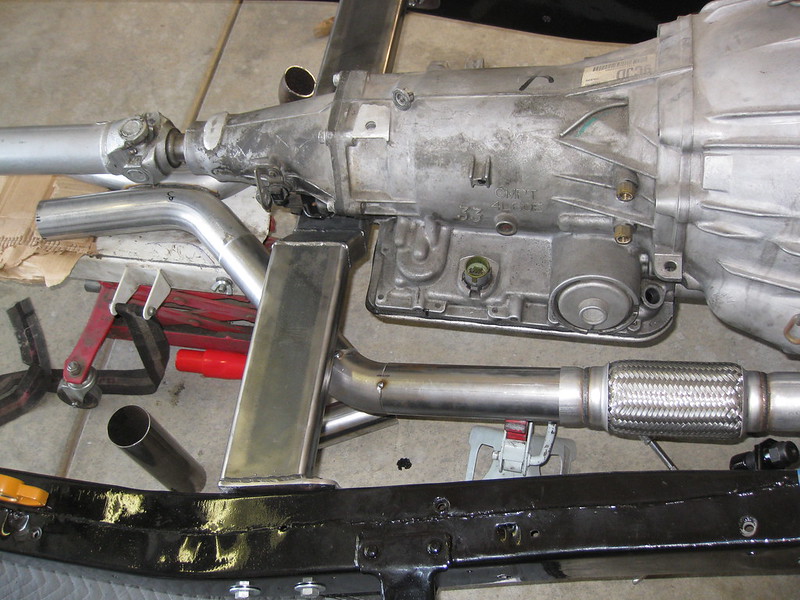
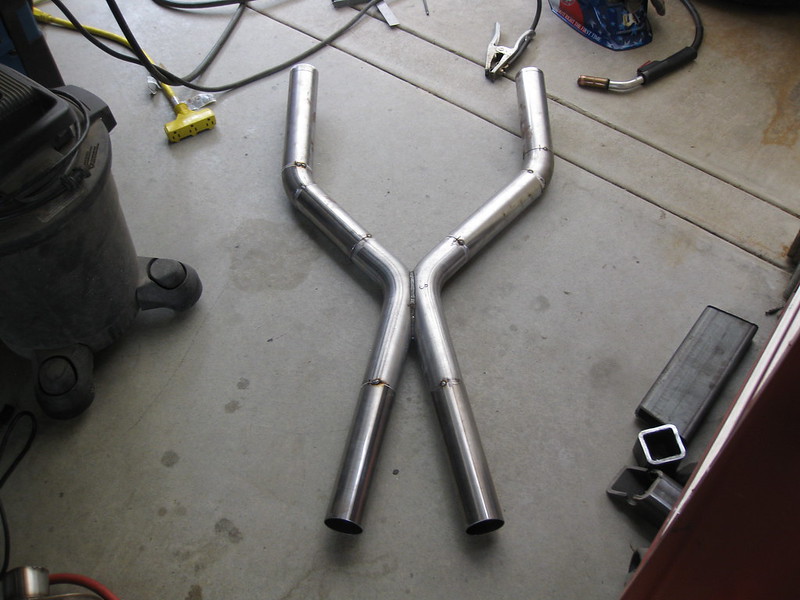
The rest of the pictures show the rest of the exhaust redo. I changed the down pipes slightly, then decided to add a pair of stainless flex pipes right after the exhaust leveled out. Not, as my buddy harassed me about, because I wanted to cheat with the angles and alignment of the exhaust (which I didn't - they're still flat and aligned - no cheating!), but because I'm paranoid about vibrations when the car is running and it seemed like a good idea. This was another thing I considered years ago but never pulled the trigger on. This time, it just worked out that I was a few inches short on the pipe length I needed to connect the x-pipe to the down pipes, and when I went to buy some pipe I saw the flex pieces and decided it was the right time to put those in. They're not welded yet but they will be. I want to use as few muffler clamps as possible on this system. Right now it's either going to be two or zero, I'm not quite sure yet.
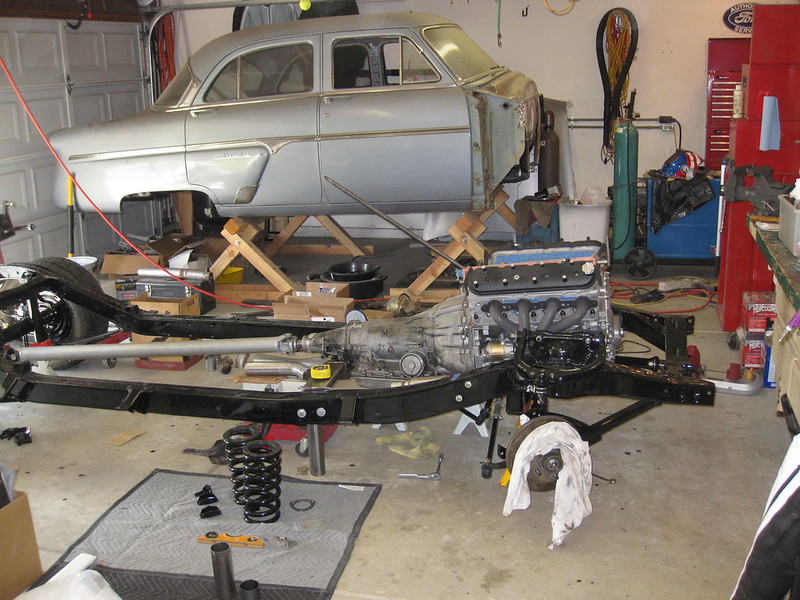
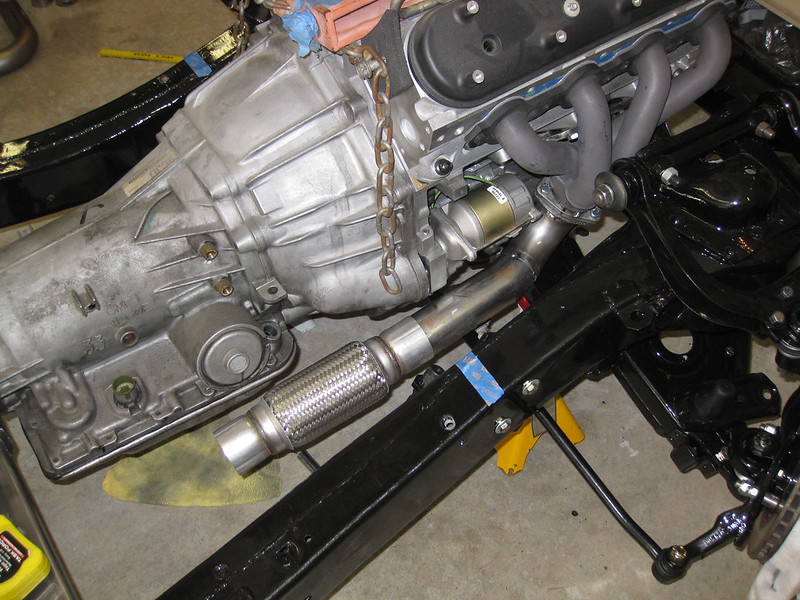
013

014

015

016

017

The flex pipes look like they're different lengths, but they're really different heights here. I took this picture before everything was finalized.
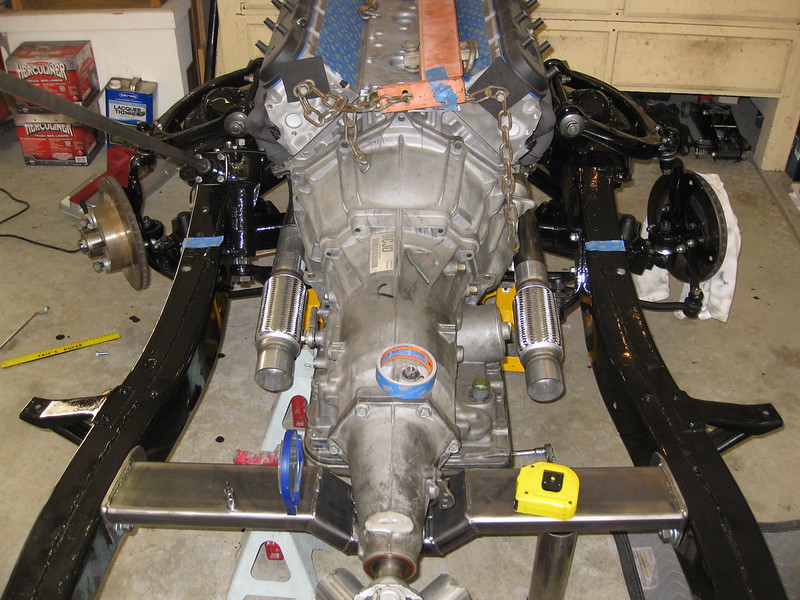
018

Plenty of clearance between the pitman arm at full left turn and the exhaust. I'll be able to make U-turns again! Sweet!
020

021

022

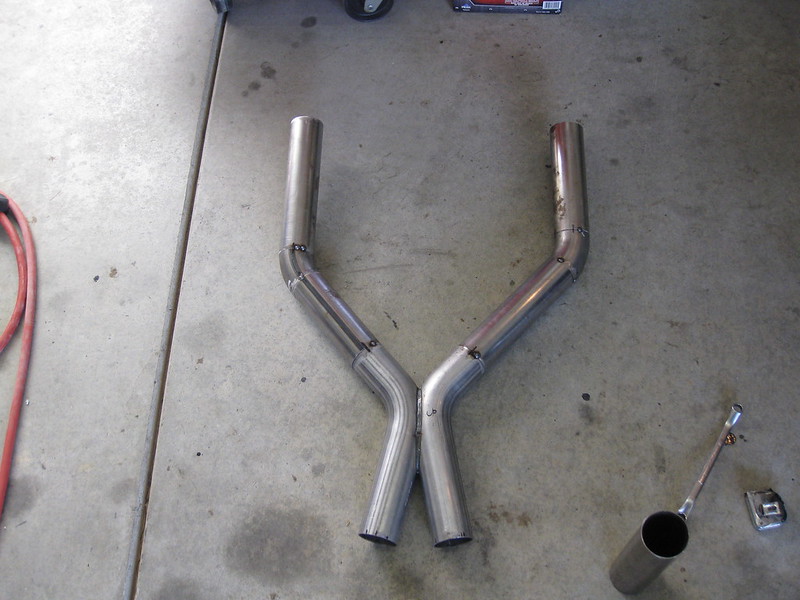
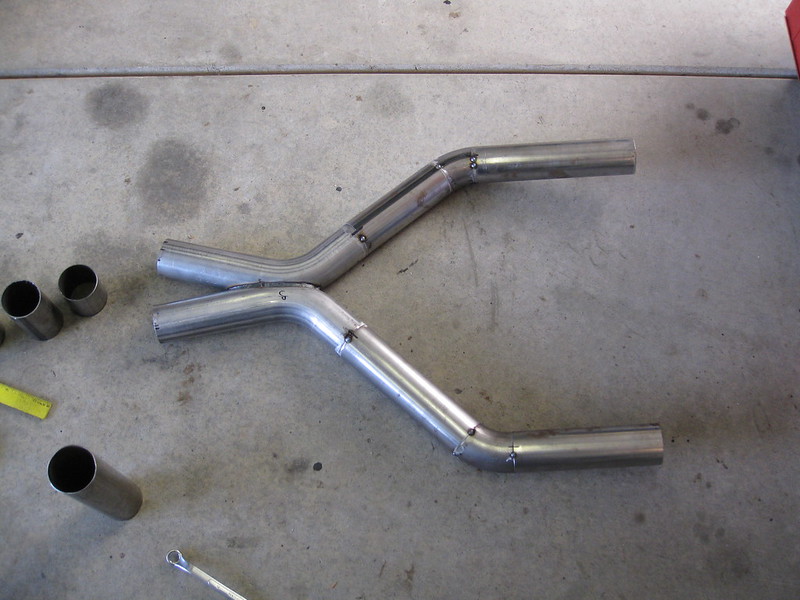
Finished x-pipe, new and improved over the x-pipe from a few months ago. I'm extremely happy with this result.
023

024

025

026

Extensions tacked on (after lots more measuring and leveling).
027

Well, that was sort of anticlimactic, wasn't it? I guess I didn't take any pictures of the rest of the exhaust. I will have to do that and put them up. Leave them wanting more, I always say.

Wednesday, October 29, 2014

Post 32: Redoing things - fun for the whole family

Not really. I just didn't know what else to say. Redoing things usually isn't fun at all.

I had to redo a lot of stuff in September.  I didn't necessarily screw anything up before that - it just so happened that September was the time at which I had enough parts back together that I could do some final measuring.  The results of this measuring indicated that I needed to make some changes or I wouldn't be able to bolt the body back onto the frame... OK, maybe I did screw up a little bit.

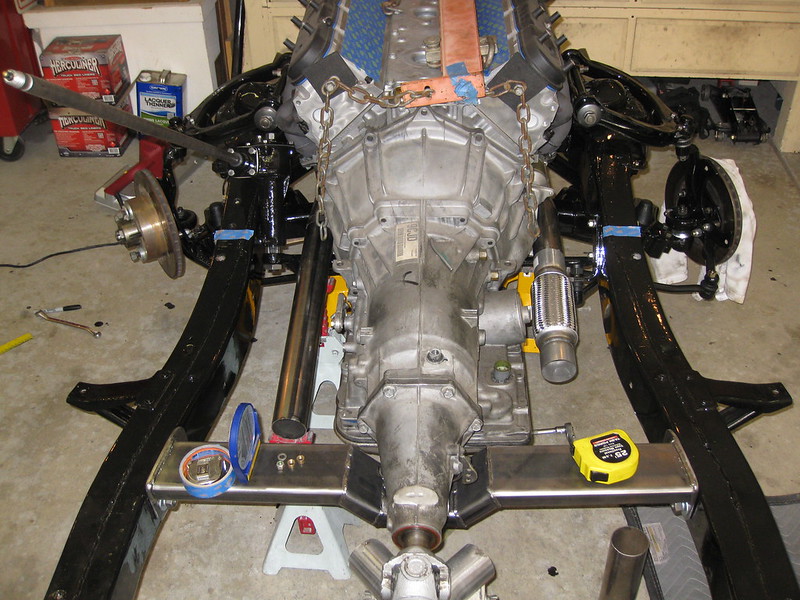
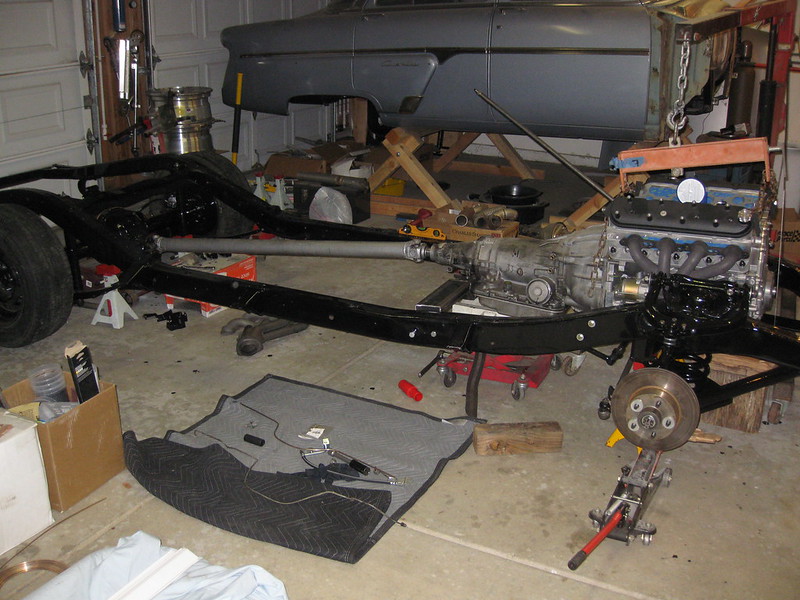
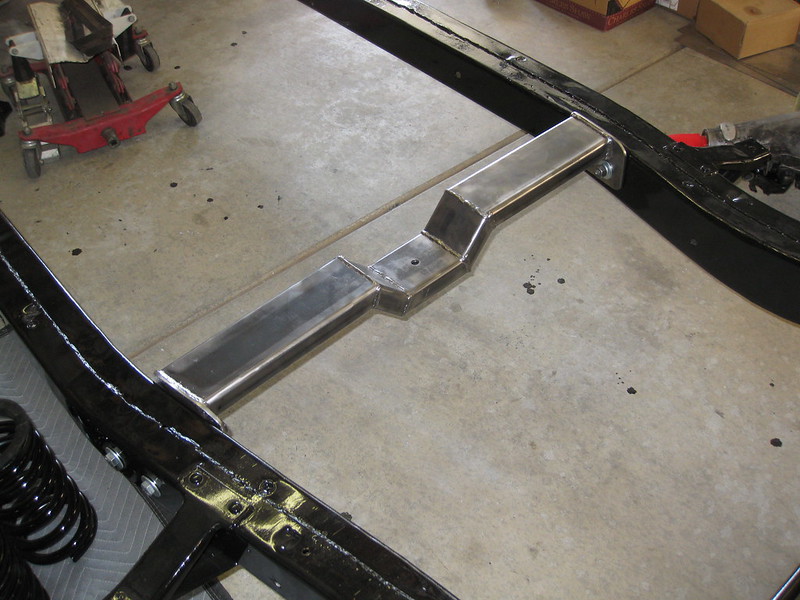
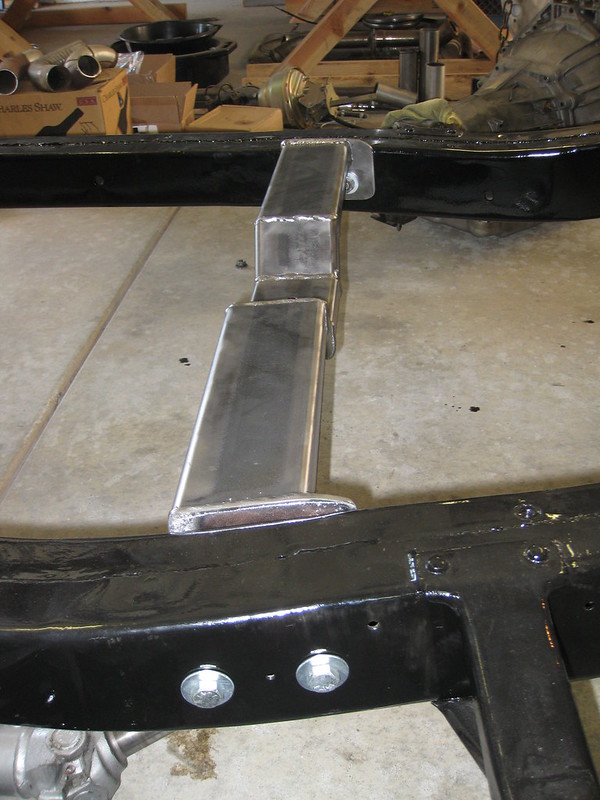
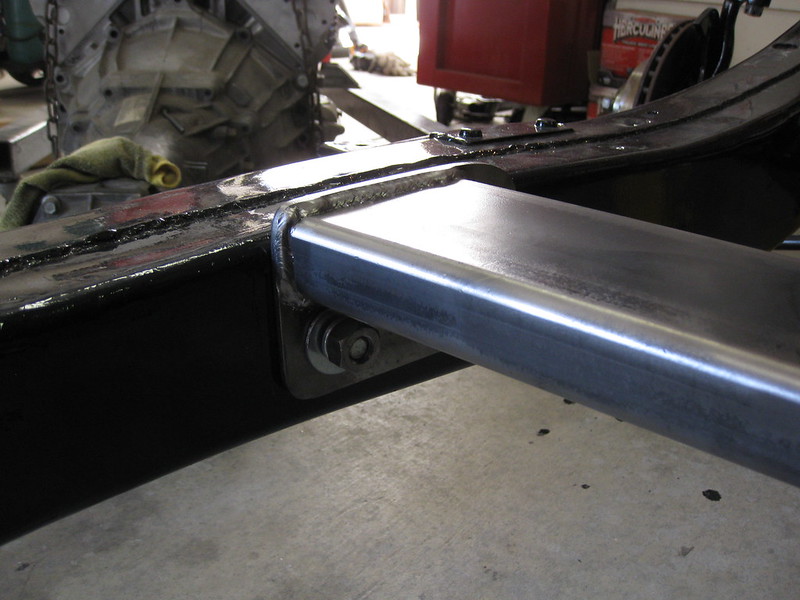
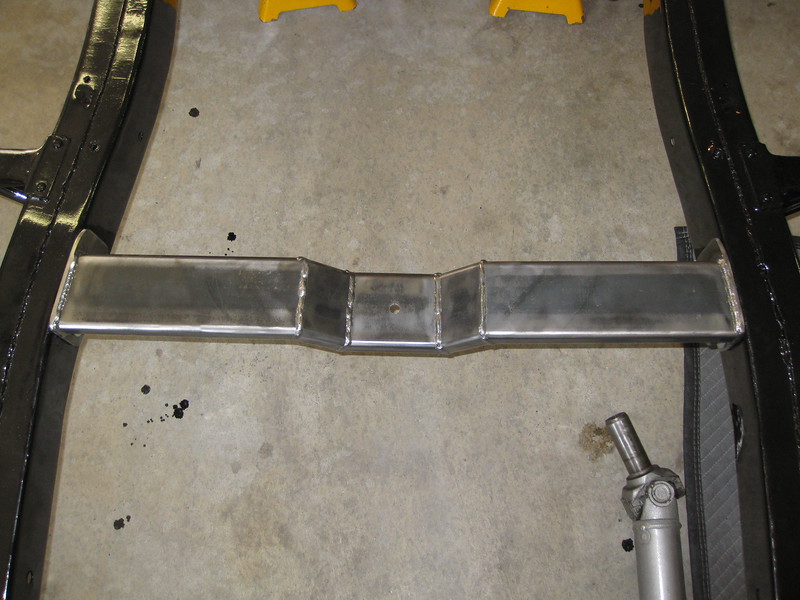
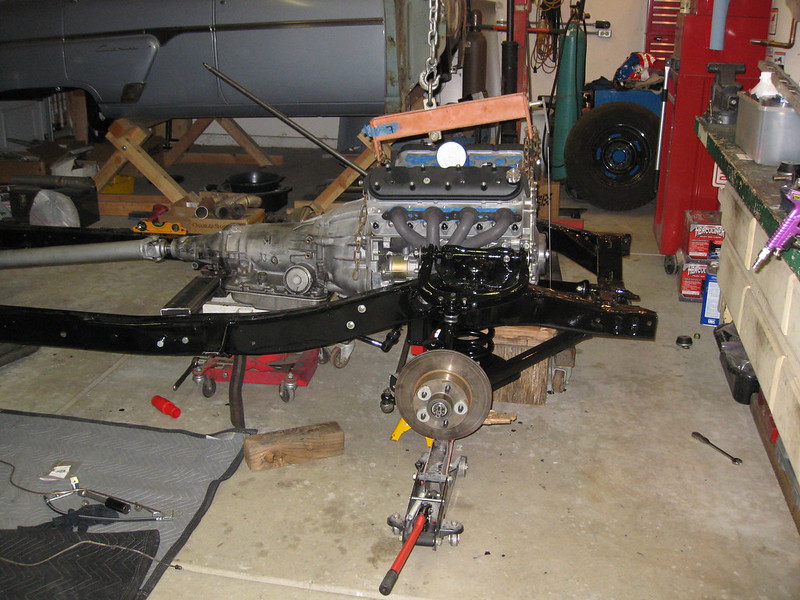
First, I put the drivetrain back in chassis.  I planned to start tweaking tie rods to clear the frame and engine, but I also had to finish welding up my tranny crossmember.  Most of it was done, but I purposely left the end brackets tacked in case I needed to move them down the road.  Well, let's just say I'm glad I thought of that.  I decided to re-check the height of the transmission case mounted in the chassis, to make sure it was still low enough to clear the body even though I had decreased the driveline angle (numerically decreased, not declined... I made it closer to horizontal).  To my great surprise, something was weird.  If I welded up the crossmember at that point, not only would the car body be resting on the tranny, I'm pretty sure the crossmember itself would have been touching the floor.  I really don't know how that happened, but there was nothing I could do except reposition the engine and tranny.  I was pretty pissed because I had already welded the perches on the rearend that set the pinion angle around 3 degrees to match the drivetrain, and I was about to change the engine angle again.  But there was nothing else I could do.  I played around with setting the motor lower in the chassis, leaving the angle as close to 3 degrees as possible, but it only made things worse.  Either the oil pan hit the frame, or the steering hit the oil pan, or some other bad thing happened.

One small point of light in all of this gloom was when I realized that I initially positioned the motor farther backward (physically back toward the rear of the car, not leaning down) than it needed to be.  I chose that position by turning the steering lock to lock and seeing where the tie rod ends on the drag link just missed the oil pan - obvious, right?  Well, what I didn't consider was that I didn't have the other ends of the tie rods hooked up to anything at the time.  When the steering is attached to the spindles, the steering wheel doesn't actually go all the way lock to lock.  The spindles hit the lower control arm stops before the steering box runs out of play.  The end result is that I found I could move the engine/tranny combo forward in the chassis about 3/4".  This might not sound like much, but it was enough that I could lean the drivetrain up a little bit more before it hit the tunnel of the body, because the big-diameter parts that were first to interfere (e.g., bellhousing) were now not as close to the body.  I'm suddenly thinking that a picture would help, or at least a MS Paint drawing, but unfortunately for you, I have neither.  You'll just have to practice visualization.



Anyway, the bottom line is that shit needed to get moved.  I cut the ends off the tranny crossmember, put the drivetrain back in the car, and measured until I found the best result. This ended up being with the drivetrain 3/4" forward as stated, angled down 4.5 degrees, and 1/4" off-center towards the driver's side. I'm concerned about the difference between the difference between the drivetrain and pinion angles, but I'm going to drive it before doing anything about it. Maybe this car won't go fast enough for any bad vibrations to occur. More than likely, I can put 2 degree shims in there and it'll be fine.

015

016

Here's the completed tranny crossmember. I rounded off the corners of the end plates mostly so I won't scratch myself working on the car in the future. It also made the whole thing slightly easier to slide into place. I had to whack about 1/2" or so off one end to move the crossmember forward in the frame as well as move it over to the side a little bit.

001

002

003

004

Why shift the drivetrain 1/4" off-center, you ask? Oh, you thought nothing else interfered when I moved everything around? That I had nothing else to redo? That's awful nice of you. Sorry friend, but the exhaust that I built a few months before was now totally screwed up.

020

021

022

023

024

025

026

Tuesday, October 28, 2014

Post 31: All work, no pictures

Howdy.

You may be wondering where I went. Don't worry, I've been in the garage. Doing lots of stuff without taking any pictures to post, which leaves me without motivation to blog. But I'm trying to catch up. I'll do better in the future.

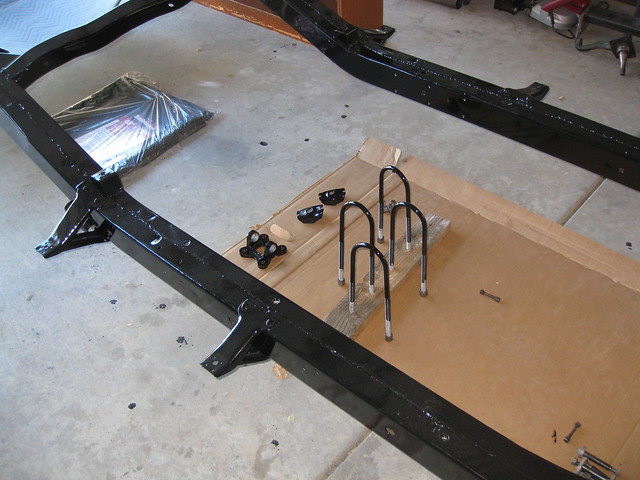
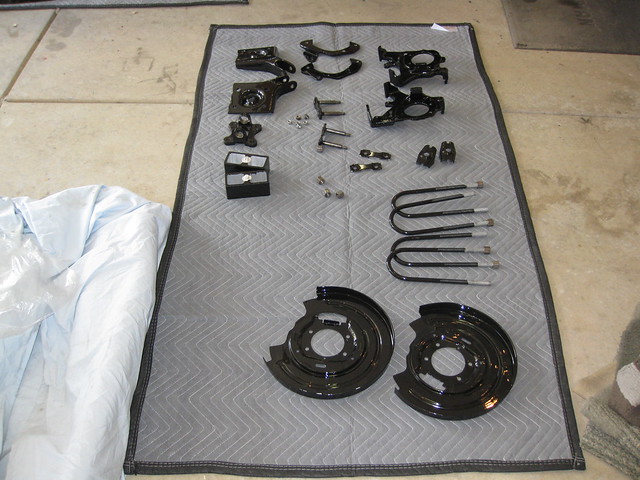
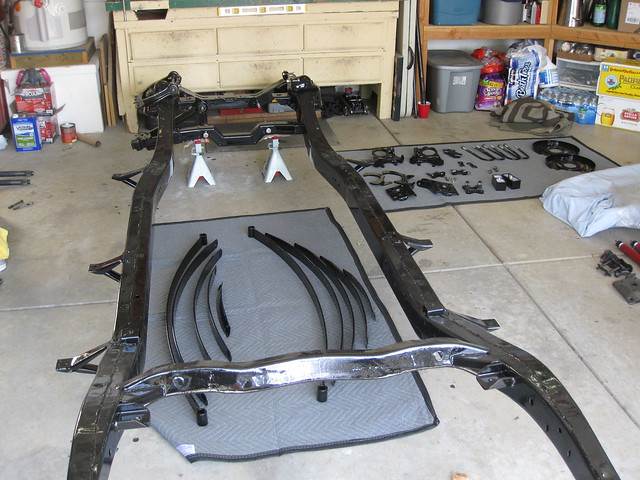
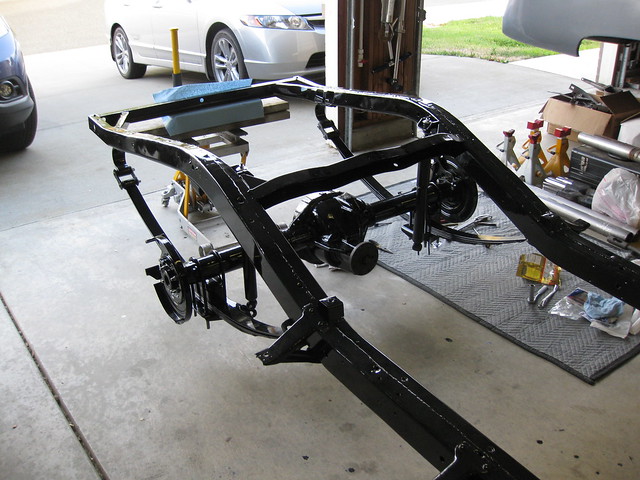
August weekends ended up being pretty busy, so most of what I got done was after work.  I continued cleaning and painting parts, working toward finishing up the frame and suspension.

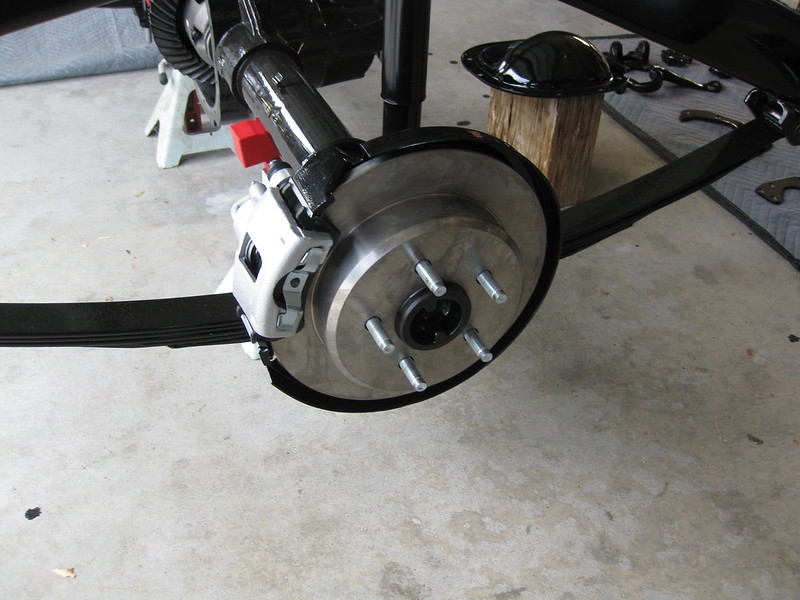
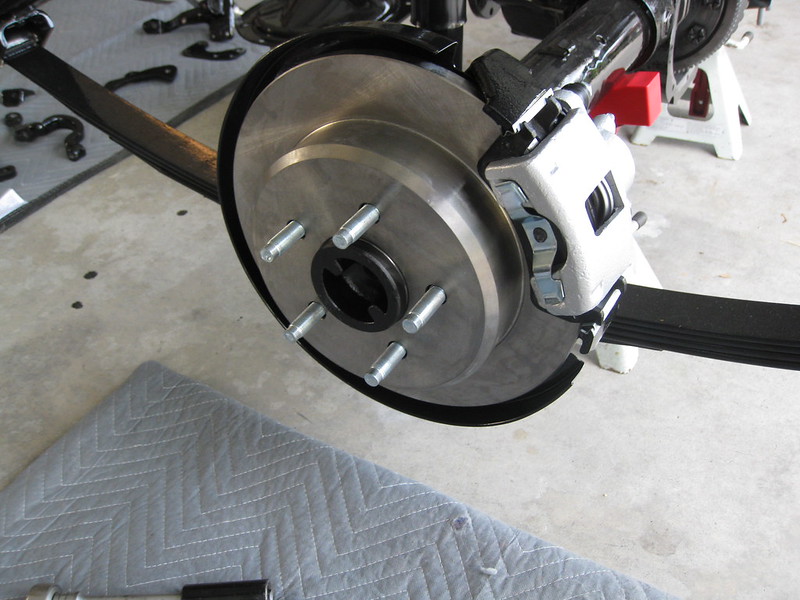
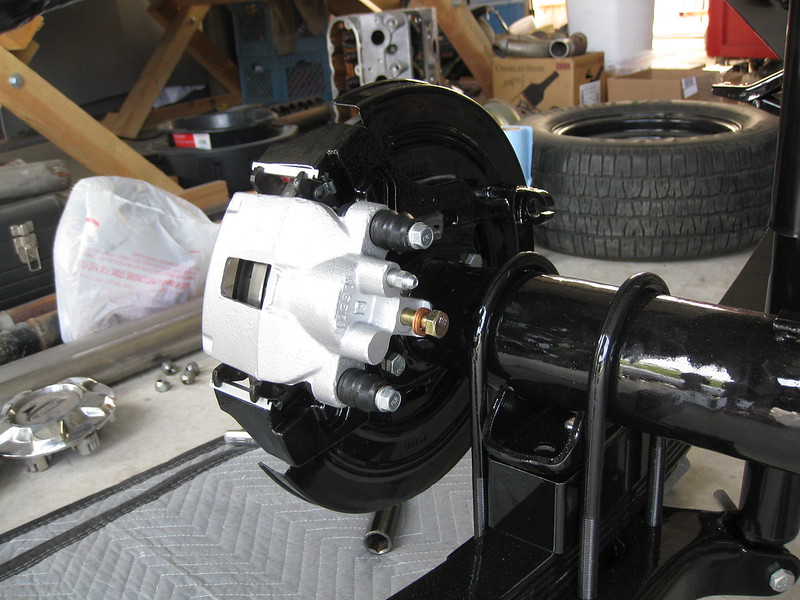
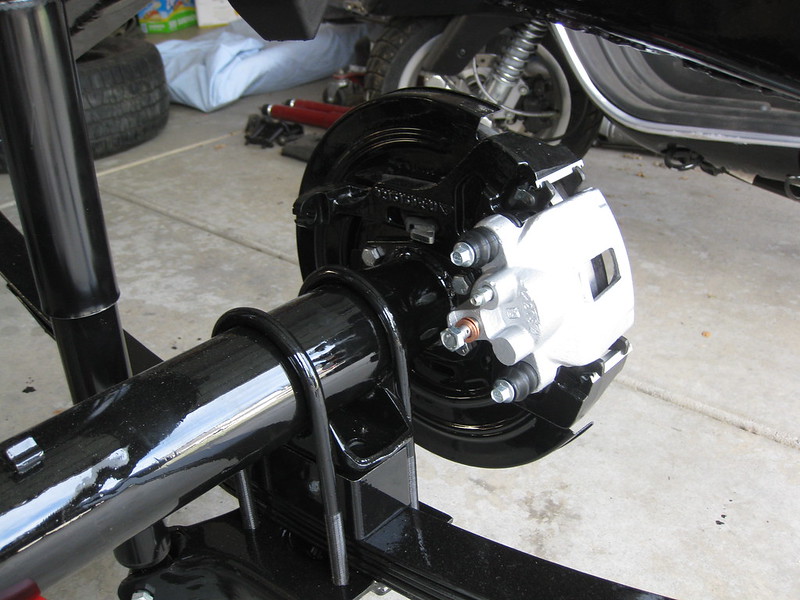
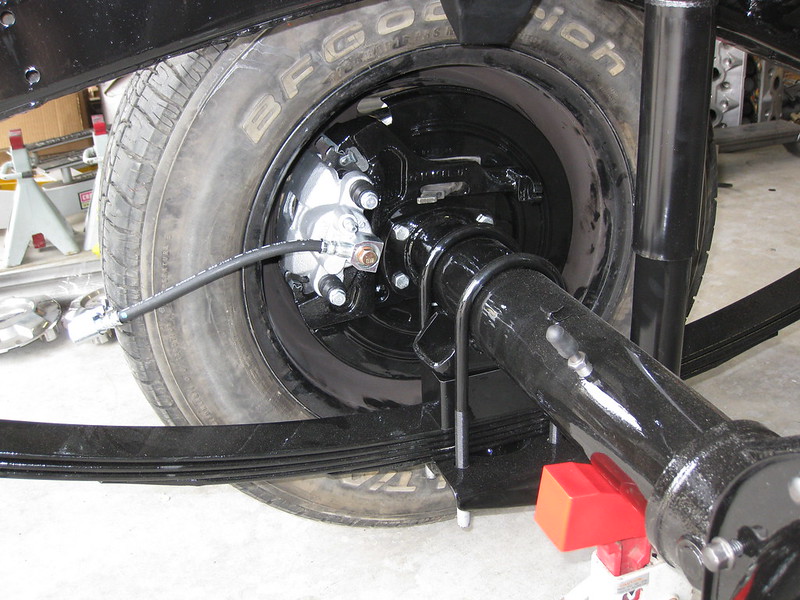
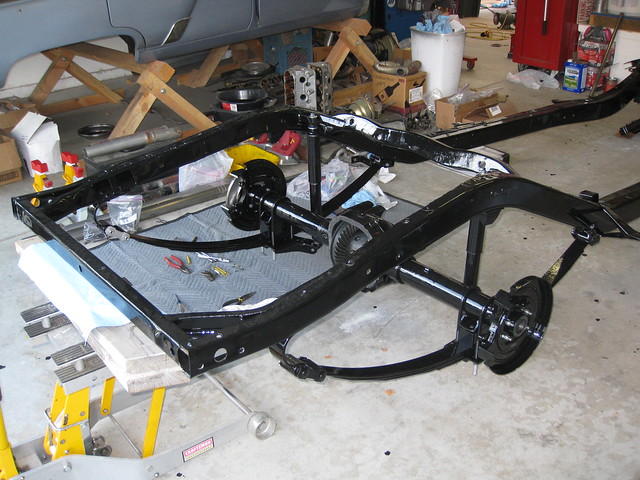
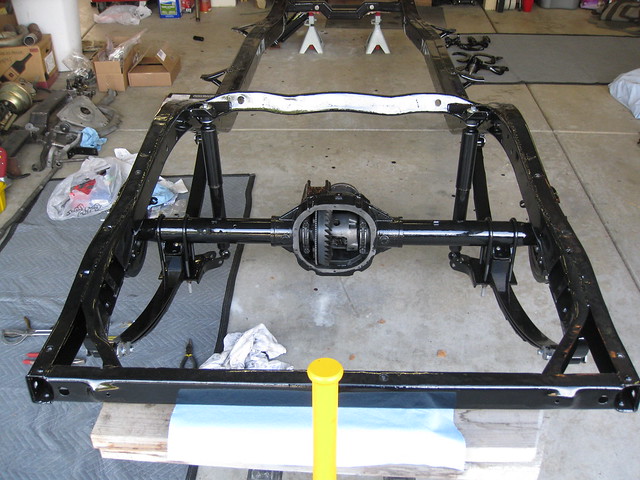
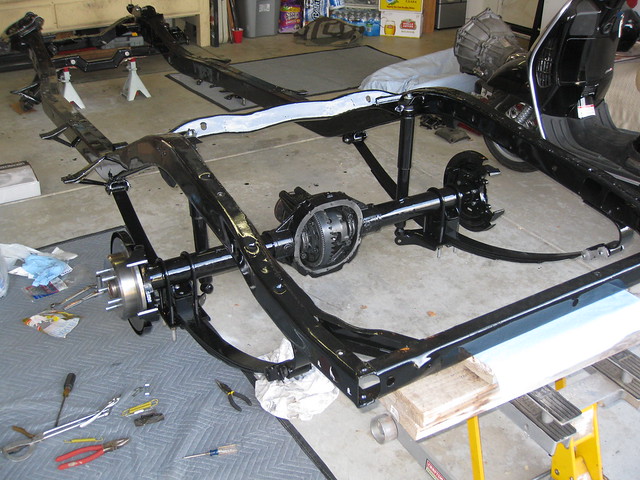
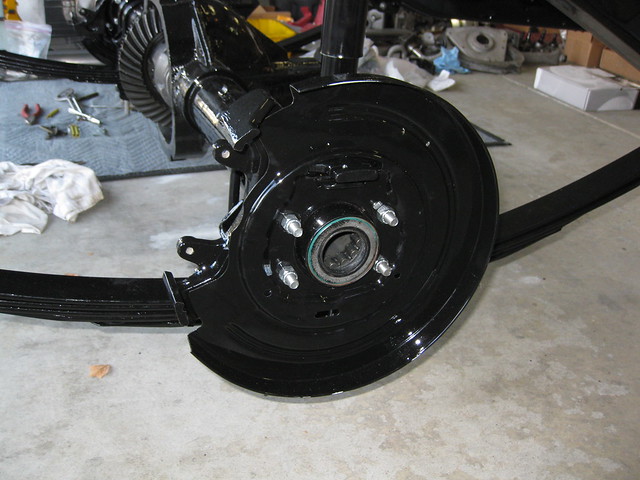
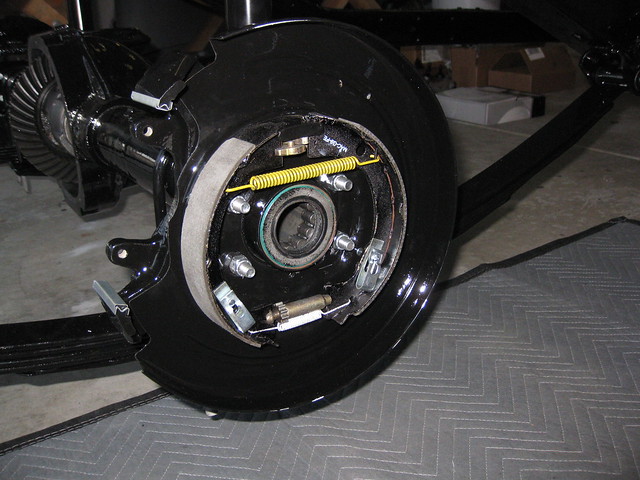
I got the rear brakes done.  Actually, the right side got done twice.  The first time I put the e-brake shoes and stuff together wrong, so after I figured out how it was supposed to look I was able to get it right.  Ordinarily I would have done one side before taking the other apart - so I could still have an example of how to put it together, as you're supposed to do - but in this case the rearend came into my possession disassembled.  I figured it only went together one way, but I was wrong.  After a little head scratching and google image searching it made sense.

One thing I don't have a picture of is my wounded knee, which I punctured with pliers while trying to put on the motherf'ing spring that holds the brake shoes together.  I think that might be the hardest job I've encountered on this whole damn car, brute-force-effort-wise.  I stabbed myself in the knee so hard that it was one of those times when at first, it doesn't bleed, so you think you're maybe going to be okay, pain notwithstanding.  Then all of a sudden you have a gusher on your hands, and no amount of wiping it with a rag or putting electrical tape on it so you can keep working is going to help.  Man, that sucked.  But the brakes are done.

001

002

003

004

009

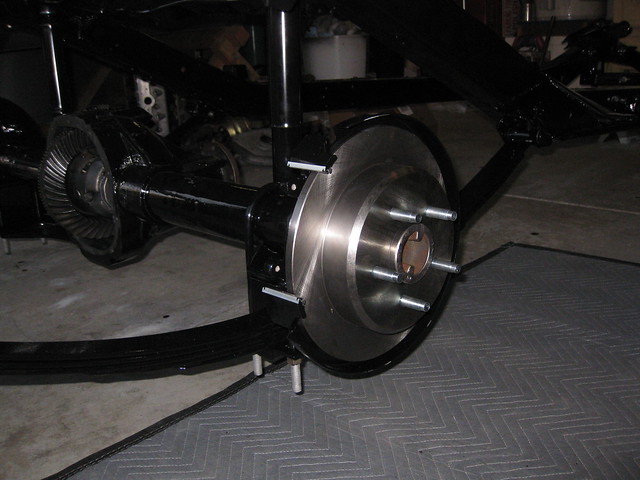
Calipers are just painted with VHT rattle can caliper paint. I was going to do something fancier but decided to save money. No one's ever going to see them anyway. You can see that they fit inside 15" wheels just fine.

I did have a good experience with Advance Auto, though.  I've been buying parts from them for a few months now, every time I see their "spend $125, save $50" deal advertised.  But the calipers were the first thing that had a core charge involved.  We don't have any AA stores on the west coast, so I was a little hesitant to buy these, but I went for it and it worked out well.  They sent a shipping label and instructions on how to box things up.  I sent them back and got my core refund a few days later.  Easy peasy.

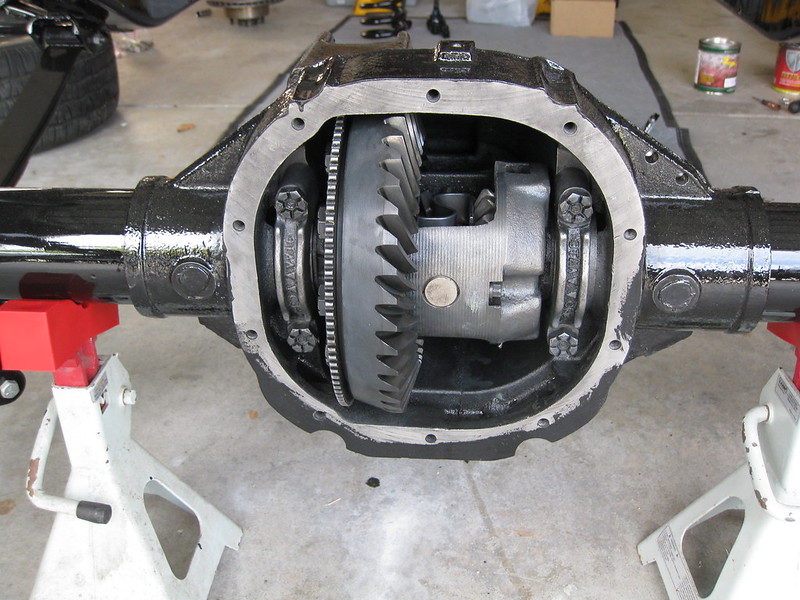
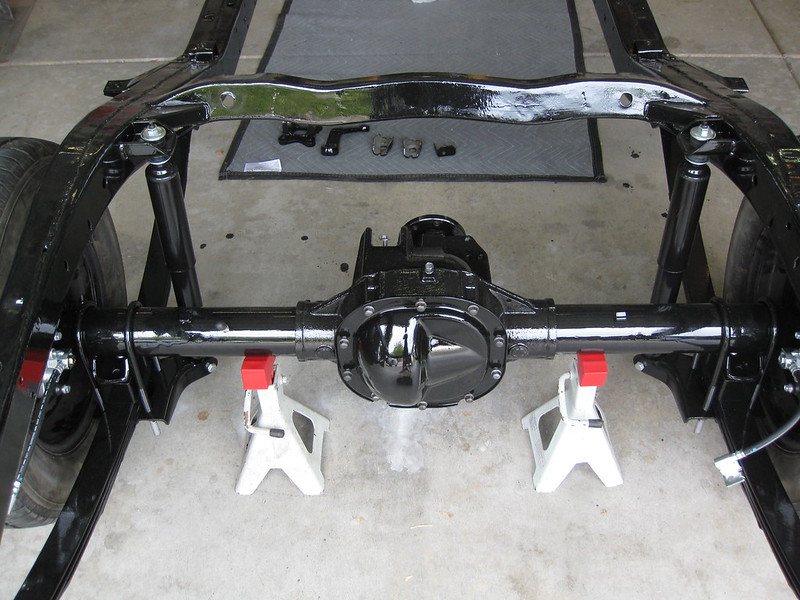
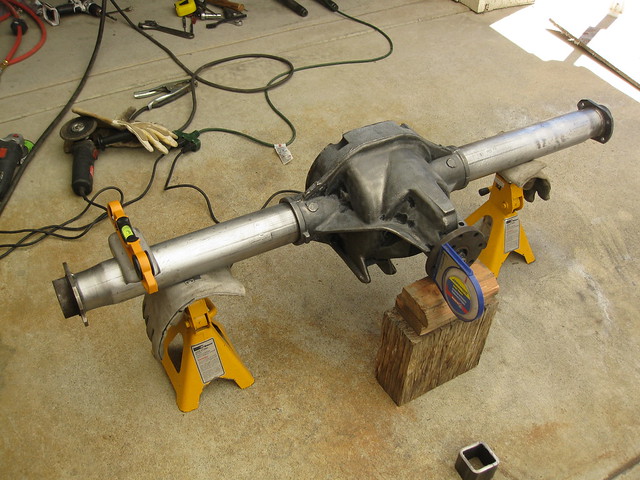
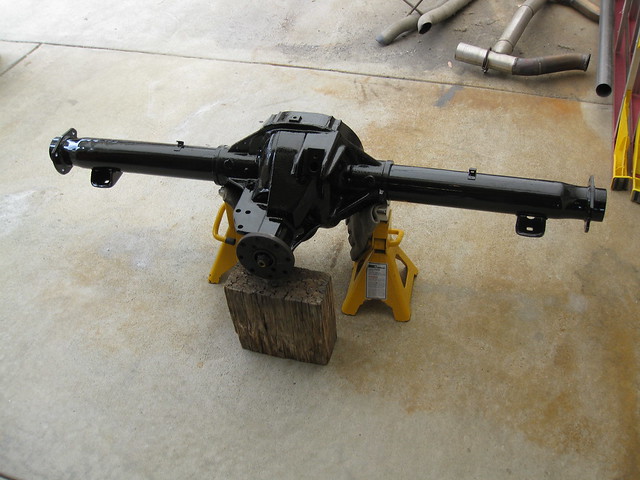
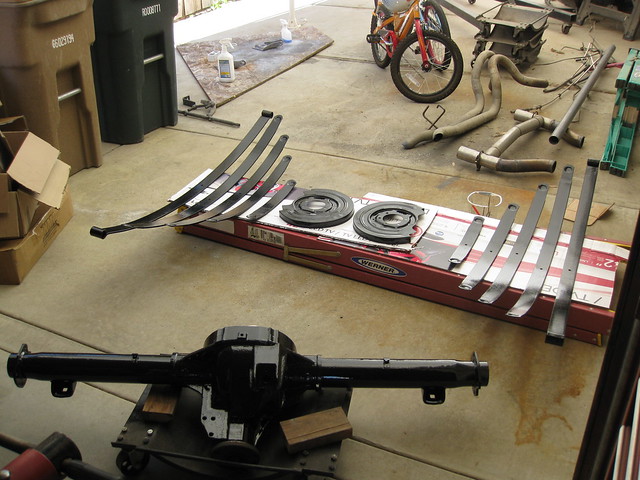
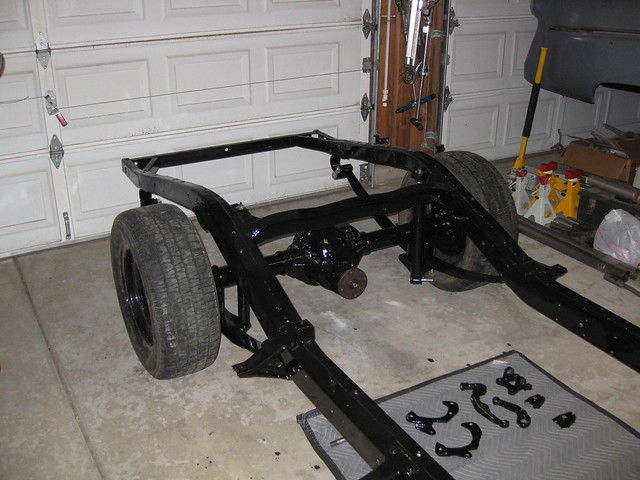
Here's the rearend all geared up and ready to go.  The rearend cover was mangled by Ford, who punched a hole in it at the factory before plugging it with a huge rubber grommet - poor man's drain plug, I guess.  Sometimes I can't believe what the bean counters come up with.  Anyway, I was going to buy a new cover with a vent and drain but they're so expensive.  In the meantime I decided to try welding up the hole and painting it, which I did and which turned out pretty damn good.  Someday I might get a different cover but for now I'm all set.

005

008

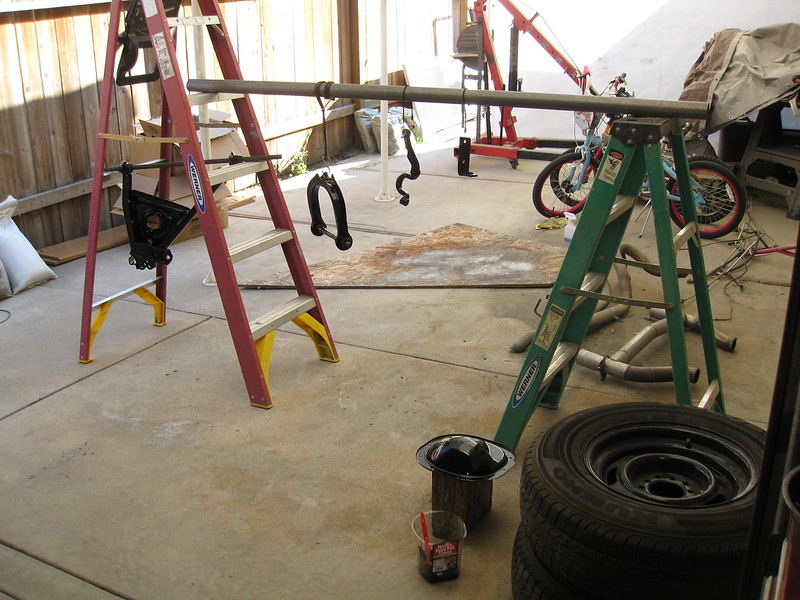
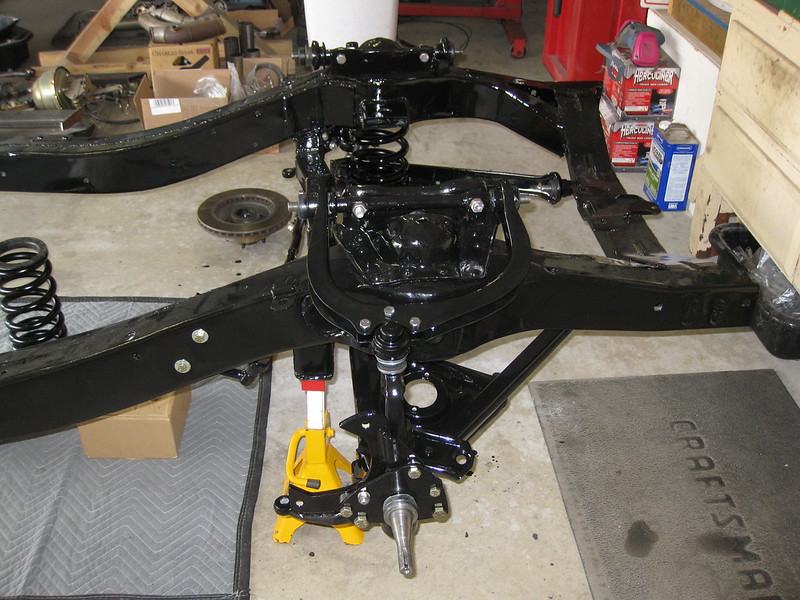
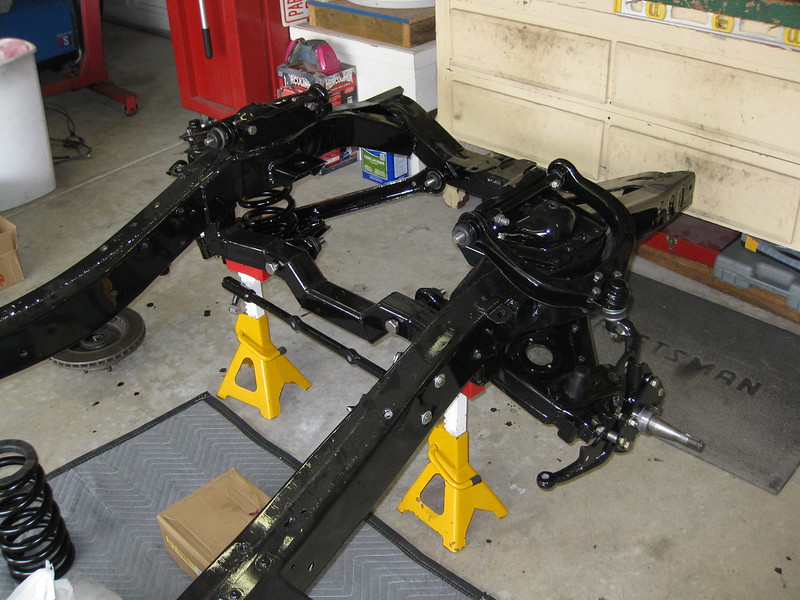
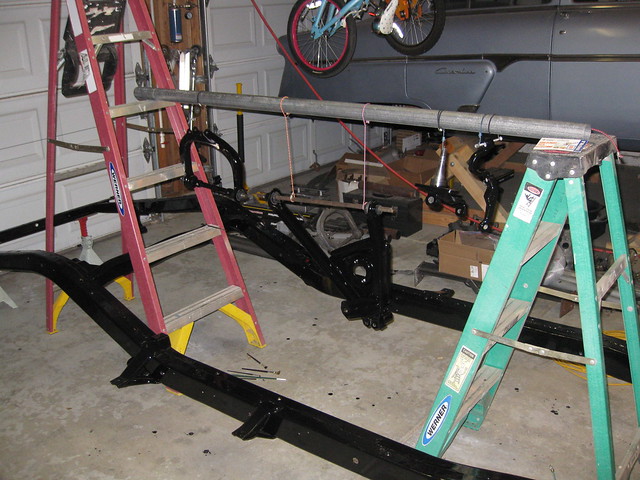
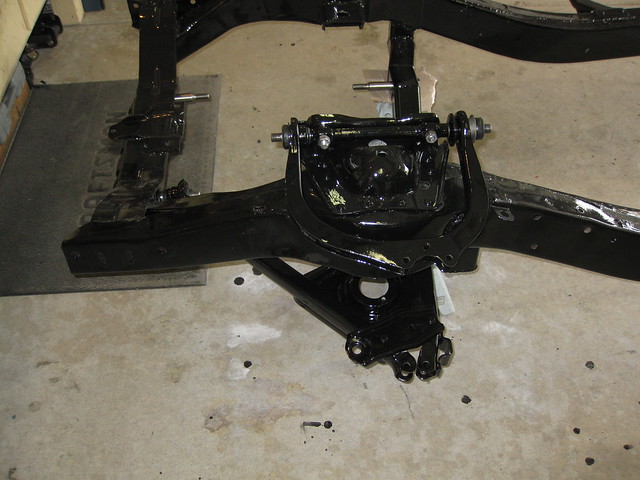
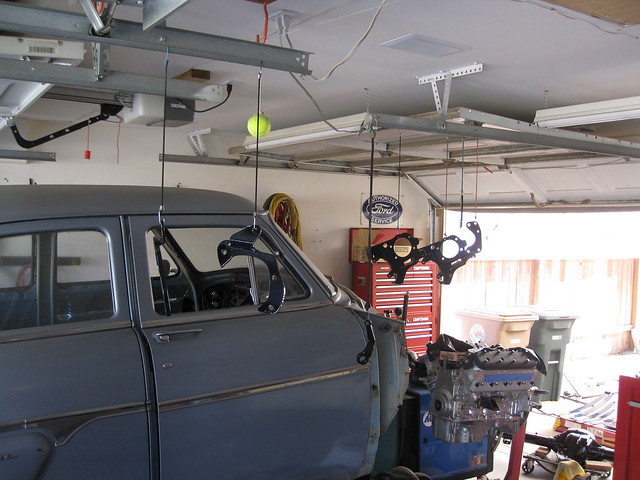
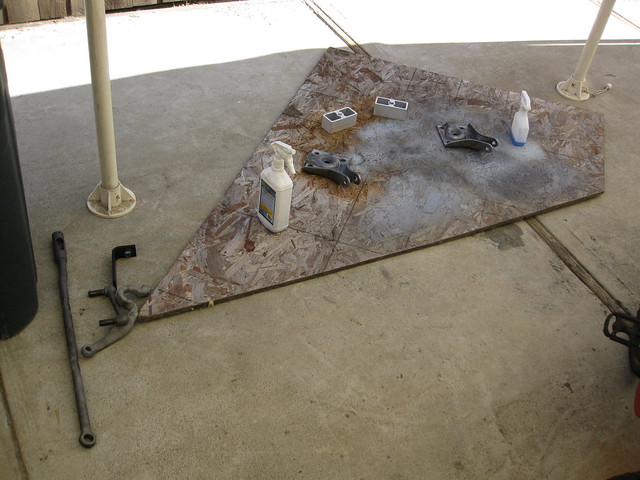
As for the front end, I finally started installing some of the freshly painted parts that were piling up in the garage. First picture is a typical example of my "paint booth."

001

006

007

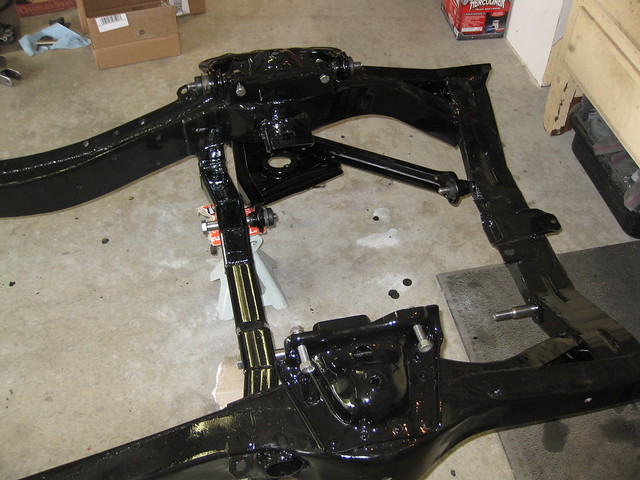
At that point, all of the hardware holding the front end together is factory original, extensively wire-brushed before reinstallation.  I guess that's another benefit of living away from oceans and snow.  Hardware doesn't get unusably rusty.  However, as you'll see later, I had to change a few things around.

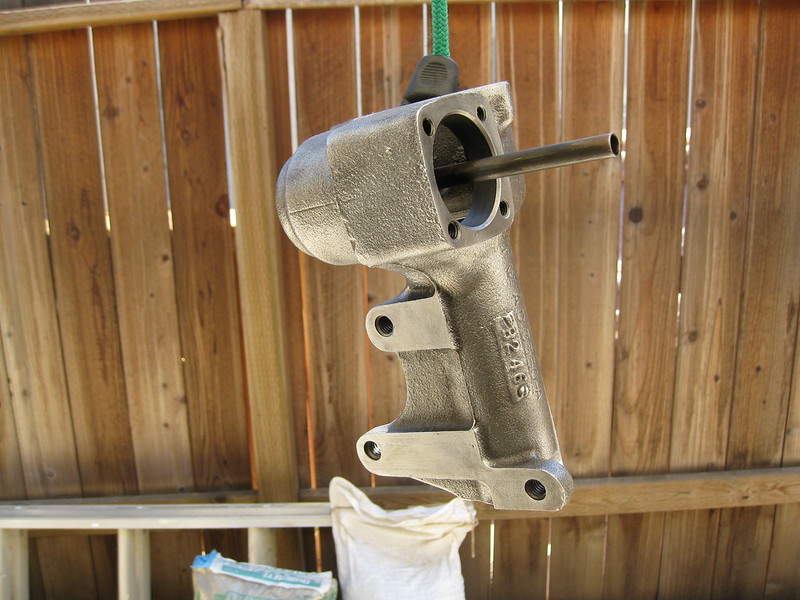
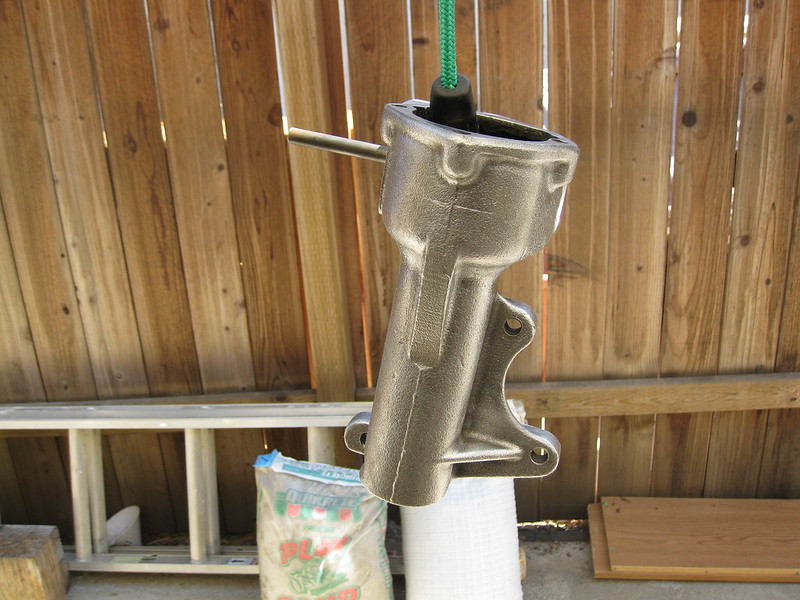
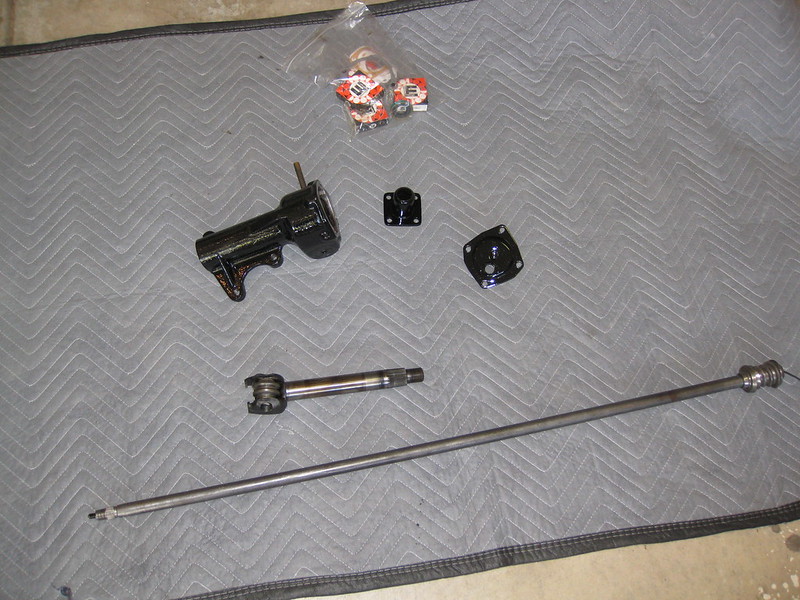
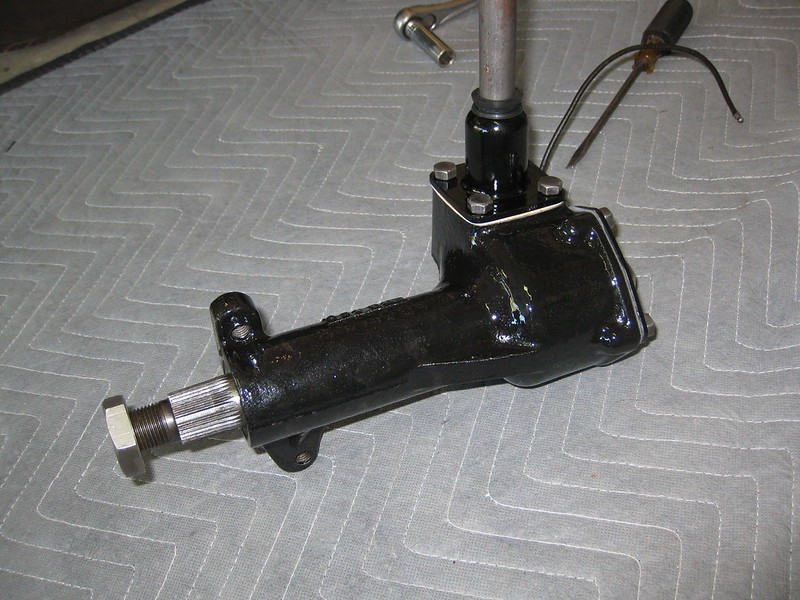
Finally, here's my steering box, which I disassembled and cleaned, and my dad pressed old bearings out of and new bearings into.  Almost too pretty to paint, right?  Well, I painted it.

010

011

012

014

Pretty excited about this little guy. I've driven this car for almost 20 years and it has never had good steering. Looking forward to feeling the difference.

Wednesday, July 30, 2014

Post 30: My summer so far (in pictures)

Buckingham Palace


Oxford


Westminster Abbey


Big Ben


Tower of London


London Bridge


British Museum


Mont-St. Michel


Bayeux
Bayeux Tapestry and Cathedral - 08

Arc de Triomphe
Paris - 027

Eiffel Tower
Paris - 043

Louvre
Paris - 116

Notre Dame
IMG_1494

St. Mere-Eglise
St Mere Eglise - 01

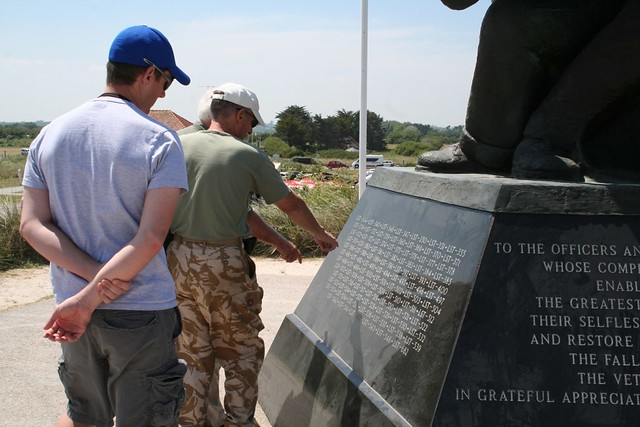
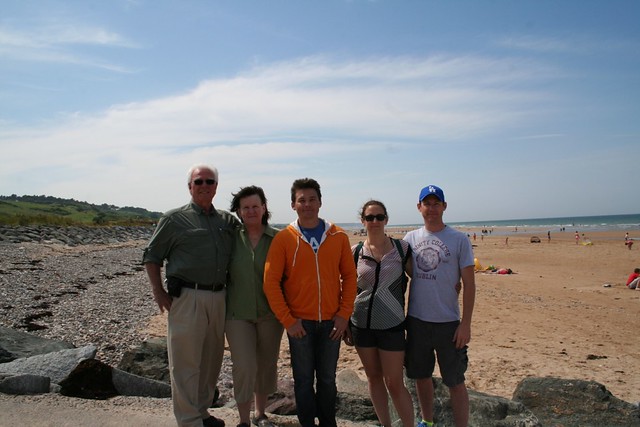
Normandy

Utah Beach - 38

Point du Hoc - 08

Utah Beach - 44

Omaha Beach - 16

American Cemetery - 04

American Cemetery - 16

American Cemetery - 19

And after two weeks in Europe, home again

003

033

001

031

032

001

002

004

005

001

003

004

006

007

008

009

011

016

018

019

So far, so good.