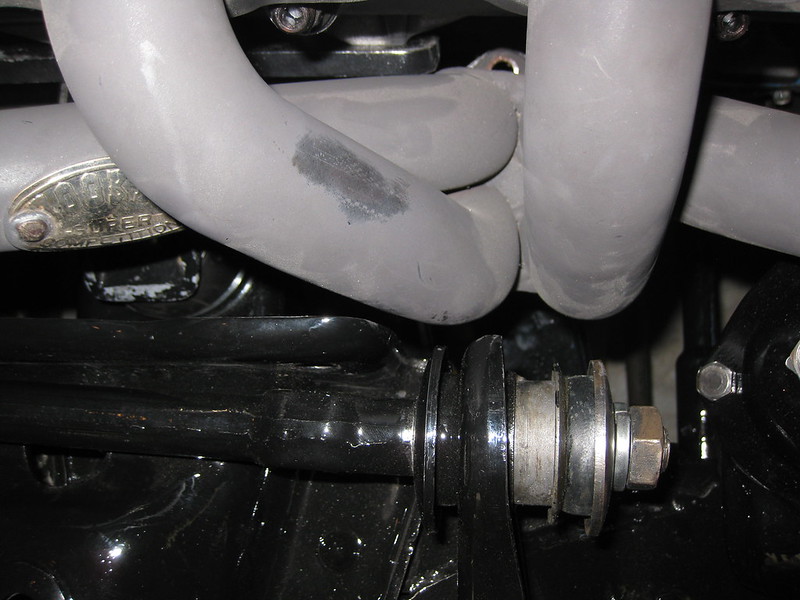
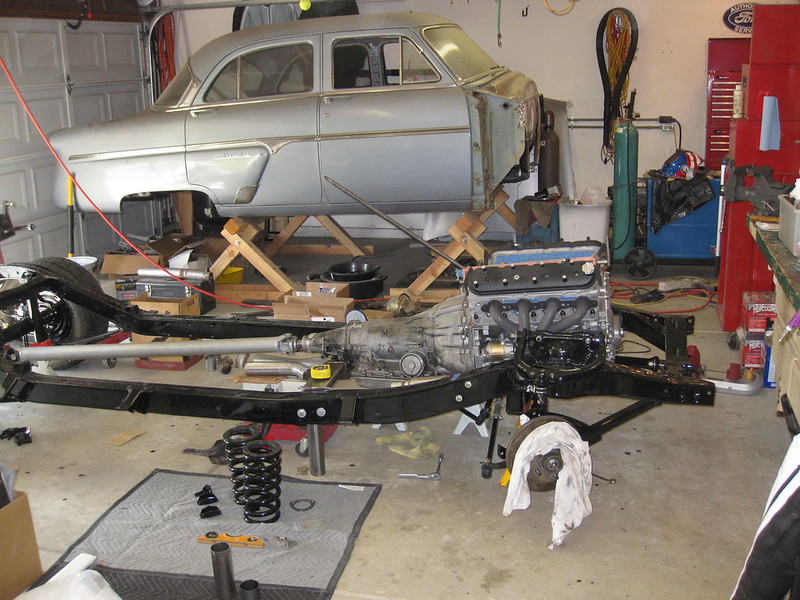
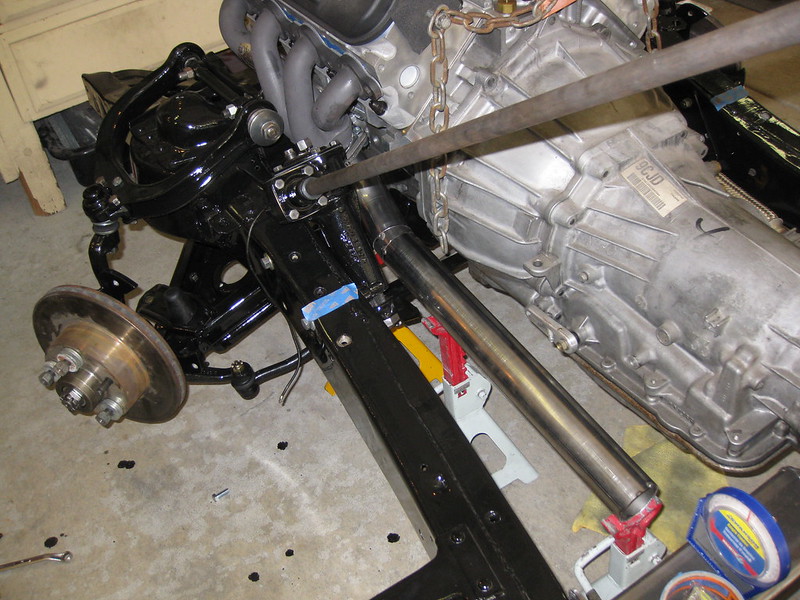
Moving the engine forward created two major issues: 1) the header collectors now dumped slightly on top of the engine crossmember instead of totally behind it, and 2) the primaries were hitting or nearly hitting the upper control arms and/or brackets.
I had more room on the driver side than the passenger. I don't know if it's always been this way - maybe the header primaries stick out from the heads farther on the right side. The main point of interference for the left side has always been the steering box, not the control arm.
Driver:
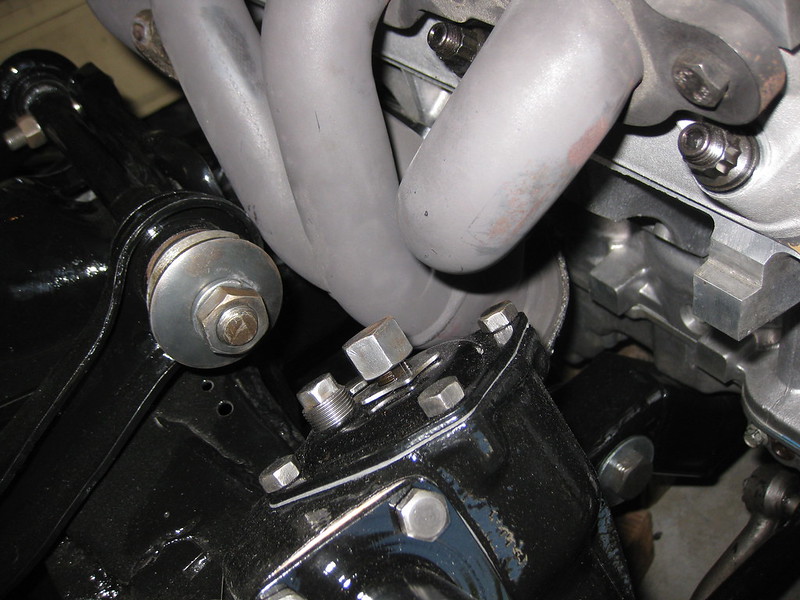
Passenger:
You can see that on the right, I couldn't even put the rearmost control arm bolt in. The header was too close - and that's AFTER moving it over 1/4"... What to do...
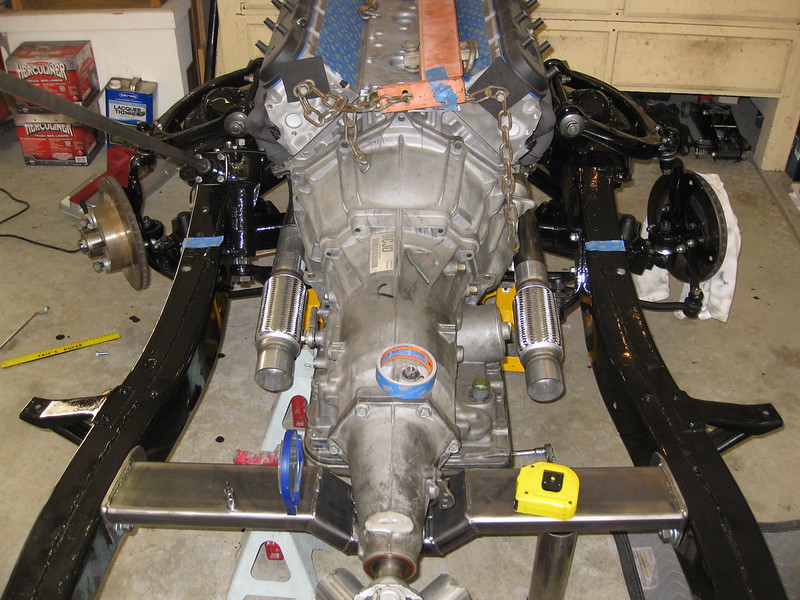
I didn't take any pictures of the crossmember interference, apparently. One thing I noticed is that the collector flange on the headers both kind of point forward, rather than straight down or kind of backward as one might expect. It seems that with engines typically being installed leaning back a few degrees, pointing the flange forward is a stupid thing to do. It forces the exhaust pipe to bend more than necessary to turn back toward the rear of the car. The way the flange is tilted in the picture below isn't an illusion - it's really the way it sits.
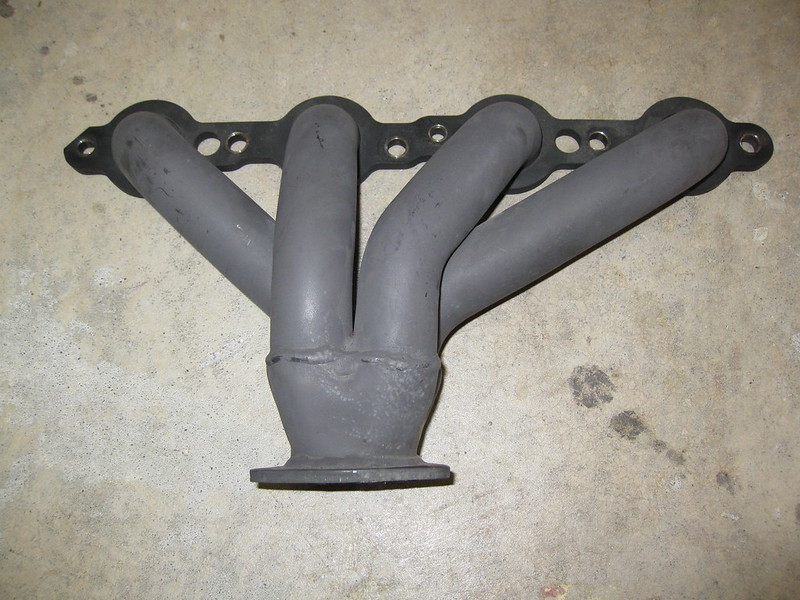
I decided I could kill two birds with one stone by cutting the flanges off both headers, plus about 1/4" or so of collector, then re-weld them on. This would position the flanges at a much better angle and also give me some more vertical space between the header and the crossmember. I vaguely remember considering this back in 2011 when I put the LS1 in the first time, but at that point I didn't want to mess up the header paint. Now that it's all scratched up anyway, it didn't bother me. I hope to get them ceramic coated in the near future, too.
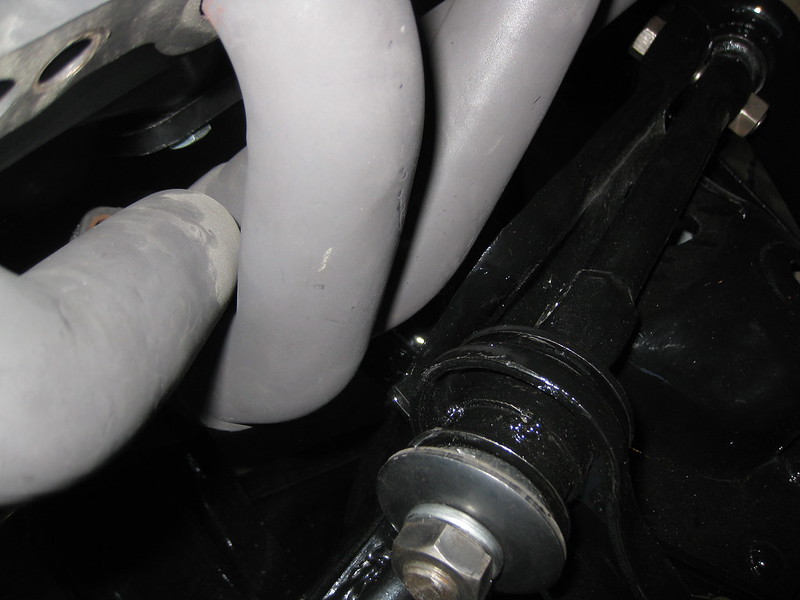
As far as the clearance between the primaries and the control arms, I came up with the idea of replacing the rear bolt with a flat cap screw, countersunk into the mounting plate. I thought I had a picture of that but I can't find it, so I'll take one and put it up later. It took a while to find a fine thread 1/2" cap screw, but Fastenal came through for me.
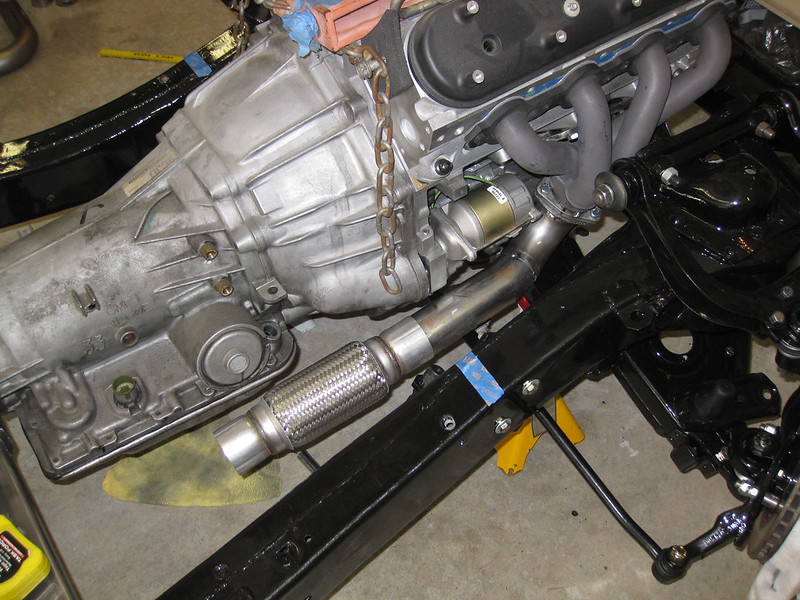
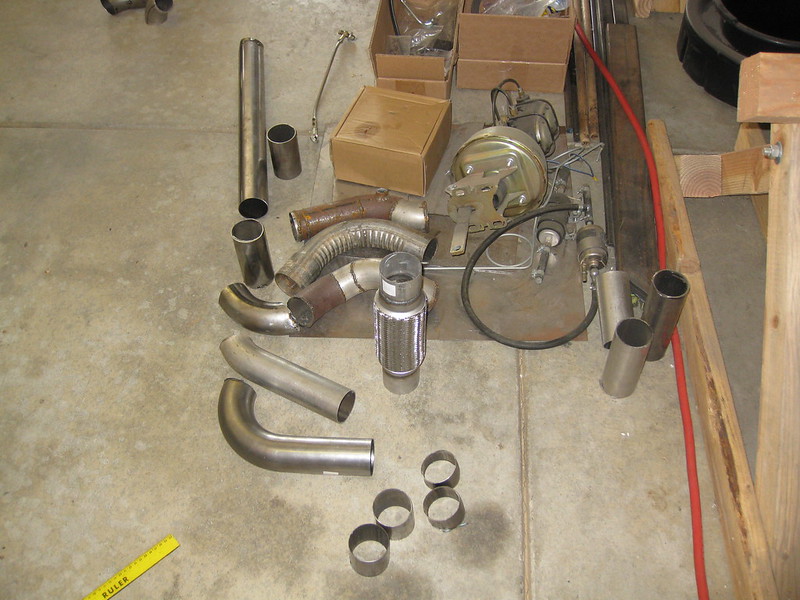
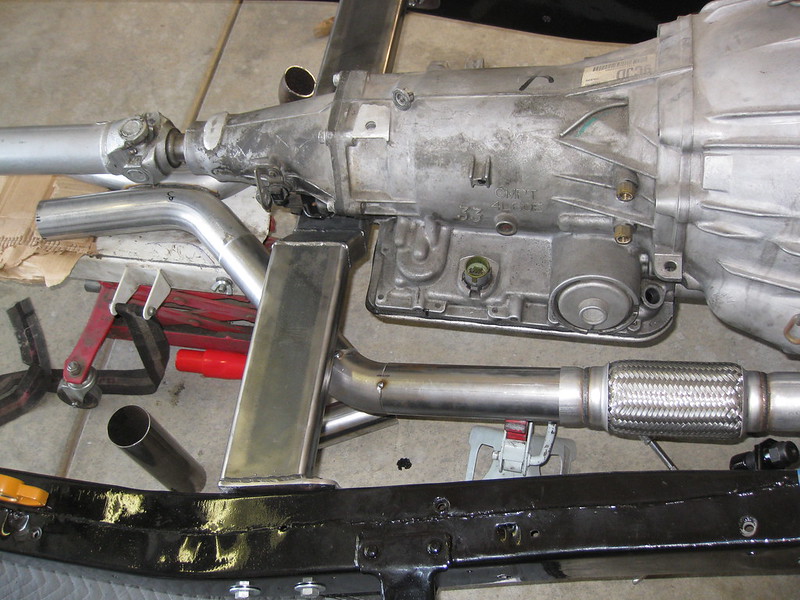
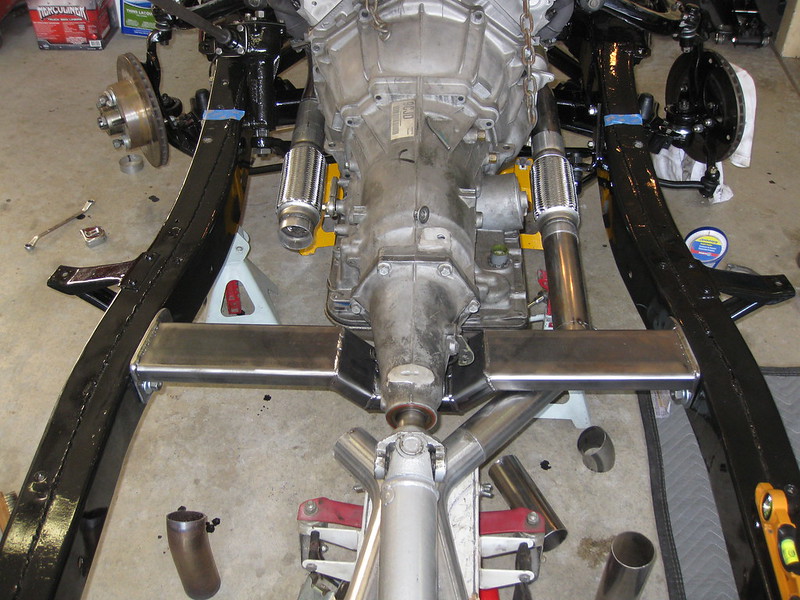
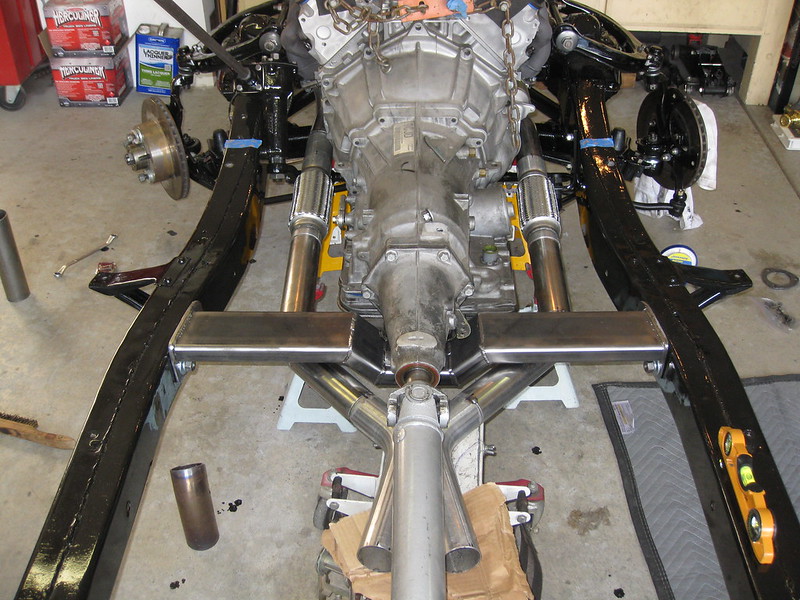
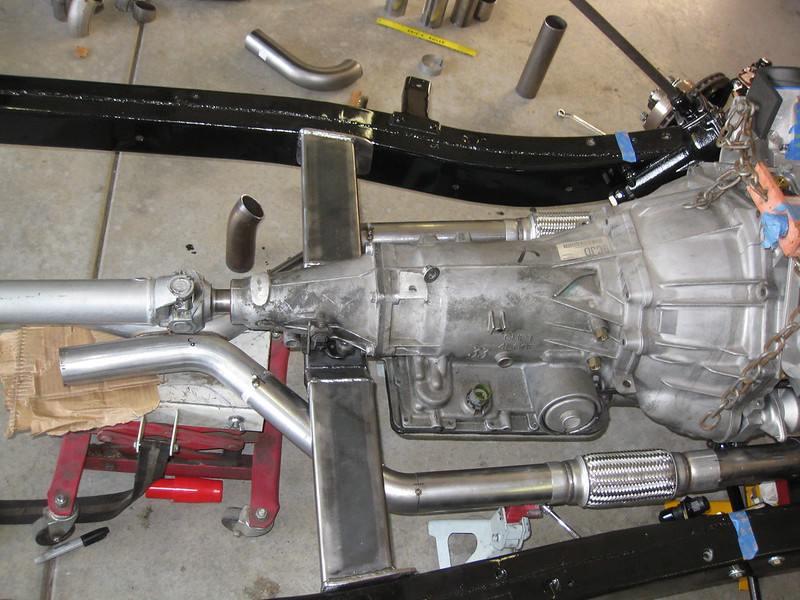
The rest of the pictures show the rest of the exhaust redo. I changed the down pipes slightly, then decided to add a pair of stainless flex pipes right after the exhaust leveled out. Not, as my buddy harassed me about, because I wanted to cheat with the angles and alignment of the exhaust (which I didn't - they're still flat and aligned - no cheating!), but because I'm paranoid about vibrations when the car is running and it seemed like a good idea. This was another thing I considered years ago but never pulled the trigger on. This time, it just worked out that I was a few inches short on the pipe length I needed to connect the x-pipe to the down pipes, and when I went to buy some pipe I saw the flex pieces and decided it was the right time to put those in. They're not welded yet but they will be. I want to use as few muffler clamps as possible on this system. Right now it's either going to be two or zero, I'm not quite sure yet.
The flex pipes look like they're different lengths, but they're really different heights here. I took this picture before everything was finalized.
Plenty of clearance between the pitman arm at full left turn and the exhaust. I'll be able to make U-turns again! Sweet!

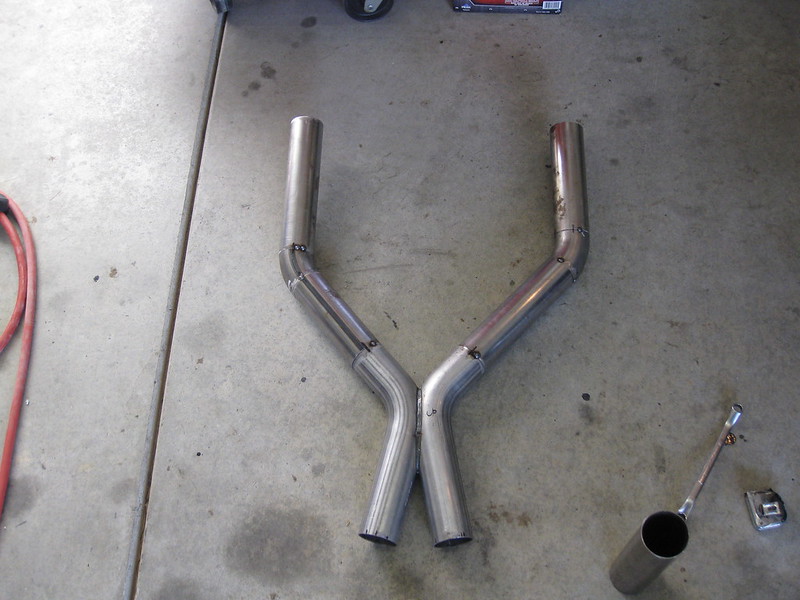
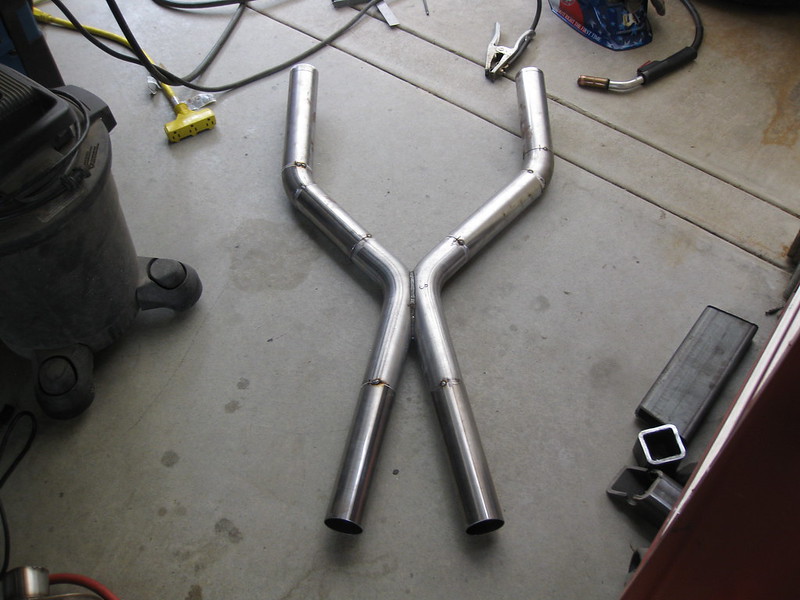
Finished x-pipe, new and improved over the x-pipe from a few months ago. I'm extremely happy with this result.
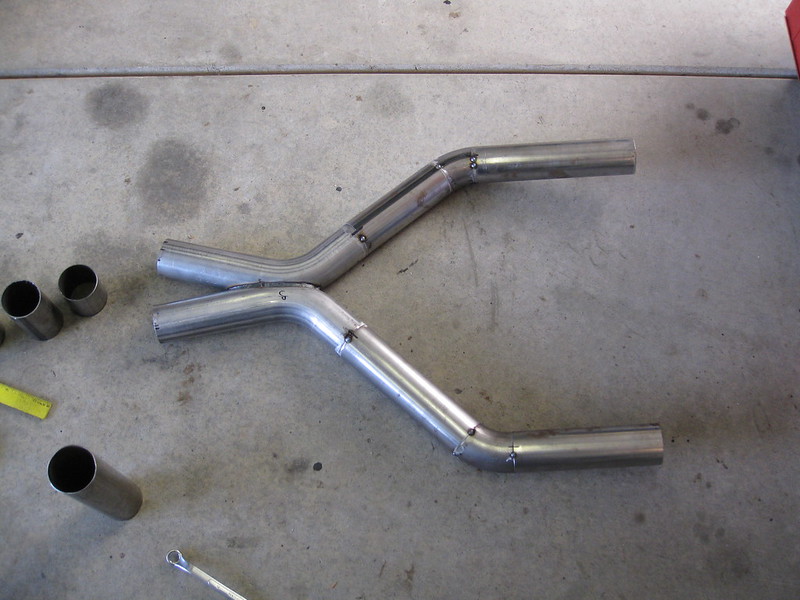
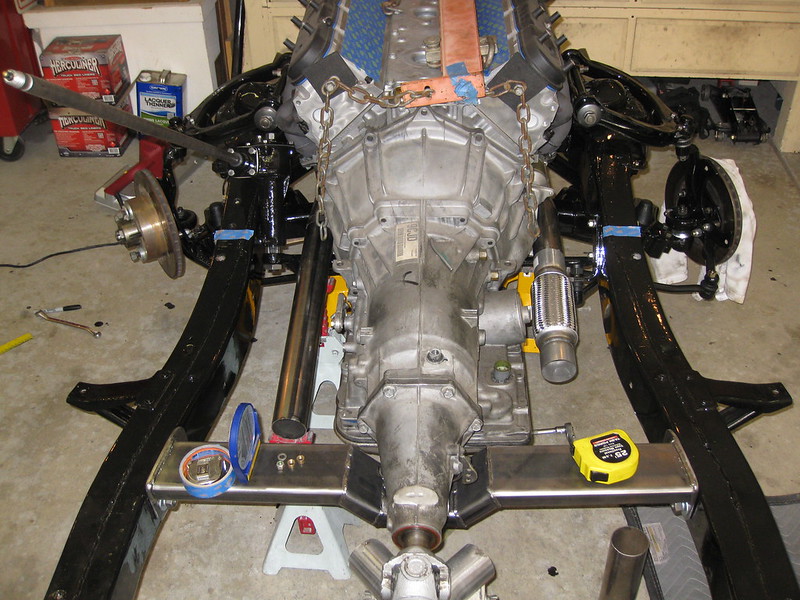
Extensions tacked on (after lots more measuring and leveling).
Well, that was sort of anticlimactic, wasn't it? I guess I didn't take any pictures of the rest of the exhaust. I will have to do that and put them up. Leave them wanting more, I always say.