Friday, February 26, 2016

Post 46: Results

Over the last few days I've finally managed to move to the primer/paint stage, at least for a tiny part of the garage.

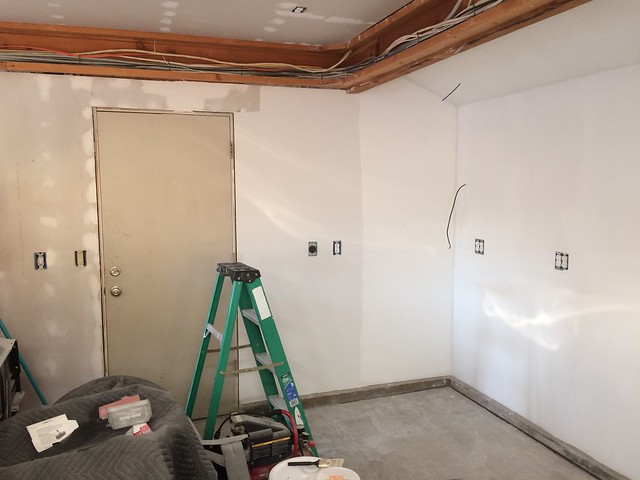
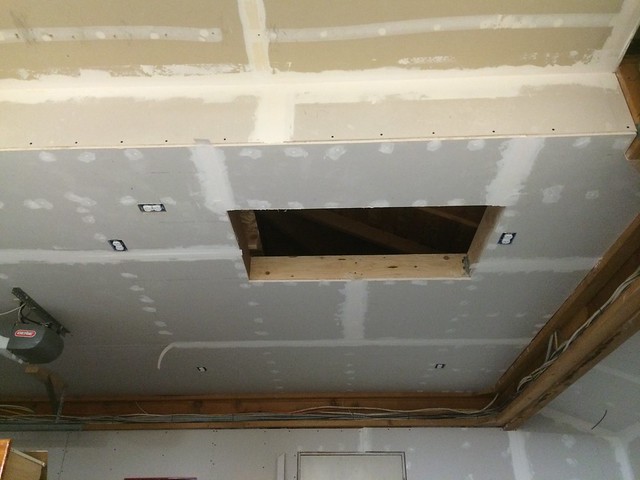
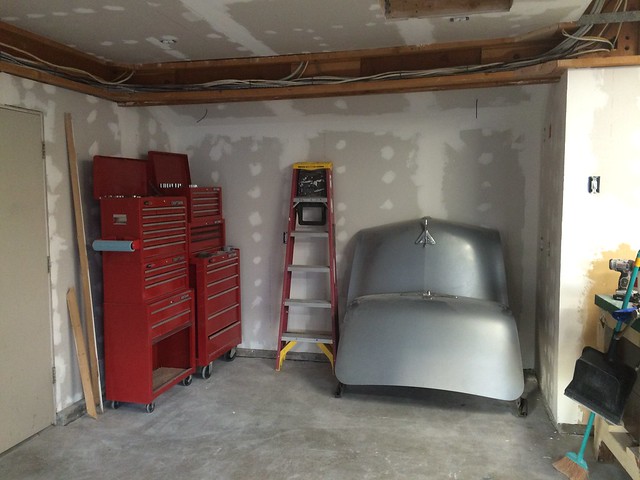
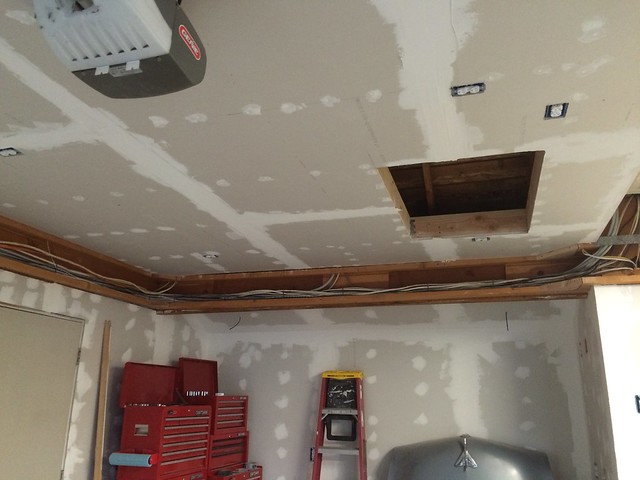
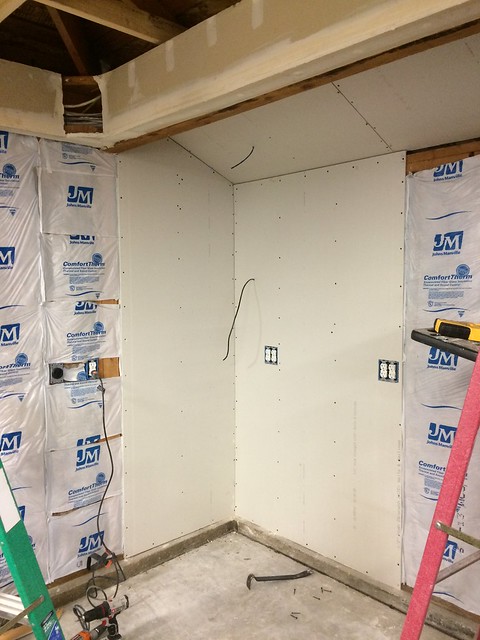
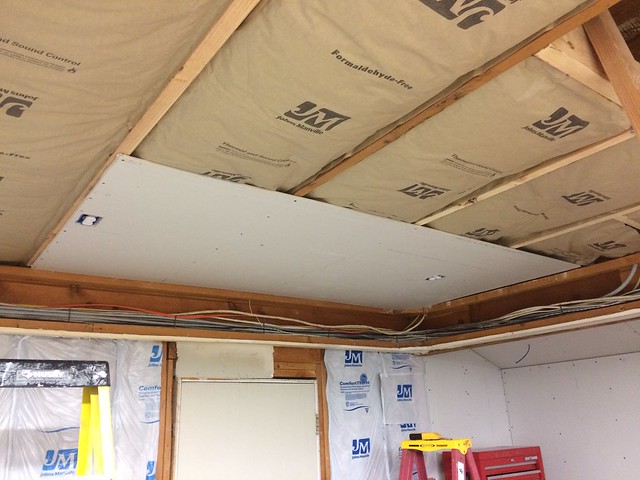
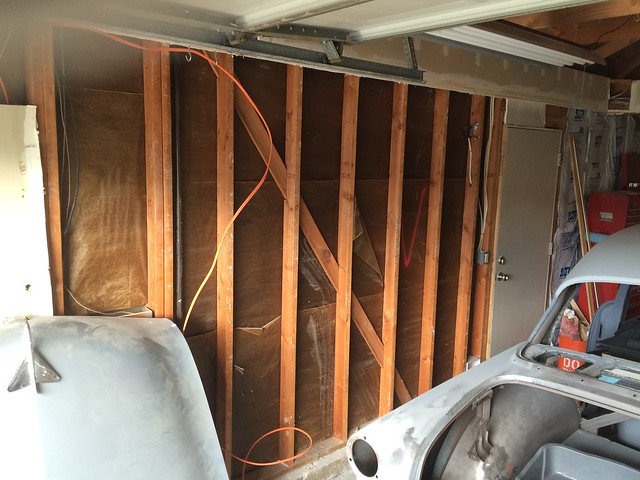
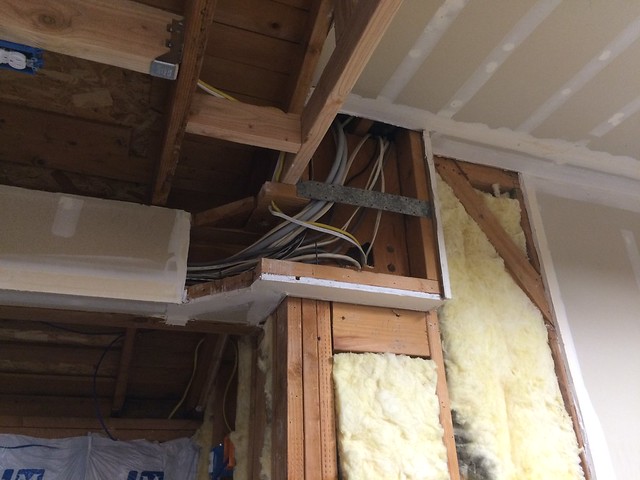
The 4th coat of mud ended up being good enough for me in the alcove at the back of the garage.  I sanded it down one last time and tried hard to ignore the few remaining blemishes as I swept, vacuumed, brushed, blew, and wiped dust off the walls before priming.  I don't think I'll try as hard on the rest of the walls, though.  I figure I'm way more likely to spend time standing still at the workbench back in that corner than anywhere else in the garage, so that's probably where I'd notice the most defects in my work.  That, and the fact that finishing sheetrock is thankless, shitty work that I'd like to be done with as soon as possible.

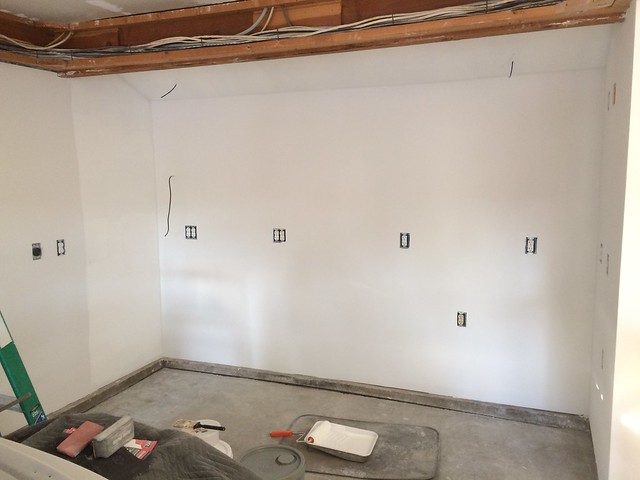
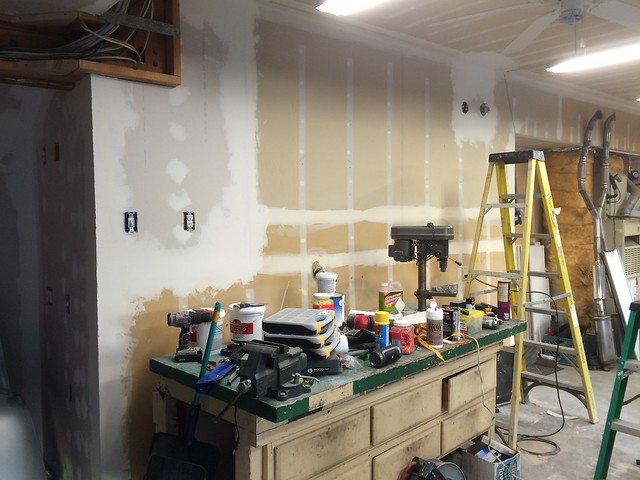
I used Valspar primer from Lowes to prime the walls.  It has surprisingly good reviews on their website, which I didn't read until after I got home and was second-guessing my purchase.  The Valspar is the cheapest primer they sell - cheaper than Kilz and especially the Bulls-eye brand - and I bought it to save money but was concerned that I'd be in for more work or a worse result.  But the reviews made me feel better, and sure enough, that stuff is great.  It rolls out nicely and covered every single thing on those walls in one coat.  I highly recommend it.

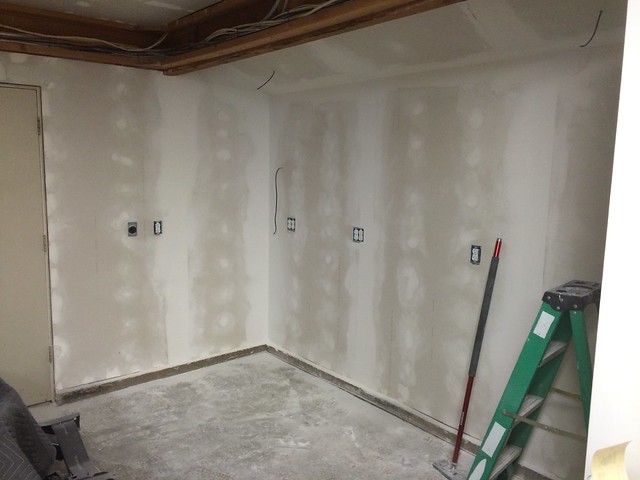
I'm not as pleased with the paint so far.  I spent a lot of time at Home Depot looking at the 5-gal buckets of the "contractor" grade paint - the stuff used for spraying the inside of apartments and tract homes, I guess - trying not just to perform a decent cost-benefit analysis so much as trying to talk myself out of buying the most expensive paint because, again, this is a freaking garage, man.  I ultimately picked Glidden 440-something-something, which was not expensive but still a couple of steps up from the crappiest choice.  I painted one coat over the primer and it just didn't cover very well, in my opinion.  Maybe I was just spoiled by the primer working so well, I dunno.  I was already prepared to do at least two coats, so I guess it's not that big of a deal, but I'm left wondering what the Valspar equivalent paint at Lowes would have been like.

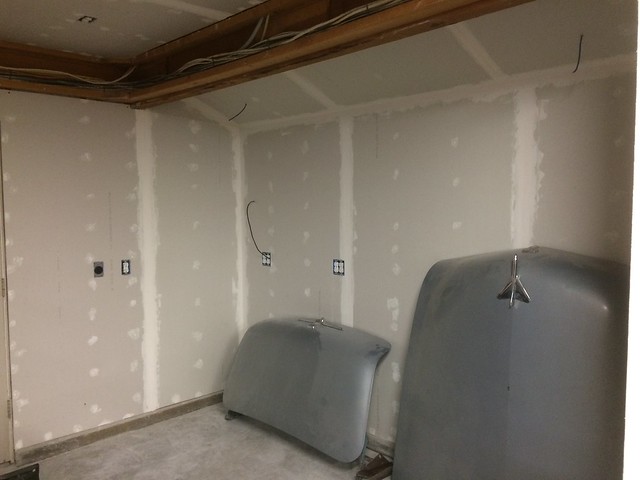
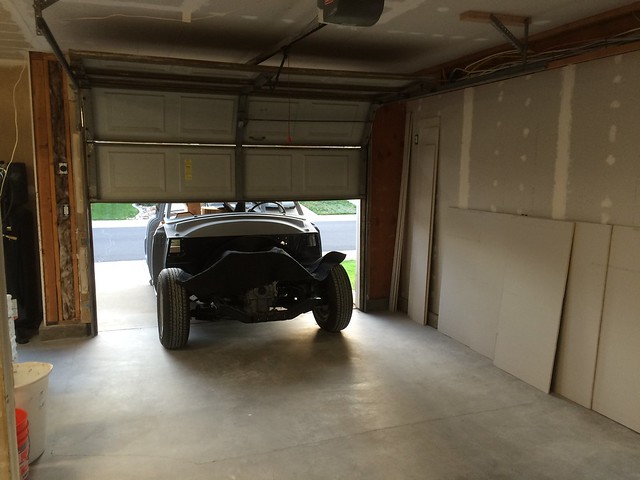
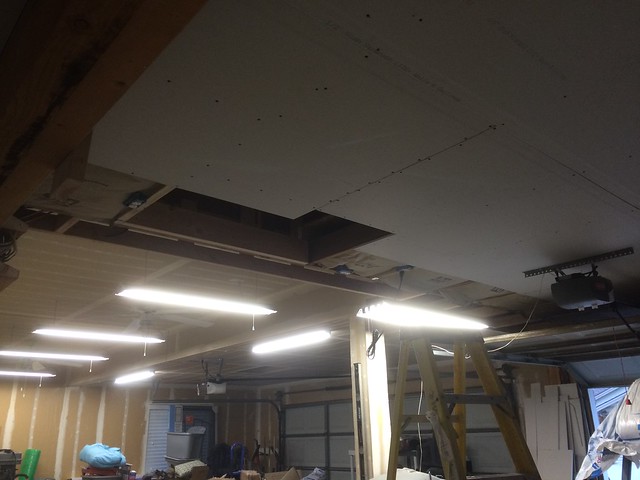
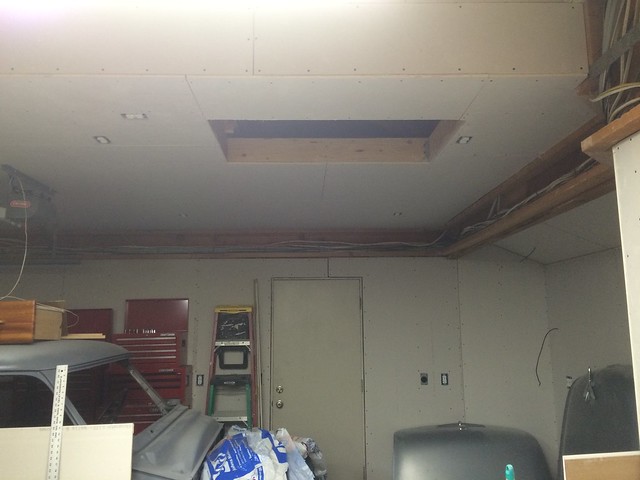
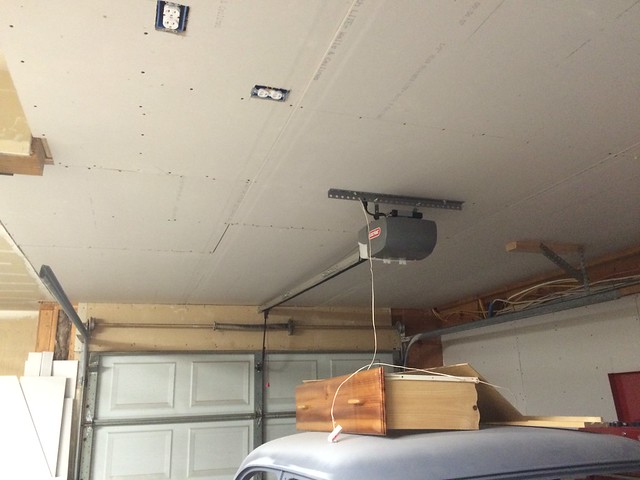
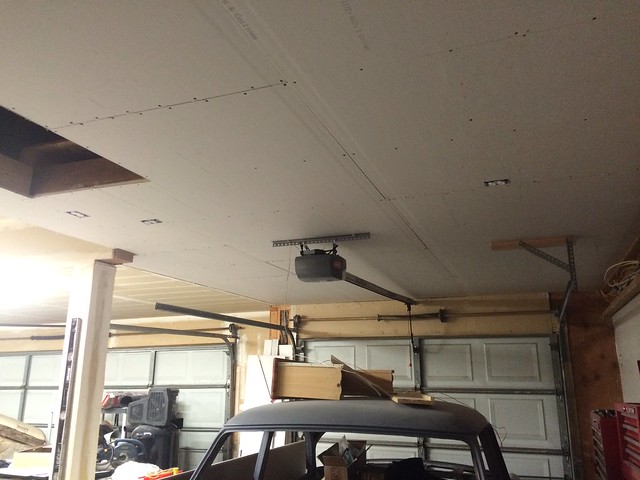
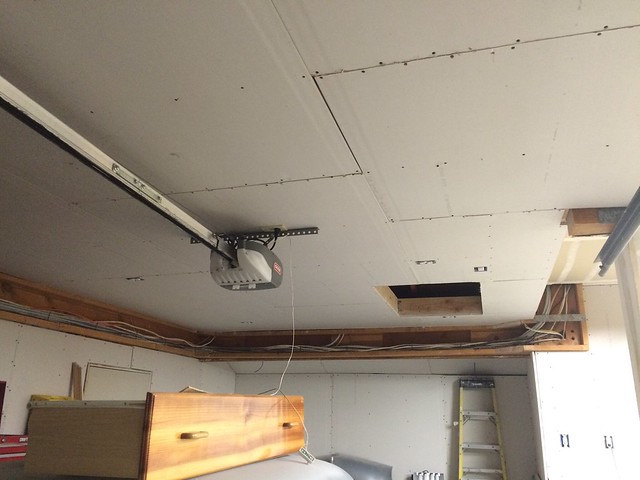
Oh well.  It's coming along, anyway.  I'm starting to feel like I'm finishing something, which will hopefully motivate me to keep going with the mudding, sanding, etc.  There's a lot of that left to do. And now, pictures...

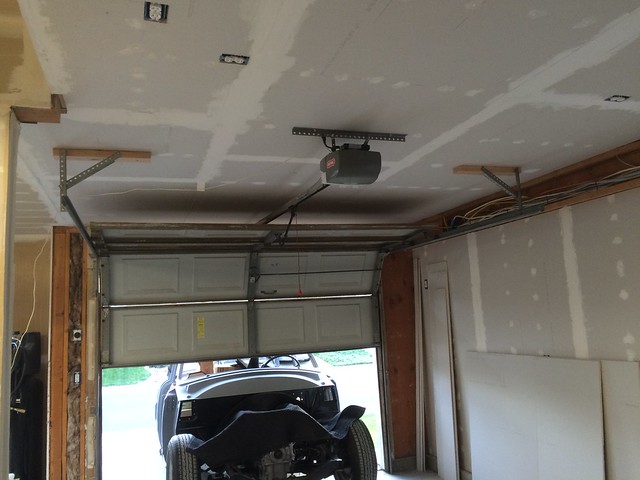
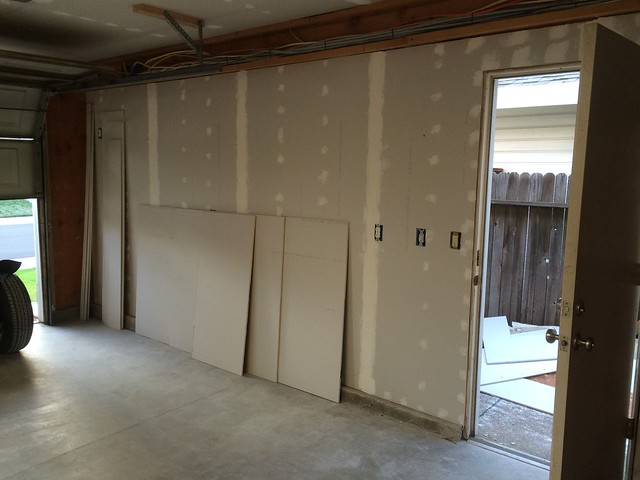
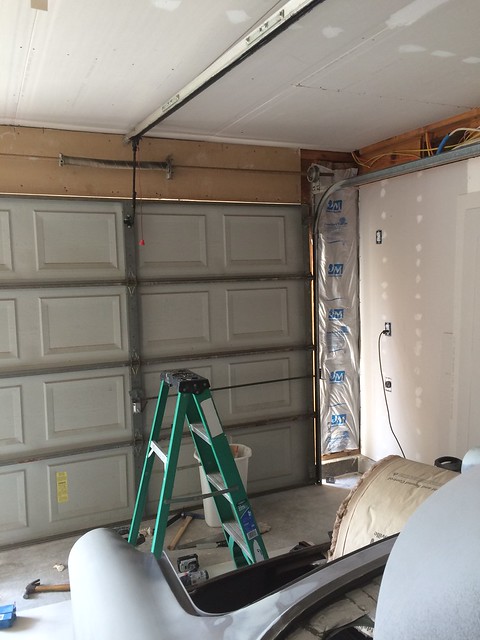
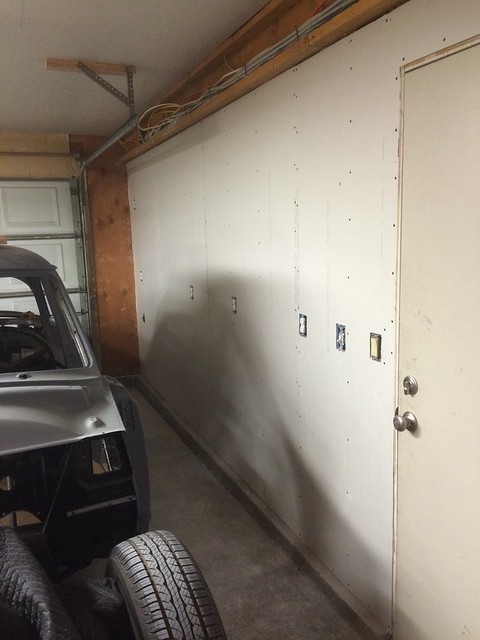
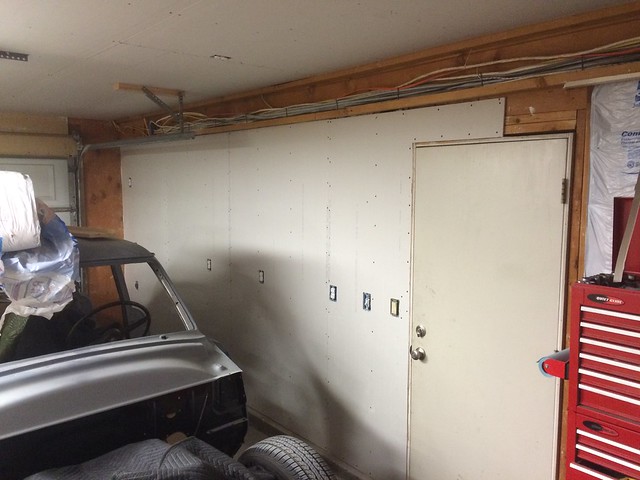
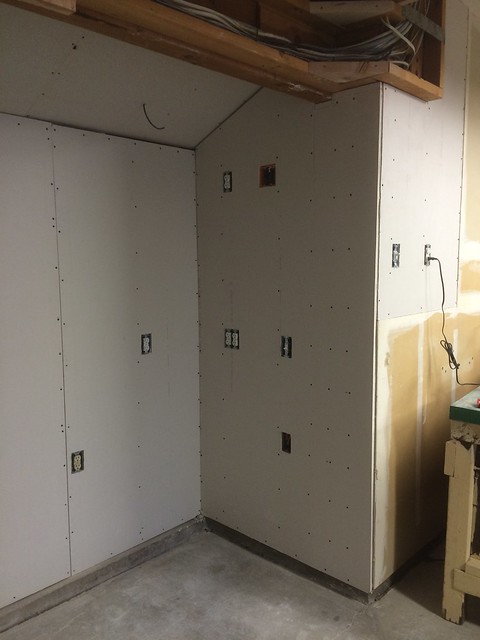
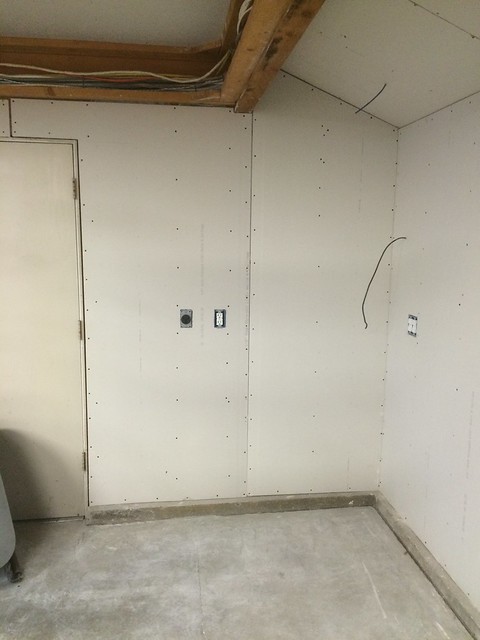
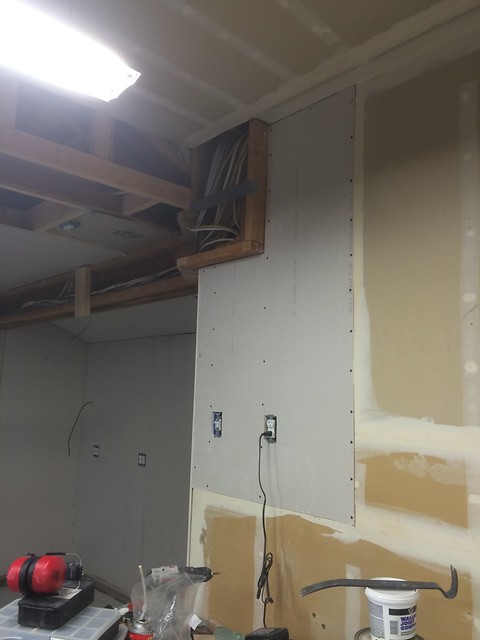
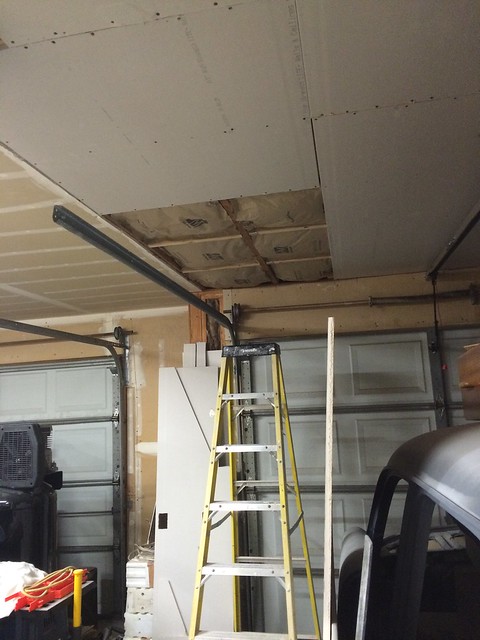
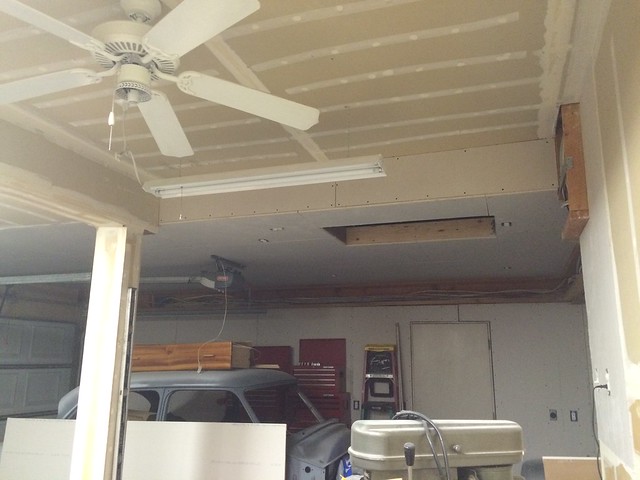
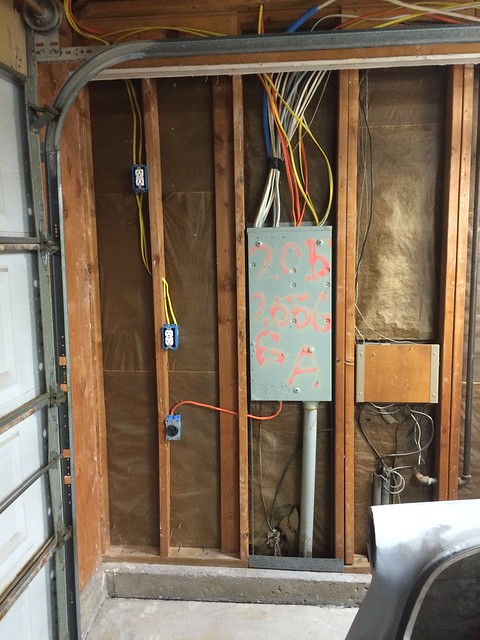
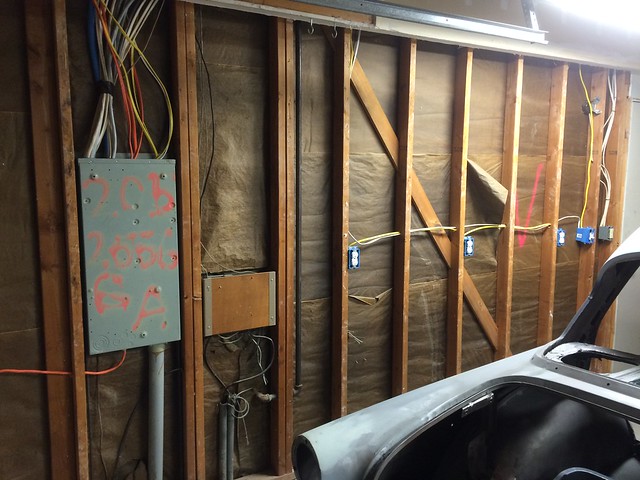
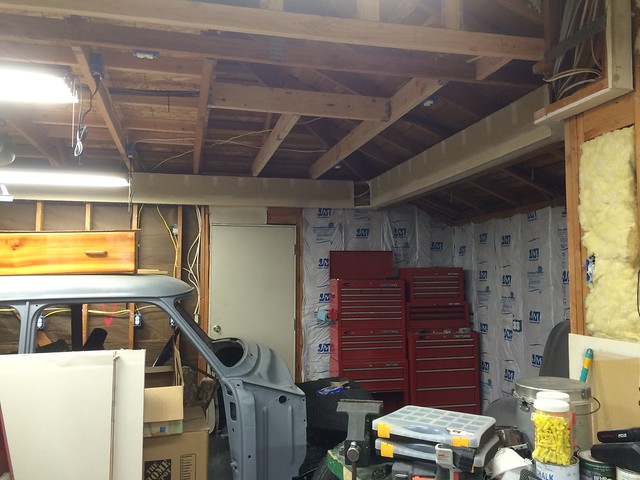
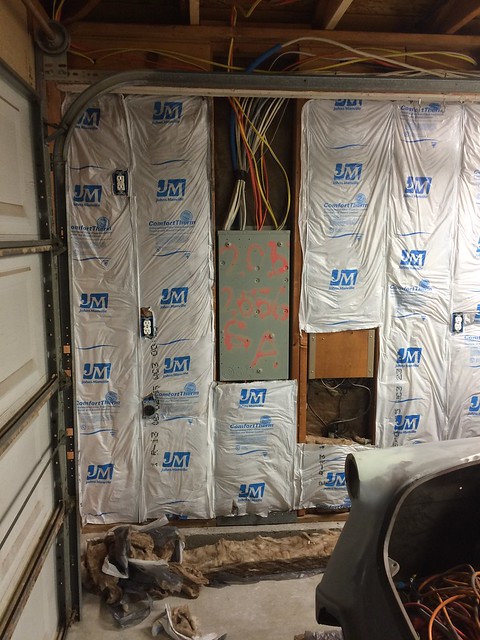
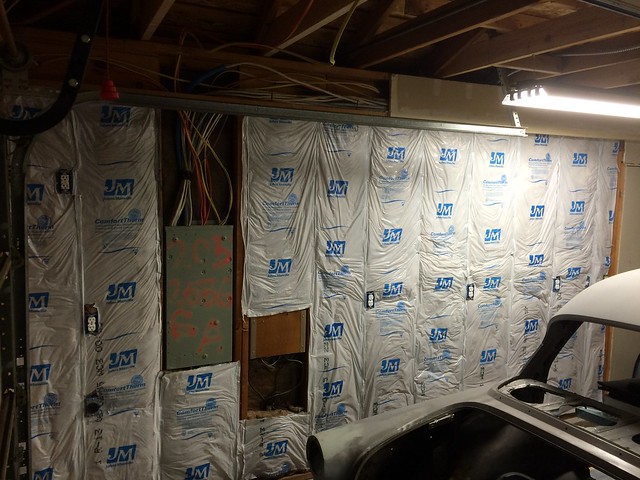
In the first two you can really see the difference between the paint and primer on the outside (left) wall. The primer looked pretty white to me when I rolled it on, but it's actually a light gray. I just didn't notice until I rolled the white paint. After I took the pictures I cut in all the edges, but ran out of time and energy to roll a second coat on.

Untitled

Untitled

Untitled

Monday, February 22, 2016

Post 45: Forget what I said last time

I totally hate finishing drywall.

I'm on coat 4 of mud in the alcove.  I think this will do it.  I probably could have gotten by with 3, but a few stupid, unreasonable factors keep me going in an effort to get the walls perfect.  One, my perfectionist nature.  Two, procrastination.  I don't want to do the ceiling, so I keep working on the walls.  Three, other perfectionist-procrastinators who go one step beyond a personal blog and post their similar projects on garage forums.  I go there looking for opinions on paint sheen, and end up working myself into a knot over twisted studs (that I can't fix), wavy 1/2" drywall panels (that aren't 5/8" because I can't afford or lift those), perfect seams and skim coats of mud in order to fix the aforementioned issues (that I don't have because I'm not a professional finisher), and whether semi-gloss would be too bright, too reflective, or simply show too many of the defects in the panels (that is a stupid thing to worry about because paint is cheap and if I don't like the first sheen I can easily paint over it with something else).

You don't have to say it.  I know that this is a garage.  I know that it's pretty much only going to be me out there, and it'll only ever be me who notices imperfect joints or pinholes in the mud.  I know that ultimately, most of the walls will be covered up with cabinets, tools, shelves, and other stuff.  I get all of that.  I guess it's just like the Ford - I want to do the best job I can while I'm up to my neck in it, and never have to do it again.

I get that I'll have to pull the trigger and paint the walls sometime.  I've almost convinced myself that 4 coats of mud will be enough.

Untitled

Tuesday, February 16, 2016

Post 44: Slingin' mud

Over the last two weekends, I've finished hanging all of the sheetrock in the garage, taped almost all of the seams, and have at least two coats of mud over the taped joints.  I haven't ever done this kind of work before and it took a while to get the hang of it.  It's not unlike auto bodywork, what with the spreading of filler and sanding with finer and finer paper and all, and though it's similarly frustrating, tiring, and difficult, it also offers fairly instant visual gratification as it progresses.  The bottom line is that I don't totally hate it, but I'm looking forward to it being done.

Untitled

Untitled

Untitled

Untitled

Untitled

Untitled

Untitled

Untitled

Untitled

Untitled

Untitled

Untitled

Untitled

Photographically, we're caught up to two days ago. I got a lot more done yesterday but forgot to take pictures. I'll post them up tomorrow.

Tuesday, February 2, 2016

Post 43: Now, with 100% more ceiling!

First, I want to congratulate myself because it's only February 2nd and I've already posted more times in 2016 than 2015.

Next, I realize I'm painting myself into a corner with today's post, as it catches me up to the present day and leaves me with nothing to post about tomorrow, but I'll make do.  I guess that just means I'll have to get something accomplished after work tonight.  Or maybe post something about the Ford.

Here's a photo-progression of the remaining insulation and sheetrock installation in the 3rd car garage stall:

Untitled

Untitled

Untitled

Untitled

Untitled

Untitled

Untitled

Untitled

Untitled

Untitled

Untitled

Untitled

Untitled

Untitled

Untitled

Untitled

Untitled

Untitled

Untitled

Untitled

Untitled

Untitled

Untitled

Untitled

Bonus points if you spotted the rarely-seen "Dad" in the pictures above.

So, yeah, that's pretty much what it looks like today. We had to drop the garage door opener and tracks down to do the sheetrock underneath, and it's a good thing we did. Everything always looked kinda crooked to me from below and it turns out that it's because they were all completely messed up. I'm not sure how the door ever opened and shut correctly, considering that the rails and opener track were basically laid out as a parallelogram instead of a rectangle. Anyway, we fixed everything and it works fine. I had to pull down the inside track again the other day to finish the ceiling and I haven't reinstalled the supports yet, but that will be easy. Now I guess it's on to taping and mudding...

Monday, February 1, 2016

Post 42: Demo, stage 2

The insulating and wiring of the 3rd car garage alcove went so smoothly and cheaply that I decided to continue the process for the rest of the garage.  I wasn't sure when I would be able to make it to the other side, but at this point I knew I could and should work on the remainder of the 3rd car stall while I was already ankle-deep in it.

I started moving down the outside wall. My dad and I added another 20A 110V circuit and moved the 220V out from under the panel to the next bay over, so it could be a little higher off the ground and closer to the big door where I'd need it most.

Untitled

Untitled

Untitled

Untitled

Here's where the third 220V receptacle was placed. My air compressor will be bolted to the ground in that corner between the garage doors.

Untitled

I had been wrestling with the concept of insulating the ceiling or attic for a while. I wanted to do one or the other because only doing the walls would help with sound deadening but not do a whole lot for heat, and a more comfortable garage temperature was my primary motivation for doing this work at all. I just couldn't decide whether to insulate way up high under the hip roof - and leave the space under the roof open to the garage below - or close off the space and simply insulate the horizontal ceiling. There were pros and cons for both, but I ultimately decided to frame a ceiling that matched the height of the 2-car garage, sheetrock it, and insulate with at least R-19 behind it. So, this picture is the first one I took after making the call and starting to frame.

Untitled

I know this post is nominally about demo, but I'm on a roll and have 15 minutes left on my lunch break. I think I'll keep going with the story for a bit.

The ceiling in the entire garage is mostly one height, with the part under the upstairs bedroom being about a foot higher than the rest. Thankfully, the existing truss and three joists across the open hip roof space were hung with the bottom edges at about the same height as the neighboring finished ceiling. I started framing the ceiling in the front of the garage, leaving a space for attic access. I also wired up (with Dad's help) a few more switched plugs and changed the arrangement to a 3-way switch, with one on the wall near the middle of the garage and one by the back door in case I wanted to hit the lights if I was coming in from the side yard. Some days I focused on framing, others I did some insulating on the outside wall.

Untitled

Untitled

Untitled

Untitled

Untitled

Untitled

Untitled

And finally, when the ceiling was pretty much framed and I was ready to start sheetrocking the walls, I ran the all-important speaker wires from where my receiver and TV will sit to the four corners of the garage. Plus a pull cable in case I want to expand the setup to the far side of the garage one day.

Untitled