Monday, March 31, 2014

Post 23: Wasted weekend

I have the flu.

Let me muse about that for a minute, if you don't mind.

Used to be, I'd get the flu and it was no big deal.  Miss a few days of school when I was a kid, a few days of work after that, play video games, watch movies, no big deal.  As long as I had DayQuil and Kleenex around I was fine.

Now I'm 35, which I know is not "old."  But it's old enough that I realize I'm not young anymore.  Case in point: I got the flu in December 2012 and I thought I was going to die.  It's not the coughing or congestion that wrecked me back then, it was my body's total inability to regulate temperature, combined with debilitating aches.  I literally spent about a week in bed, alternately sweating and shivering uncontrollably while my knees and hips and ankles throbbed in pain.

Now, on the bright side, I haven't been sick since then.  I think there was a stretch of time when I got sick a few times a year because I wasn't very active.  These days I spend a few days a week playing softball with my friends and baseball with my son, I walk around a lot on my breaks at work, and I am always out in the garage - not necessarily working up a sweat, but definitely moving around outdoors and staying active.

But all good things come to an end, right?  For me, the beginning of the end started when my son got sick two weekends ago.  Then my daughter and I started feeling lousy mid-week.  The other weird thing about getting sick at this point in my life is that I can't always stay home in bed.  This week, it wasn't that I didn't have the leave time available to me.  It was that I actually had responsibilities at work that I couldn't delegate or blow off.  I sucked it up on Thursday and Friday and went to work because I had things to do, and it went okay.  But it was just postponing the inevitable.

I had a 3-day weekend (Why, you ask?  CA State employees enjoy more holidays than pretty much anyone else).  Today is day 3, it's sunny outside, the wife and kids are at work and school, and I'm sitting on the couch typing instead of going outside to work on the Ford.  I spent the last two days sweating and shivering again while my joints protest against every movement I make.  This morning I woke my wife up because I was shaking the bed so hard.  I'm miserable, and I wasted the whole weekend.

Getting old sucks.


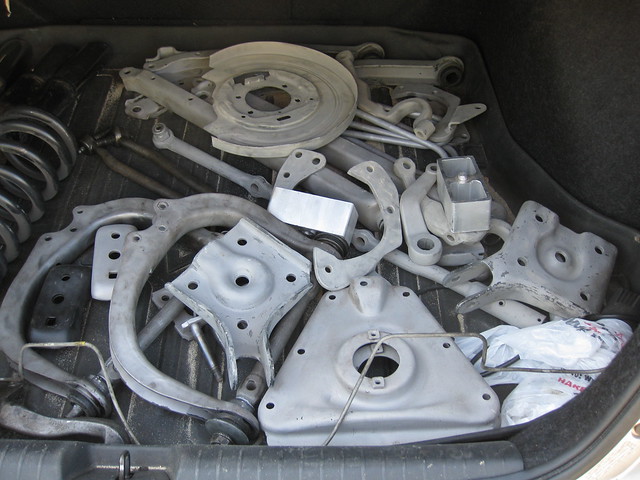
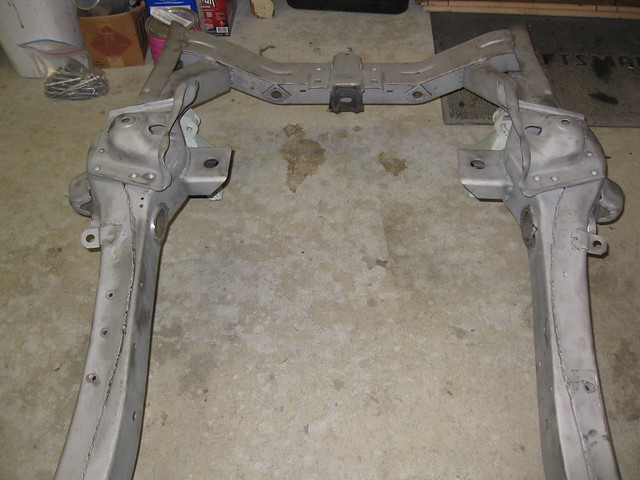
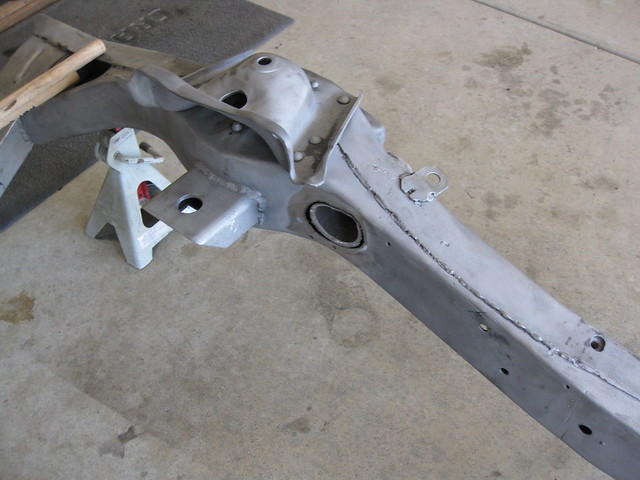
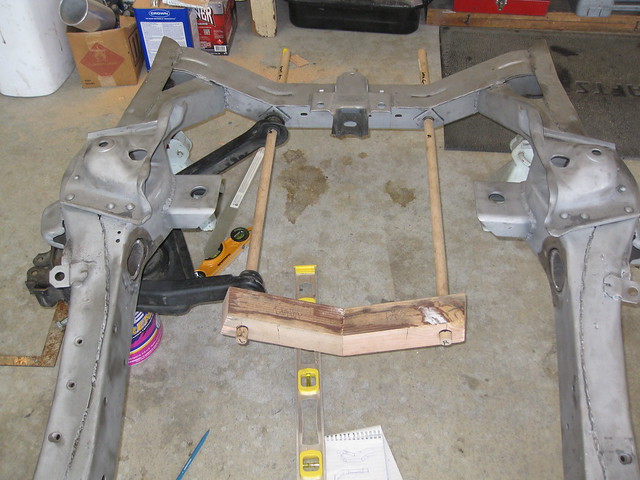
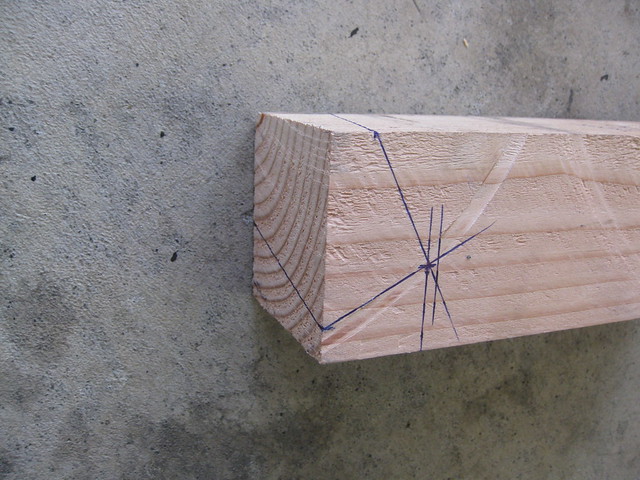
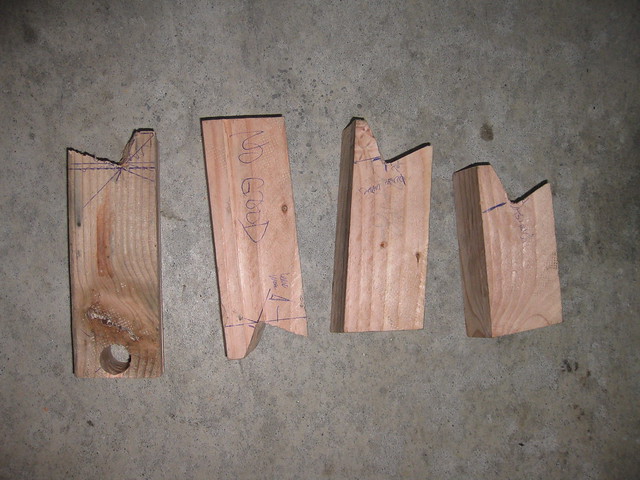
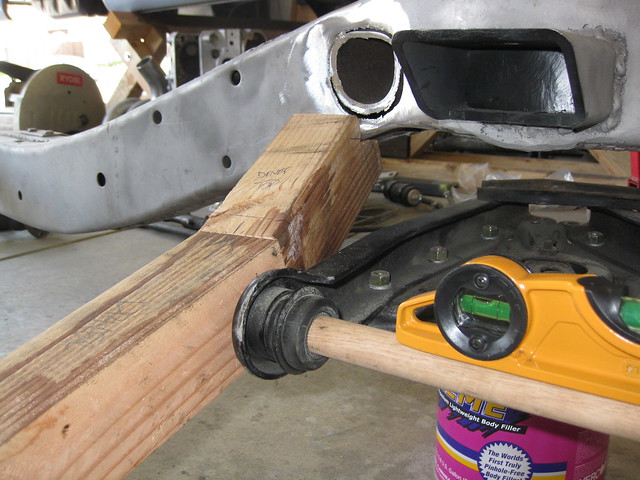
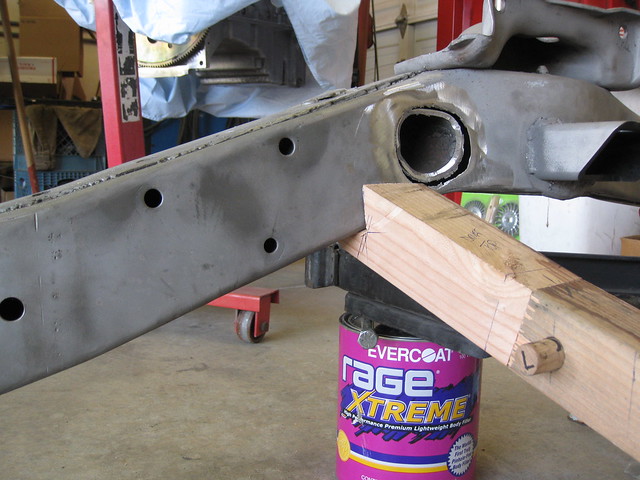
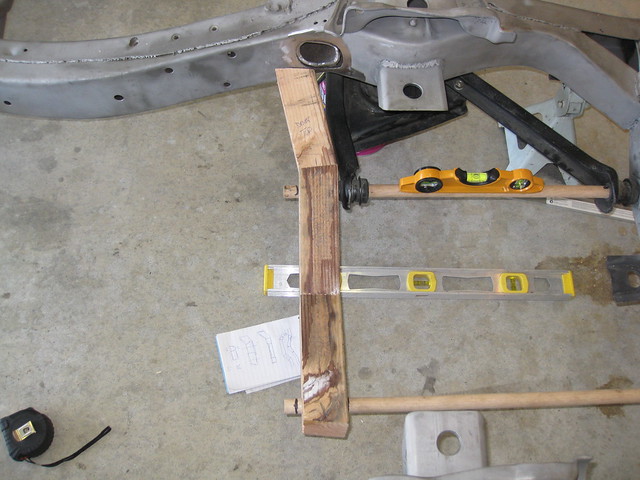
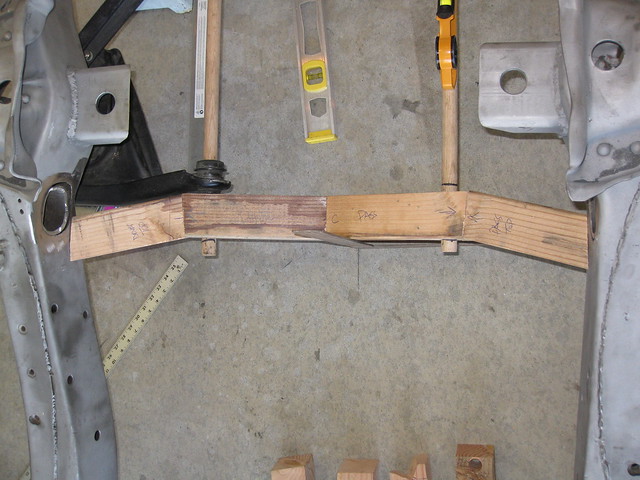
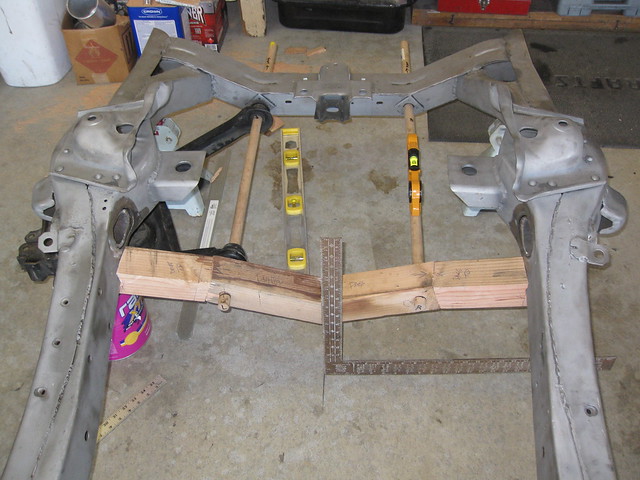
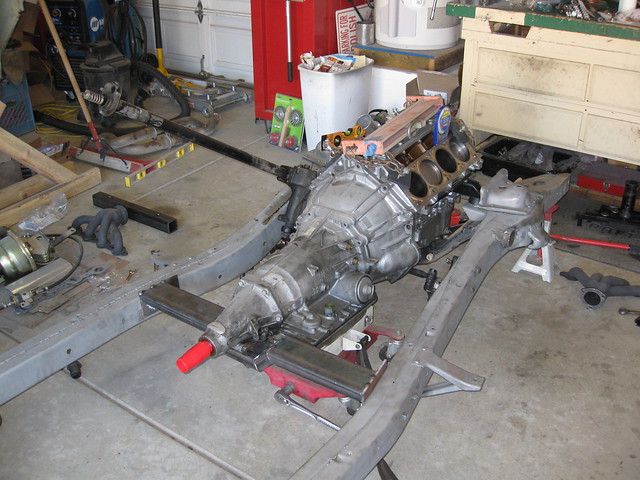
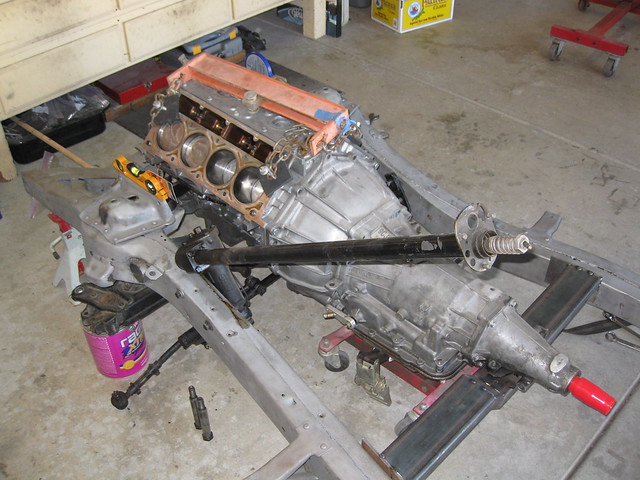
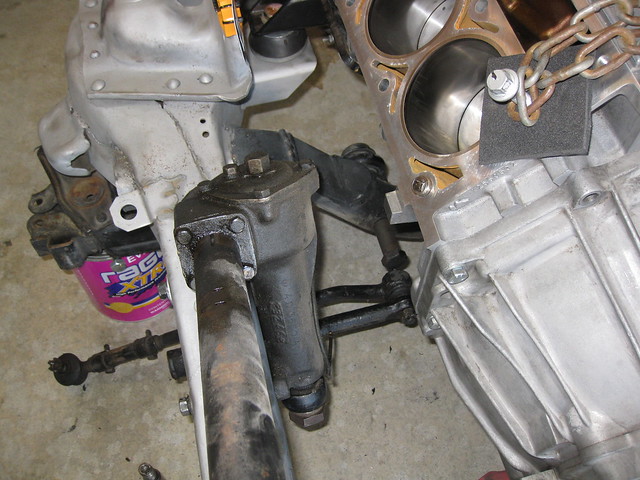
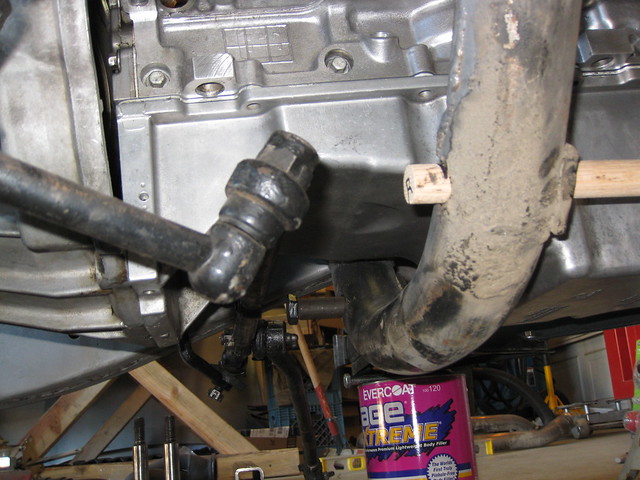
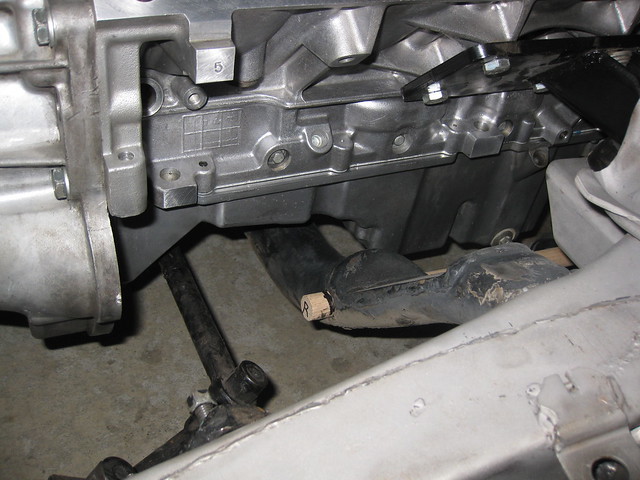
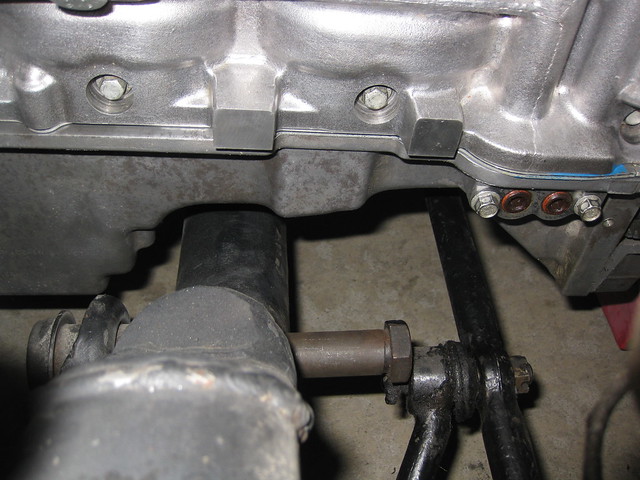
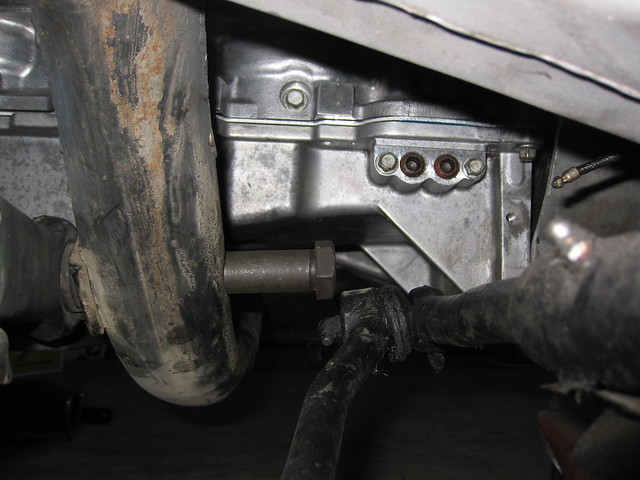
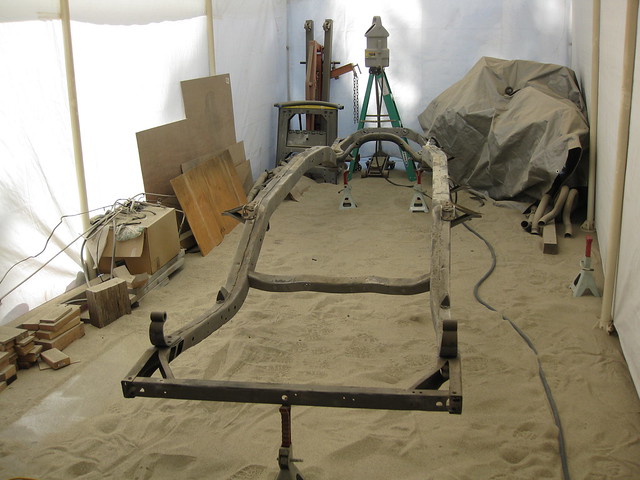
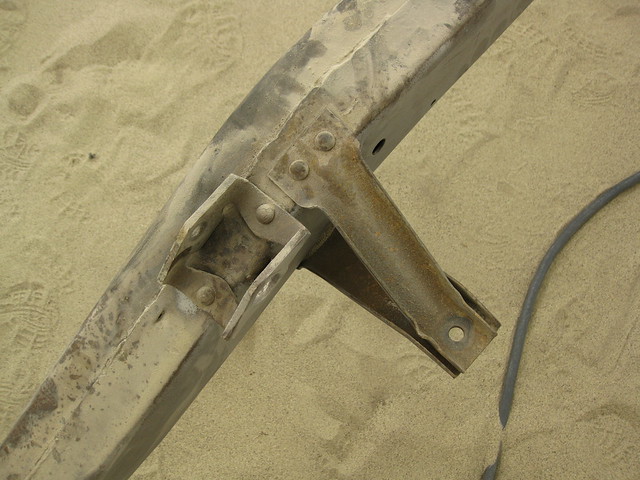
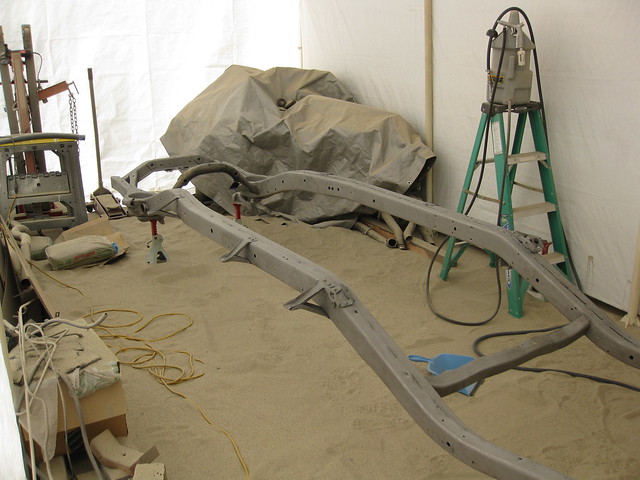
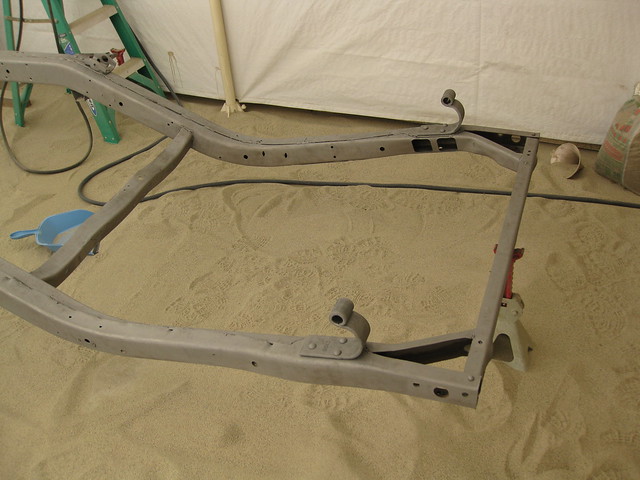
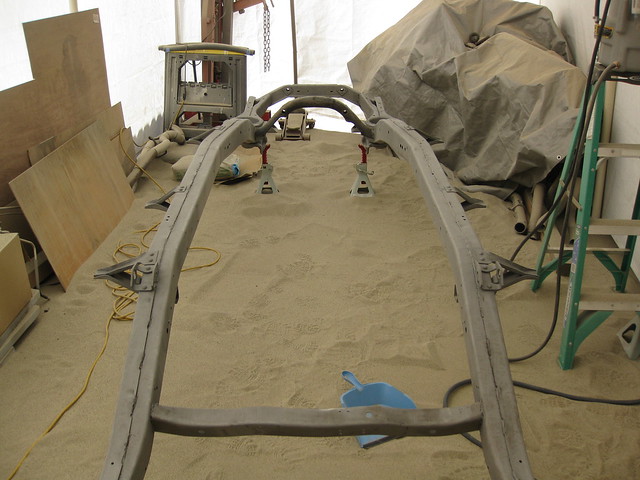
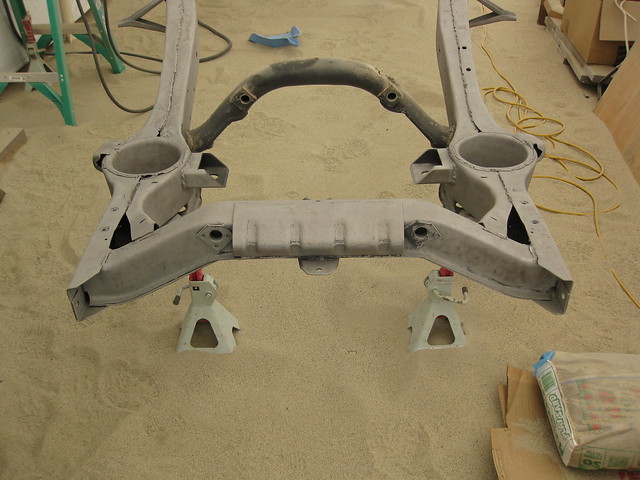
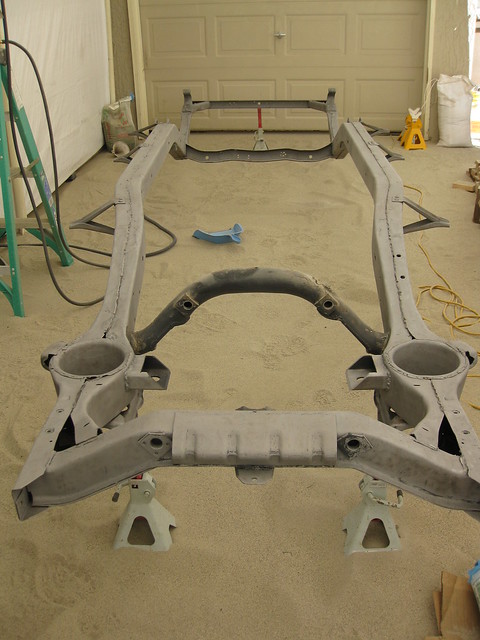
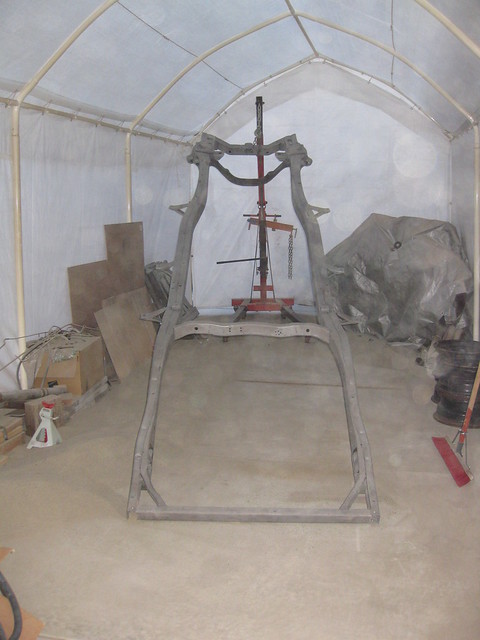
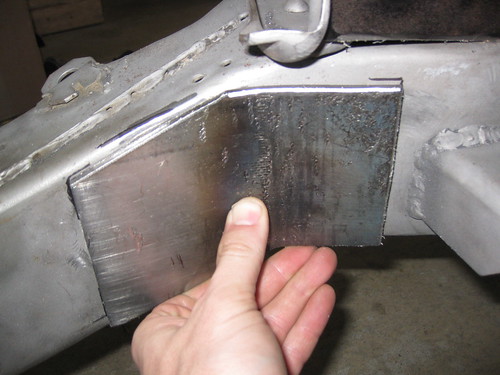
Anyway, here's the last work I did on Maude.  I'm working on reinforcing the frame in places where it appears necessary to me.  The old crossmember holes are the obvious points, but I'm trying out a plan for the upper A-arm mounts that will hopefully allow me to remove some more of the stock material, which, in turn, allows more header clearance.  It's one of those things that I am doing now while I have good access, even though I probably don't need to do it at all.

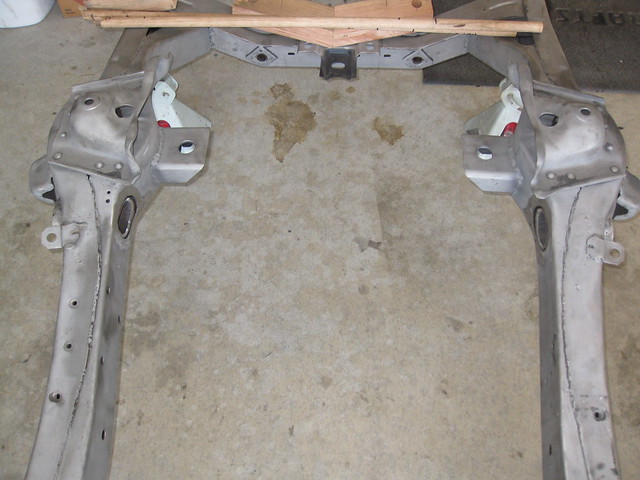
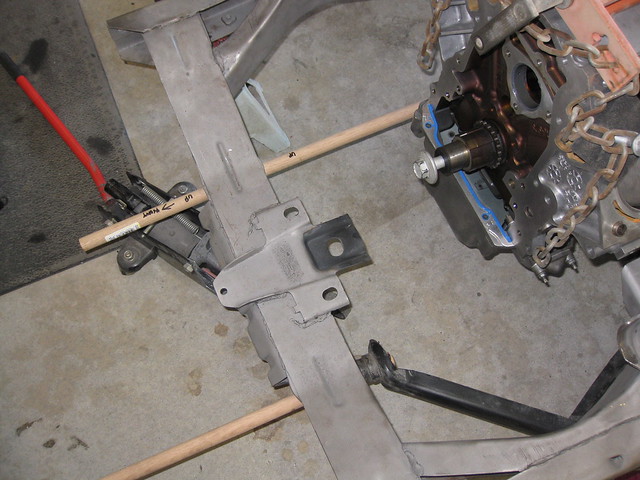
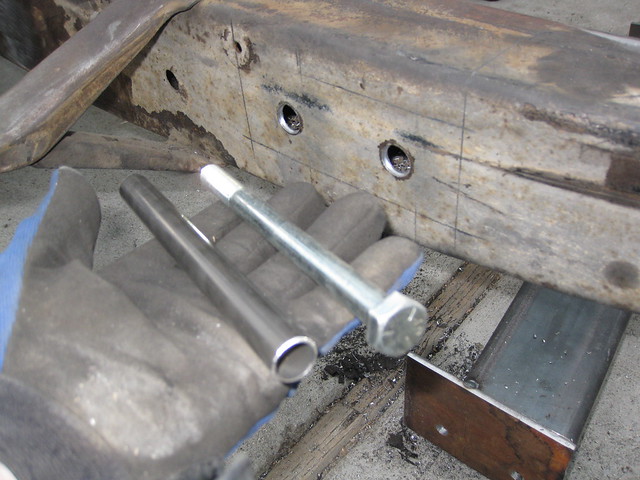
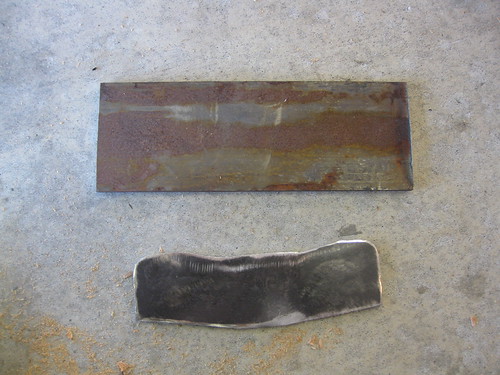
I used 1/4" steel plate for the A-arm job.  Here's a before and after.

004

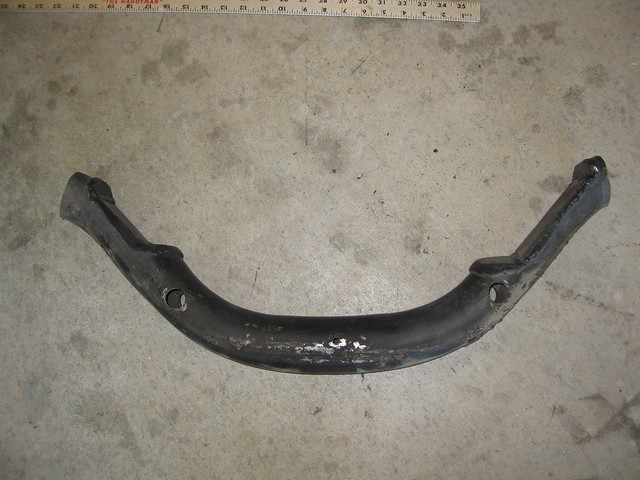
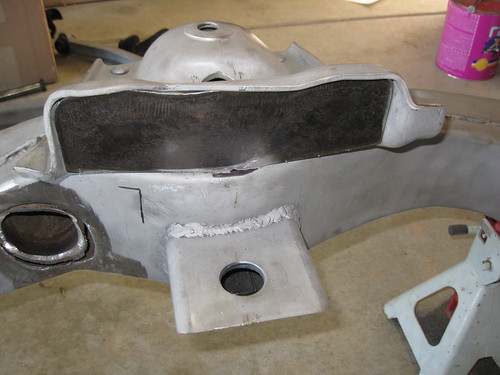
I've seen lots of guys lately doing custom A-arm setups for airbags and such where the only mounting point for the upper arm at all is a vertical piece of plate, probably 3/8" or so. If that's all you need (instead of the stock Ford "hat" in all its obtrusive glory), then my idea for welding 1/4" plate up against the existing 1/8" hat should be plenty strong. This will hopefully make more sense when I get around to welding everything together and then grinding the hat down flush. I will naturally post pictures of the finished product eventually.

006

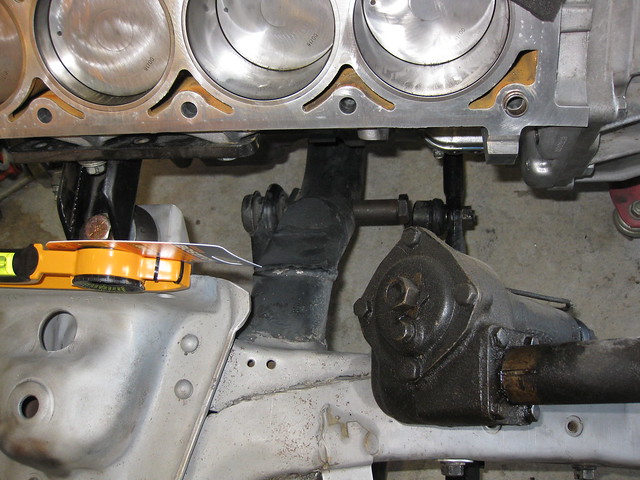
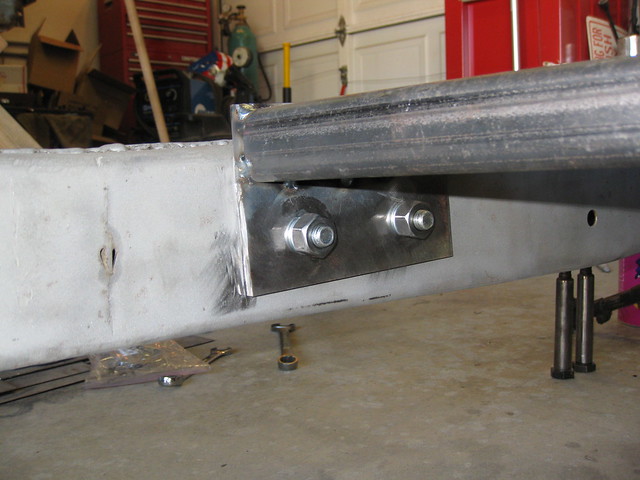
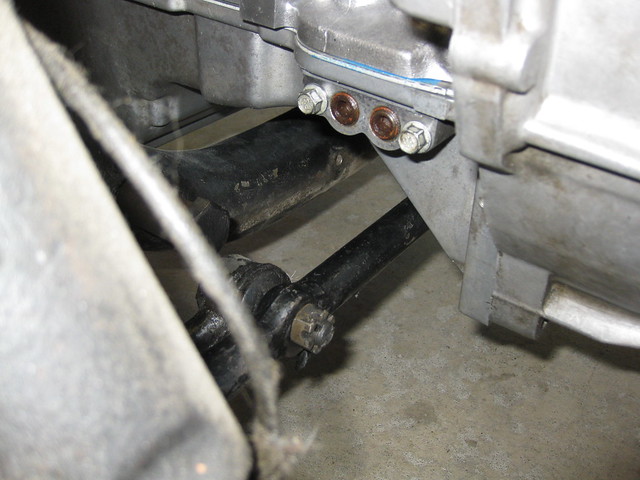
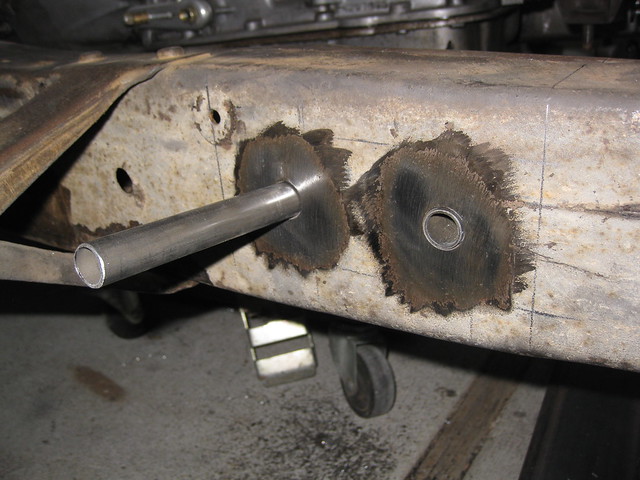
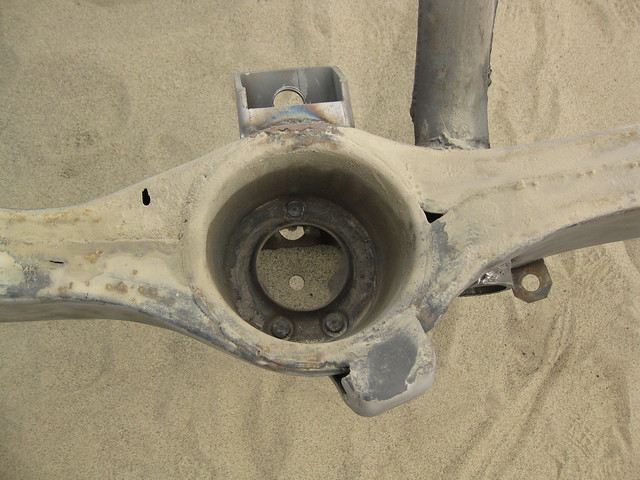
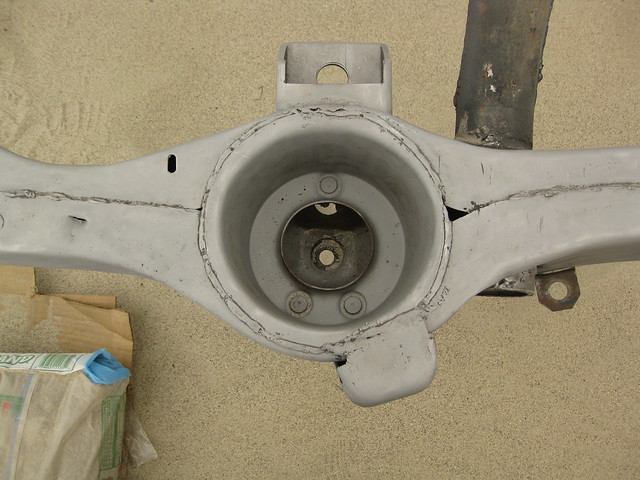
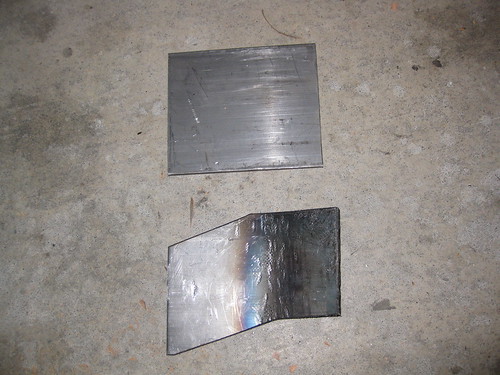
I used 3/16" plate to cover the old crossmember holes. I would have gone bigger, but of course the frame curves right here so I needed my plates to curve as well. I wasn't sure I'd be able to bend 1/4" with my limited tools, and the stock frame appears to be 1/8" thick so 3/16" is at least bigger than that. This stuff was tough to bend as well but a MAPP torch and a BFH eventually did the job to my satisfaction.
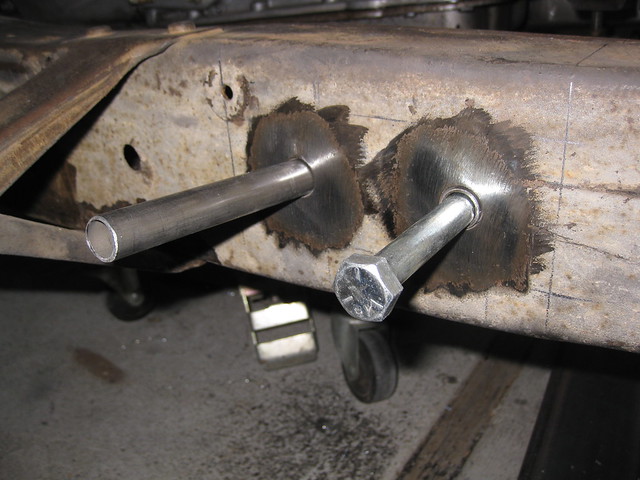
008


010

Tacked in place.

013

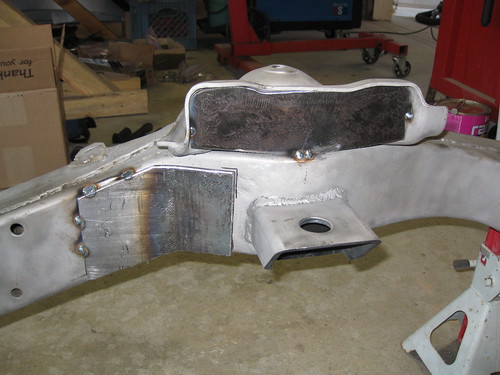
I'm trying to be smart and only tack weld things for now, welding just enough for structural stability but leaving myself an easier job of cutting things apart if they don't work out. In the past I used to just burn things in right away because I got excited (motor mounts, for example), but after the nightmare of removing some of those things (motor mounts, for example) I think I learned my lesson.

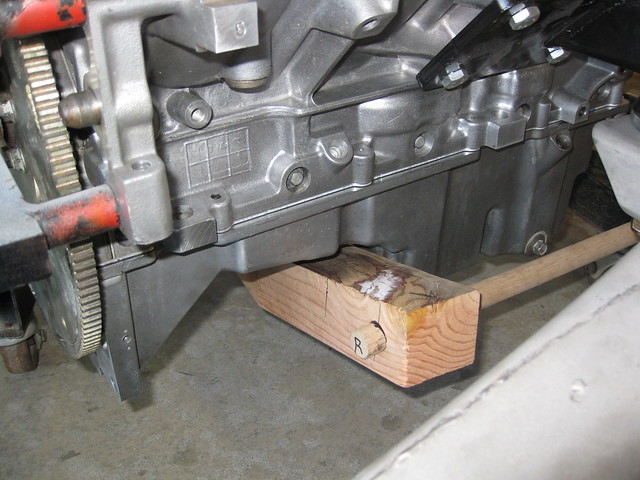
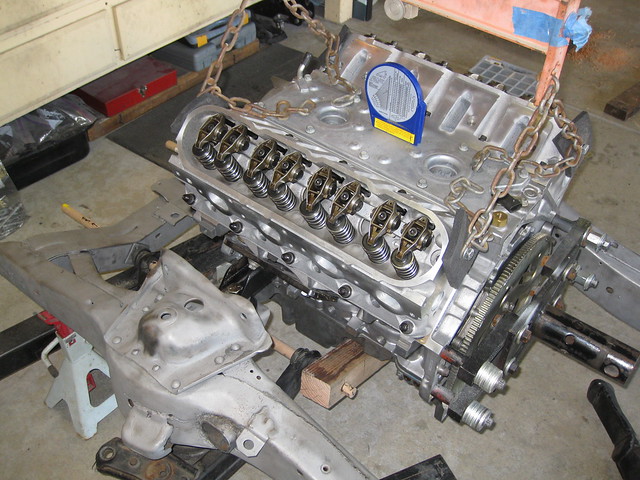
Maybe tomorrow I will write another post about the motor, which is mostly put together again.  Stay tuned.

Monday, March 24, 2014

Post 22: Junk in my trunk

Look what I brought home from the media blaster (aka Dad's shop)!

027

Spent a couple days blasting, scraping, brushing, trying to get old POR-15 off most of my suspension parts. I guess I might have left it alone if it wasn't peeling just enough to look crappy. That stuff really sticks. In the end, a combination of chemical stripper followed by sandblasting did the best.

My dad and I were also able to press all new bushings into the control arms. Some of them still wanted to spin in the arms after installation, so I put a few tack welds down to keep them in place. Finishing those up was timely, since I need the control arms back together before I can accurately mock up my new engine crossmember.

Here's the old one, as well as the aftermath. I cut the crossmember out with my dad's new portable bandsaw, which worked really well. I'm sure I'll be finding lots of reasons to borrow that thing down the road. Unfortunately, I couldn't get too close to the framerails with the bandsaw. I had to finish up with the angle grinder.

008

002

016

015

014

Here's my first shot at a crossmember. I took a ton of measurements before cutting the old frame apart, and this new "V" seemed to be the best way to make a new one that would still support the control arms, clear the oil pan and reasonably clear the headers, and have as few weld joints as possible.  I picked up some 2.5" O.D., 1/4" wall steel tubing to use, as the original piece was about 2.75" and I couldn't find anything that size.  I thought a 1/4" spacer to take up the gap would work just as well.  For mockup purposes, I took a 4x4 post (leftover from the body support project) and ripped it down in the table saw to 2.5x2.5.

017

I dropped the engine back in to check my clearances. The oil pan is way closer than it used to be, but the V is as flat as I can make it. This makes the rest of the crossmember able to clear the exhaust even better.

012

011

013

010

Figuring out the legs connecting the V to the framerails was way more complicated.  I wanted them to be as low as possible to stay away from the headers.  But they couldn't get too low because then the crossmember would interfere with the steering.  Also, they couldn't point too far forward because the control arms might hit when the suspension was at full compression.

So, I started playing around with angles.

018

It took me a few tries to get the shape figured out.

022

021

020

019

023

024

That's what I ended up with. I still don't know for sure whether the tie rods will clear, but now that I have the parts back home I can find out. I'm happy with the way the legs meet the framerails underneath and at the side, and I think exhaust clearance will be decent. It will certainly be better than before.

More tomorrow.

Friday, March 14, 2014

Post 21: Planning

I had to post this picture of my fuel line plans. I swear, if I put this much effort into other aspects of my life... well, let's just say I would have done far better in school.

notes

[My wife won't know whether or not to be mad about this picture. On one hand, she'd love if I put that much effort into, say, taking care of the yard or washing dishes. On the other, there are few things in this world she appreciates more than a well-organized to-do list. Ha.]

Last weekend I managed to get the engine and transmission back in the frame. Then I spent a few days staring at the result and trying to decide what to do next. I ran the whole gamut from redoing both the transmission and engine crossmembers as well as the motor mounts (to move the motor forward and down in the frame) to swapping to rack-and-pinion steering (to run a rear-sump oil pan and maybe allow for long-tube headers) to leaving everything alone. I ended up somewhere near the third option, mostly because I felt far less optimistic about being able to make drastic changes after I (wisely) bolted the steering parts back up and realized that three years ago I placed the motor exactly where it is now because that's where the engine crossmember and steering linkage fit best.

Once I dispensed with all silly notions of power steering and sweet, sweet headers I was able to focus on what really needed to happen. I mocked up a couple of fake lower control arms using 7/8" oak dowels from Lowes. I used those to level out the frame on the jackstands - I figured that if I got the frame to sit so that the dowels are level, then I can hack the front end apart and be able to more easily put things back in place (as long as I don't accidentally knock the frame off the jackstands, I guess). Other than that, I just took a bunch of pictures to have for a reference after I tear things apart and my memory fades to the point at which I can't remember what goes where.

002

003

004

005

006

007

008

009

012

015

016

017

018

022

Thursday, March 6, 2014

Post 20: Clean slate, part 3

After I got the transmission crossmember looking the way I wanted, I had to figure out how to attach it to the frame. Initially, I was going to weld it in. I thought that would help alleviate any potential weakness I caused by cutting out the old, welded-in crossmember assembly. But then I realized that as much as I'd rather not, I will almost certainly be pulling the drivetrain out in the future, and having to slide the transmission around under the car to clear a huge crossmember would not be fun. So I went to the hardware store and bought a few giant bolts and a few lengths of steel tubing with the same I.D. as the diameter of the bolts - in this case, 1/2".

I planned to use 4 or at least 3 bolts per side to hold it all together, but once I started mapping things out I saw that I didn't leave myself a ton of room to drill slightly bigger than 1/2" holes in either the crossmember ends or the framerails. At least not 4 holes concentrated together. I started with 2 instead, and when they were about done I decided that 2 would be enough. They're friggin' huge.

I tacked the crossmember in place so it wouldn't shift and then started drilling. I drilled the holes most of the way using regular bits and finished off the last step with a uni-bit. That was so I could bevel the edge of the hole and give me something to tack weld the tubing to that would still be there after I ground them flush with the rails again. The hardest part was drilling through both sides of the frame at once. I didn't have to do that, but it was the best way I could figure out how to make sure the holes in the frame and crossmember stayed aligned the whole time. In the end it turned out well.

001

002

007

006

005

I thought I took a few pictures of the finished, welded crush sleeves but I can't find them. Probably still on the camera. I guess you can use your imagination. Anyway, everything worked as planned and now you're up to date on the frame work. The last few pictures are from when I flipped the frame over to blast the bottom (not too hard to do - it was lighter than I thought), the finished product, and the method I used to blow all of the sand out of the frame after I finished blasting. I don't know if I'll ever get it ALL out, but it's mostly gone.

001

002

003

007

004

005

006

008

009

002