Anyway, he's better now and I was able to get back to work yesterday. I went up to my dad's house, where my 8.8" Explorer axle has been tucked away for a few months. Among other tasks, my dad, brother-in-law and I managed to get the rearend narrowed. I forgot my good camera so I was only able to take a few shots with the phone.
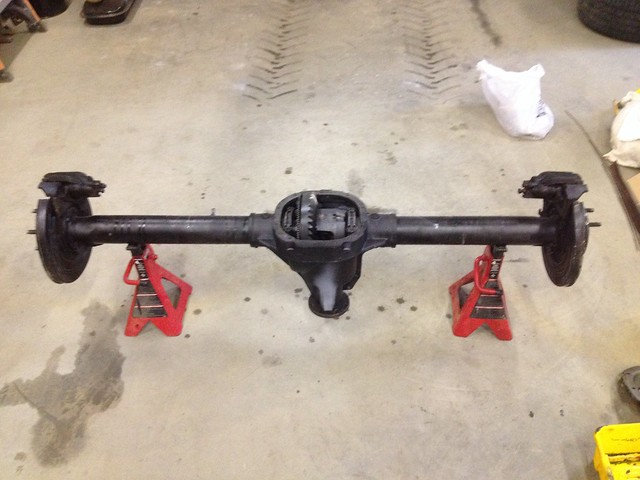
Here's the axle as I bought it. The guy I bought it from cut off all of the Explorer bracketry so I didn't have to do it.
I haven't ever taken an axle apart before, but the guts in this one look pretty good to me.
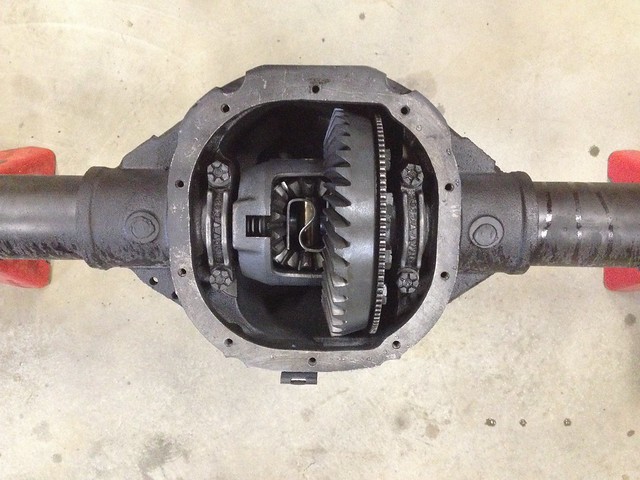
Most of my extensive readership probably already knows that these rearends (late '90s Explorer) are great swaps for '54 Fords, among many other cars. They're cheap, readily available, strong, and come with limited slip, a variety of gear ratios, and disc brakes. Unfortunately, they're also too wide to bolt right into the car.
The most common way to make them fit is to narrow the long side (driver) by 2 15/16" inches, which is exactly the difference in length between the long and short axles. Then, a passenger axle is used on the driver side. When it's done, the rearend goes from about 59.5" overall to about 56.5", which is almost exactly as wide as the original rearend in the '54.
I researched the narrowing process quite a bit, and yesterday I finally had the time and bravery to try it out. First, the rearend went under the knife. A giant bandsaw is a tool I don't have at home - this is the main reason I left the rearend at my dad's. I knew I'd end up narrowing it in his shop.
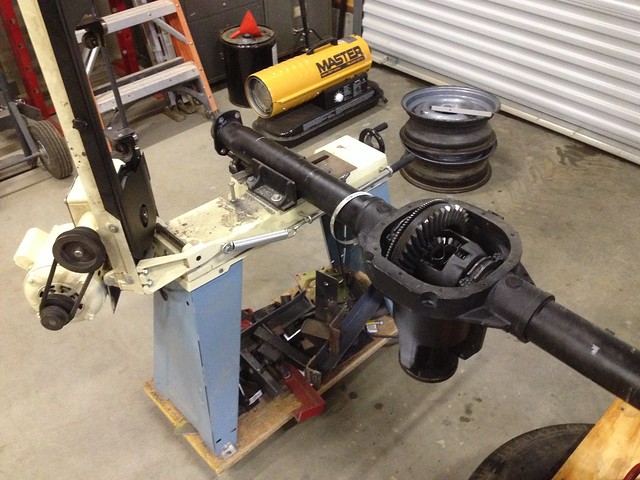
The axle tube has to be cut and sectioned somewhere in the middle instead of just lopping off the end. This is because the ends taper down to the flange. I forgot the exact distance between the spring perches on the '54, so I guessed. I wanted to cut the tube where the spring perch on that side would eventually be welded on, for whatever reinforcement that will provide. I think I'm in the ballpark.
In order to make sure the tube gets welded back together properly - and without a jig - a steel sleeve is inserted to keep the tube true. I found a 6" piece of tubing that had the same O.D. as the I.D. of the axle housing. I took a slice out of the bottom for two reasons: so the tube could be compressed a bit, making the insertion into the axle easier, and so oil in the tube can flow freely to the outside bearing.
The only problem I ran into that I didn't read about online was the raised bead from the seam on the inside of the housing. I used a dremel to quickly grind that down on both ends, then drove the sleeve in.
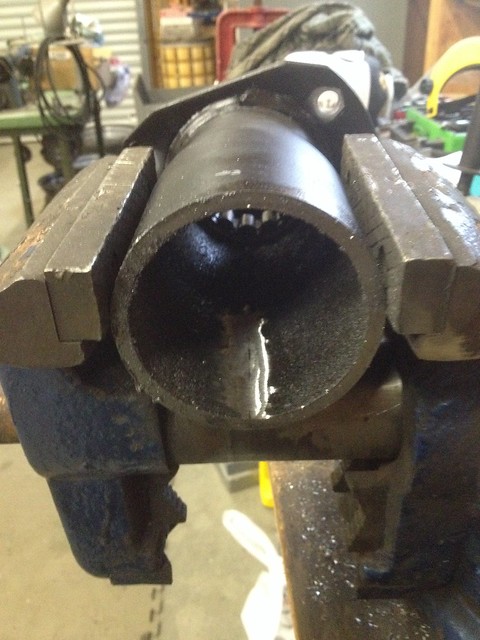
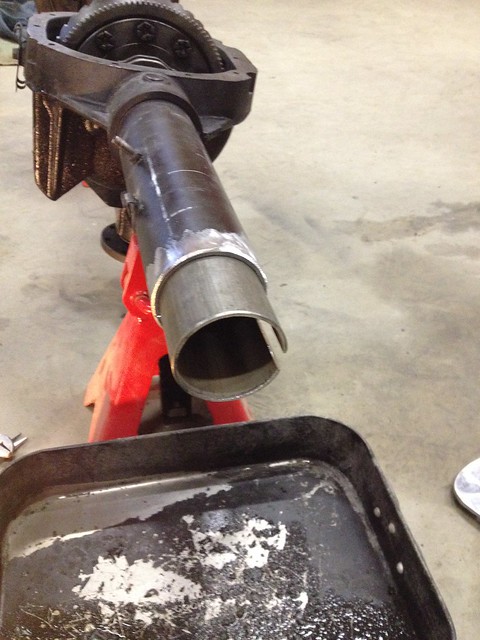
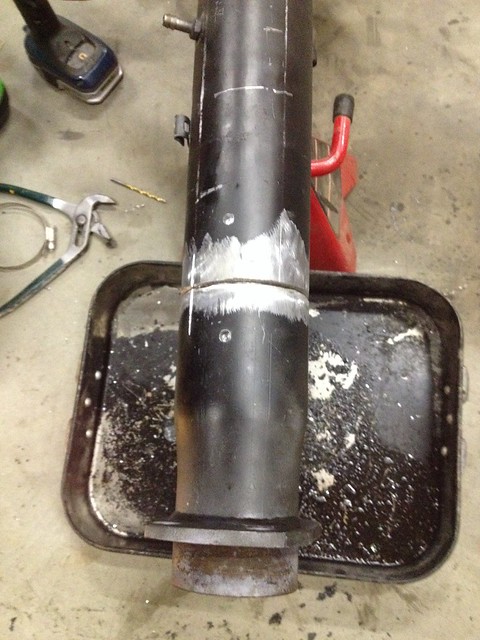
The holes in both sides of the housing in the picture above were drilled so I could make a few plug welds to hold the axle and sleeve in place. Just cheap insurance to keep the housing end from getting tweaked before I welded up the main seam...
...which I don't have any pictures of. My phone died right as I was trying to take one of the finished product. The welding went pretty well and I am happy with the result. In the coming weeks I'll dress the welds, weld on the perches (after I figure out the right pinion angle), clean and paint the housing, and put on the brakes.
And I will take pictures.
No comments:
Post a Comment