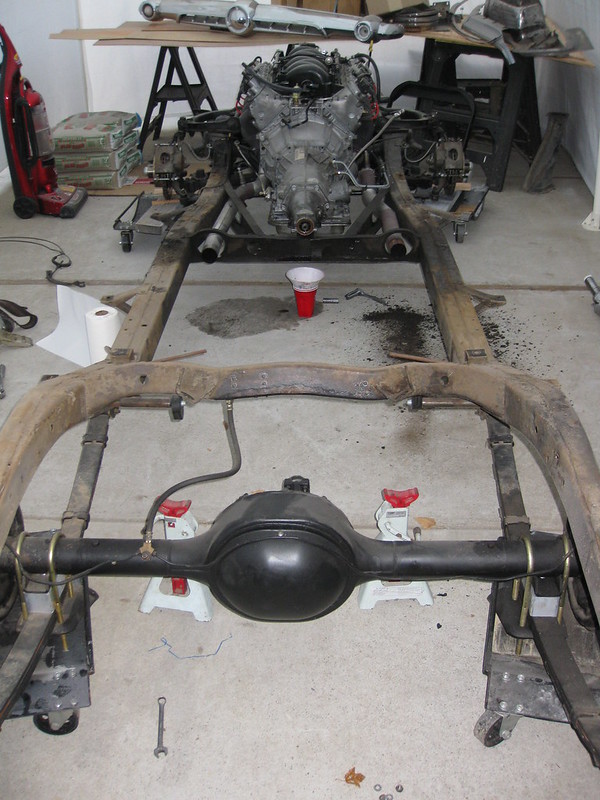
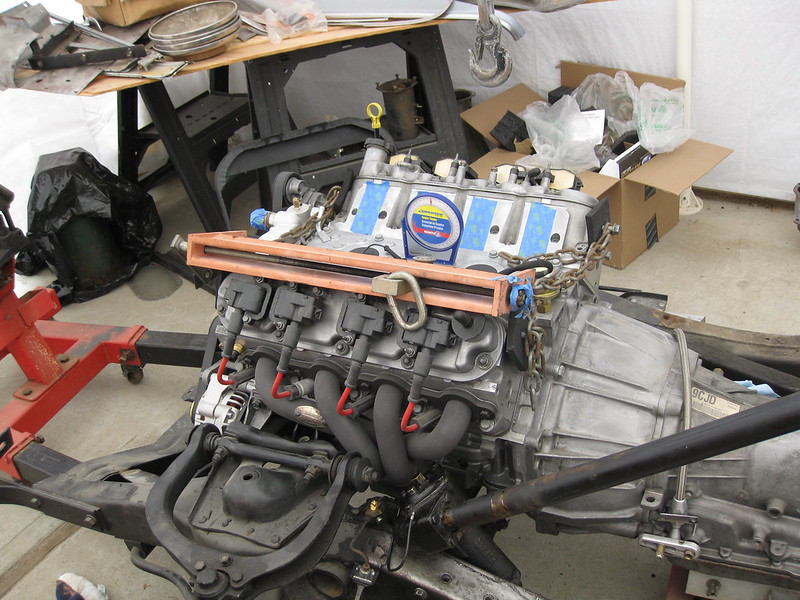
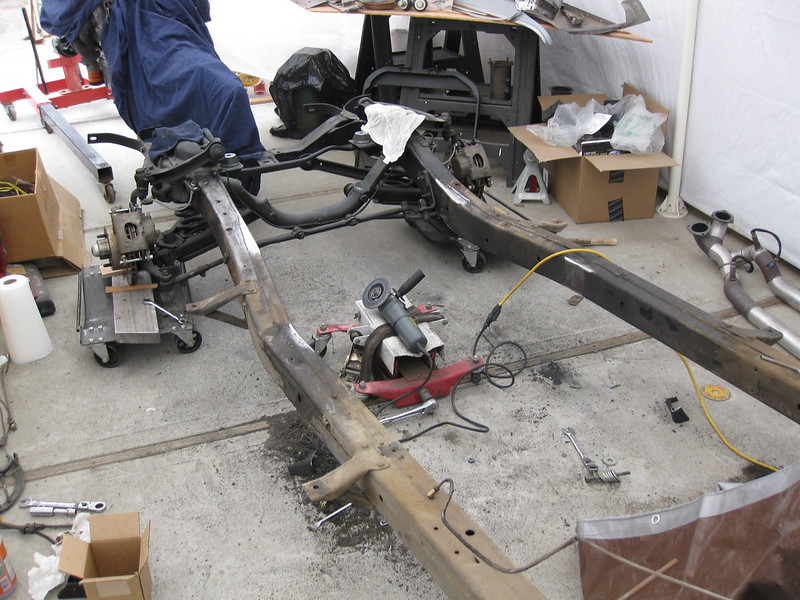
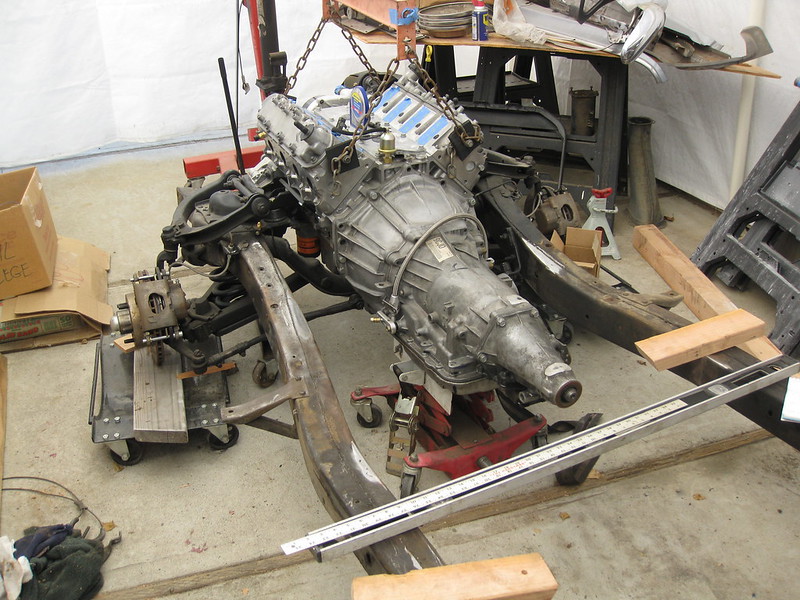
Then I got to start one of the jobs I'd been dreaming of for more than a decade: cutting out the stupid A-frame transmission crossmember nightmare. I'd fought with the exhaust going through that POS for so long, and I was finally to the point where I could do something about it. Other than leaving the exhaust alone. That just wasn't going to happen, as playing with the exhaust system is one of my favorite things to do on this or any car.
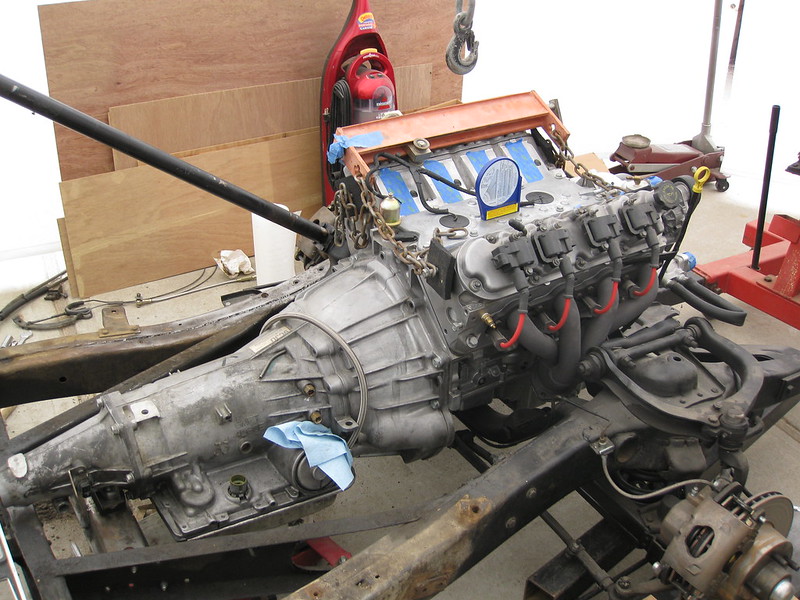
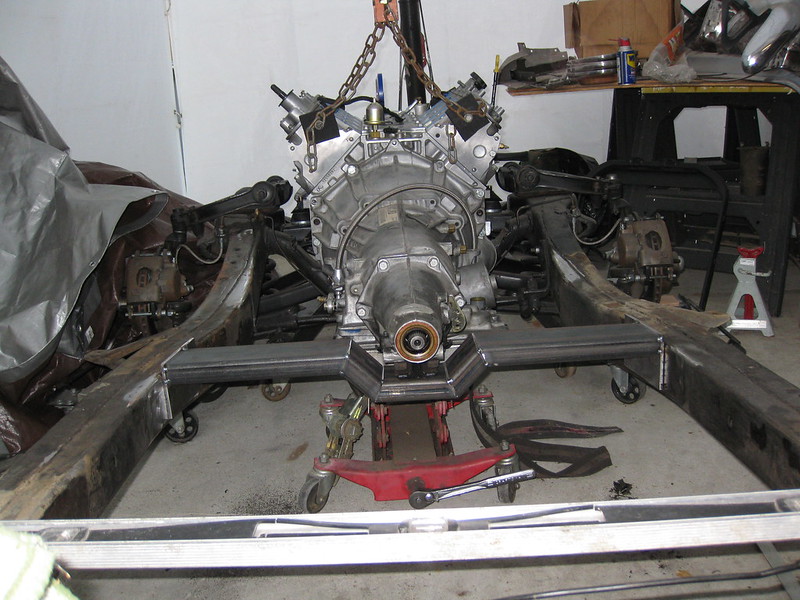
Anyway, I started by measuring everything up as best as I could manage. This involved putting the steering column back in, because I wanted to see if I could decrease the angle of the drivetrain (ideally, from about 5 degrees back to only 3 or 4) while I was at it. As you can see, the critical consideration is the distance between the steering box and the header primaries. Interestingly, the '53 steering column I had in there for years must have been a slightly different shape than the new '54 in the picture. The old one was so close to the header that I pulled out the cover bolt that sat right under the last primary. Now, you can see that there is quite a bit of clearance between the header and the '54 box, even with the cover bolt still in there. This is good news - now I can either try to drop the motor a bit lower or enjoy the peace of mind that comes from not worrying about vibration or damage from headers resting on the frame.
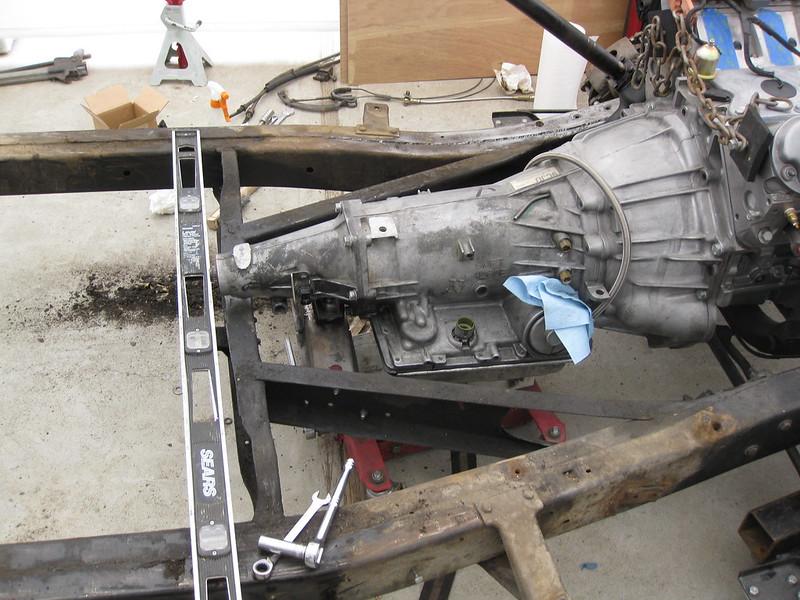
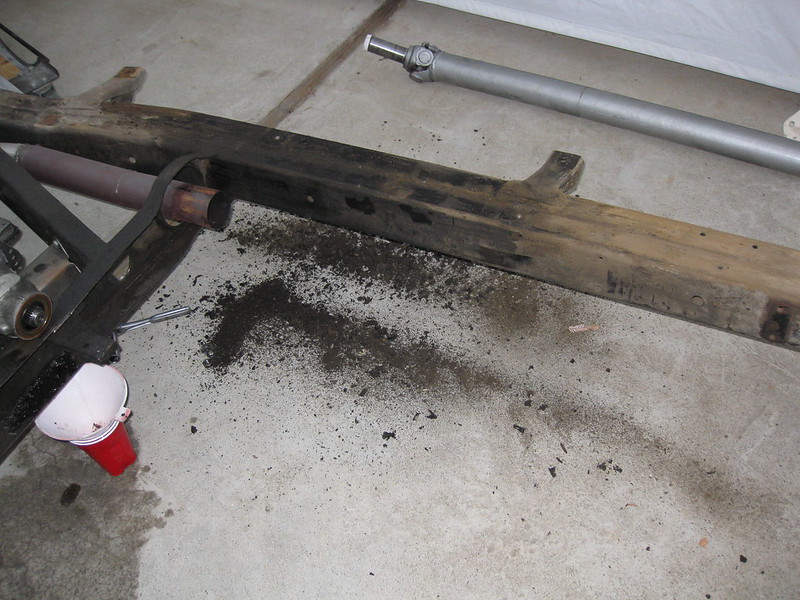
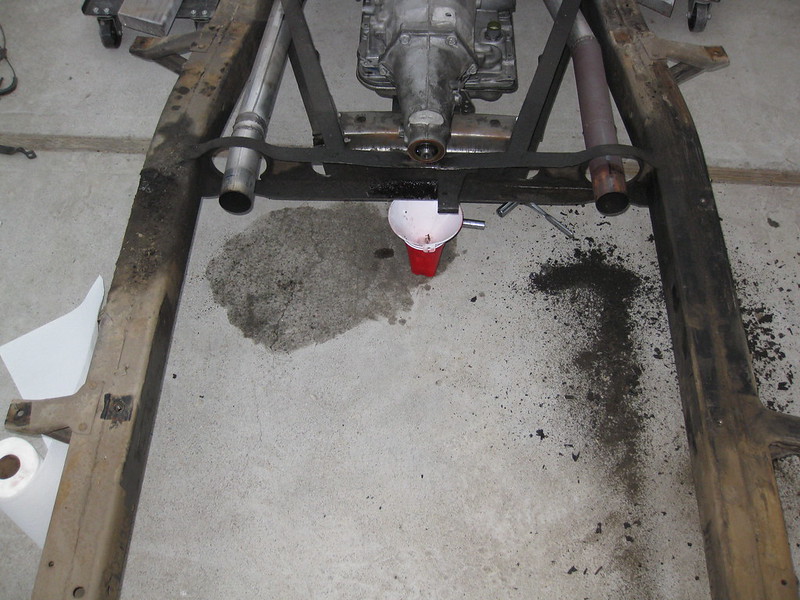
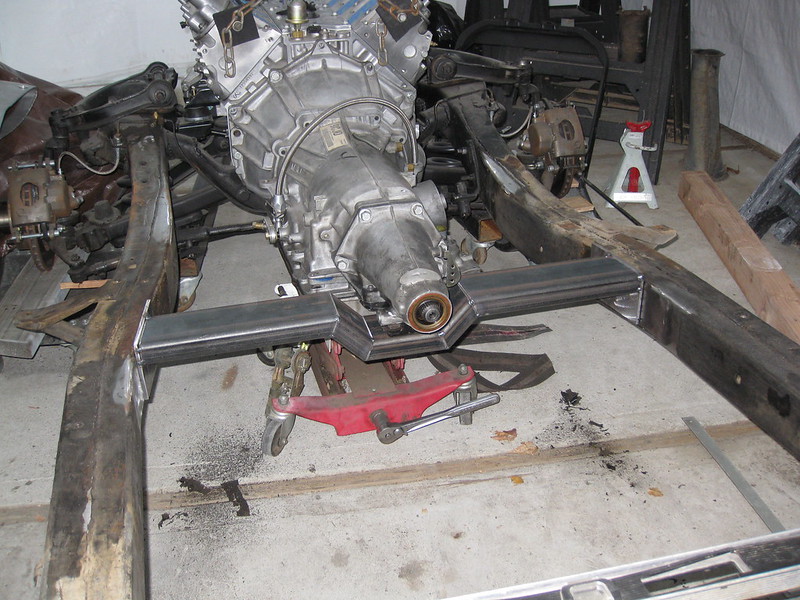
Then, when I could measure no more, I cut that sonofabitch out.
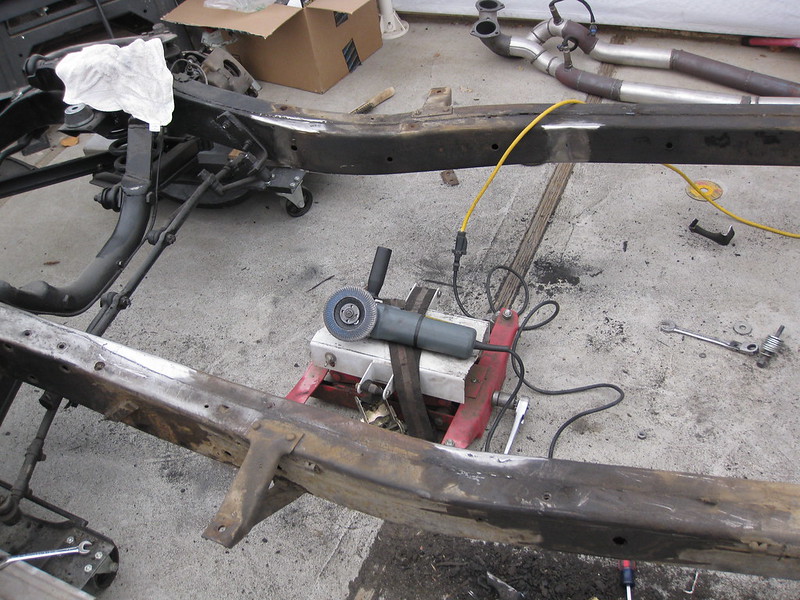
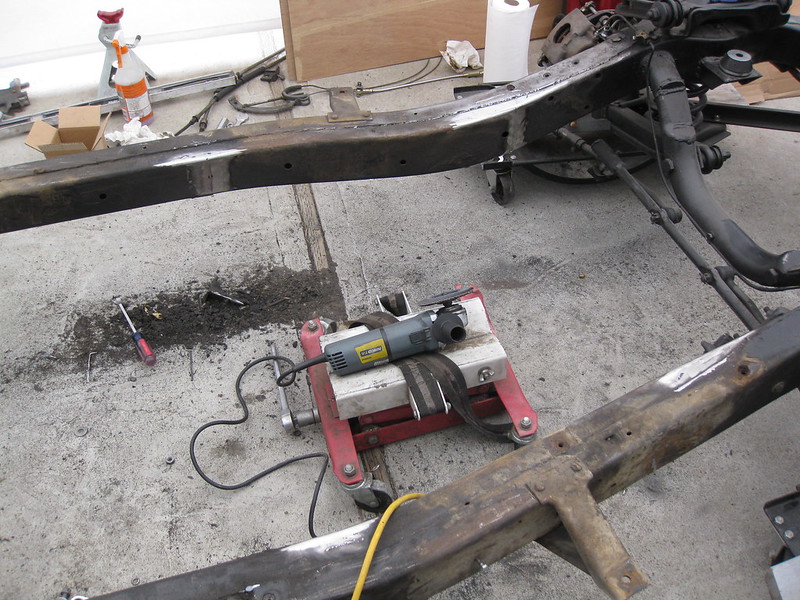
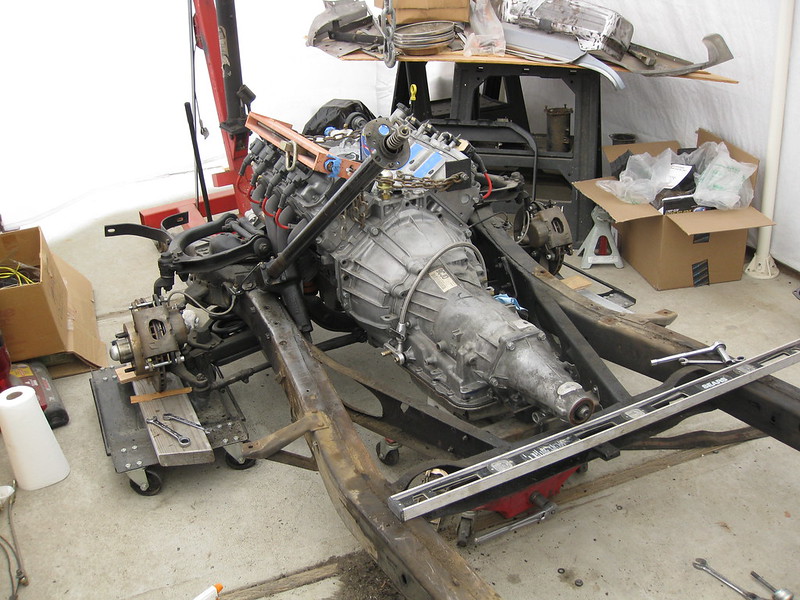
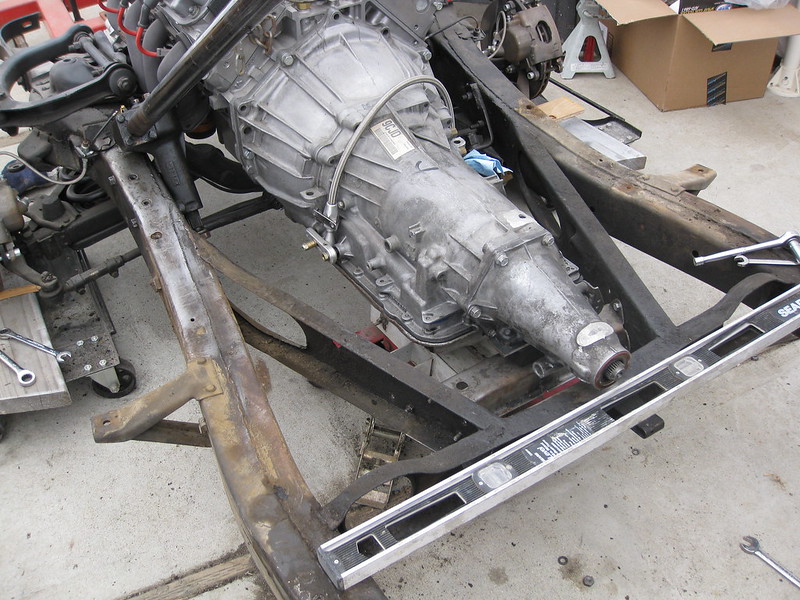
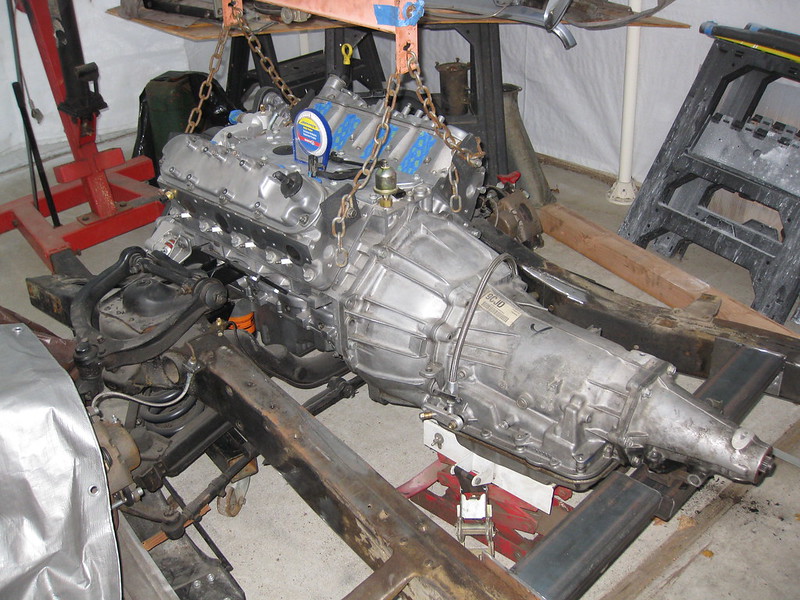
Next, I put the drivetrain back in and measured some more. I needed to make sure the motor and tranny were properly aligned in the frame. I am pretty sure I nailed it.
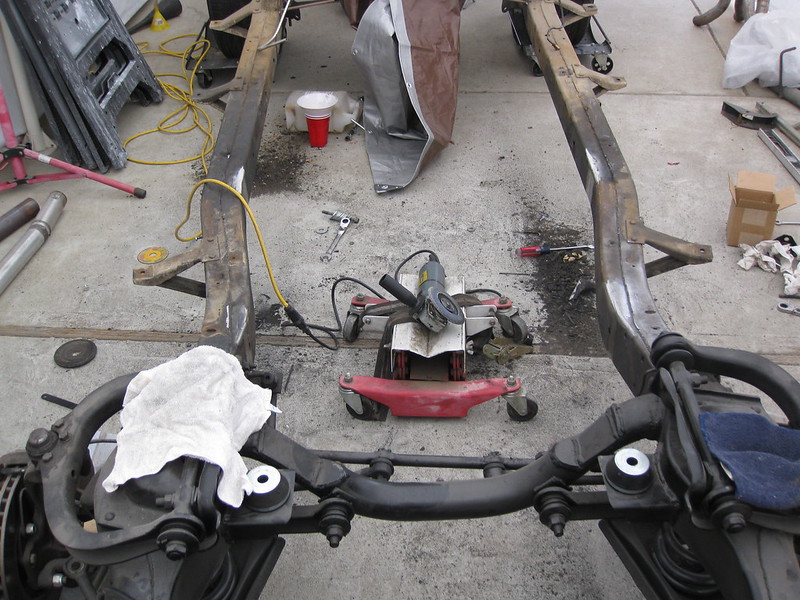
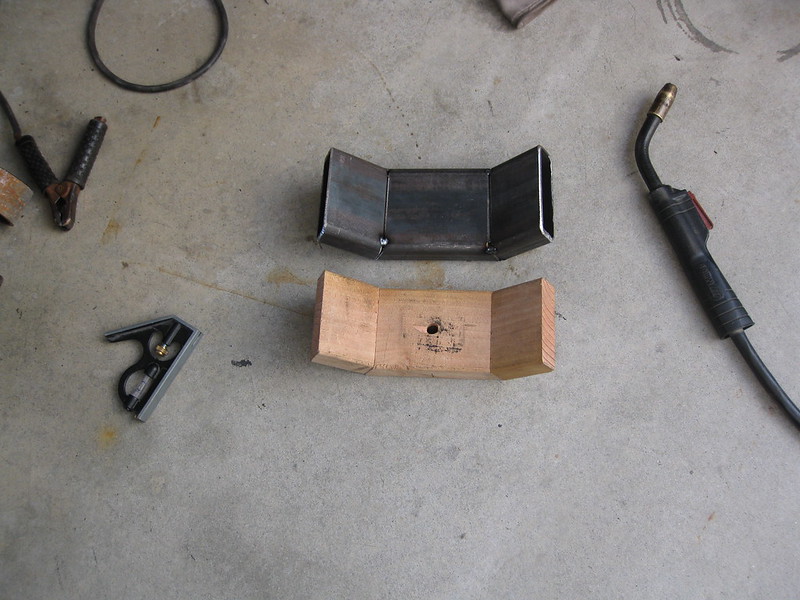
I wanted to replace the old setup with a newer, thicker, better crossmember that wouldn't take up as much space or interfere with the exhaust in any way. It also needed to allow me to run an X-pipe instead of the old H-pipe, which worked fine but isn't as cool. Rather than start by messing with heavy, expensive steel, I grabbed some 2x6 stud scraps laying around the backyard and began mocking up the perfect crossmember.
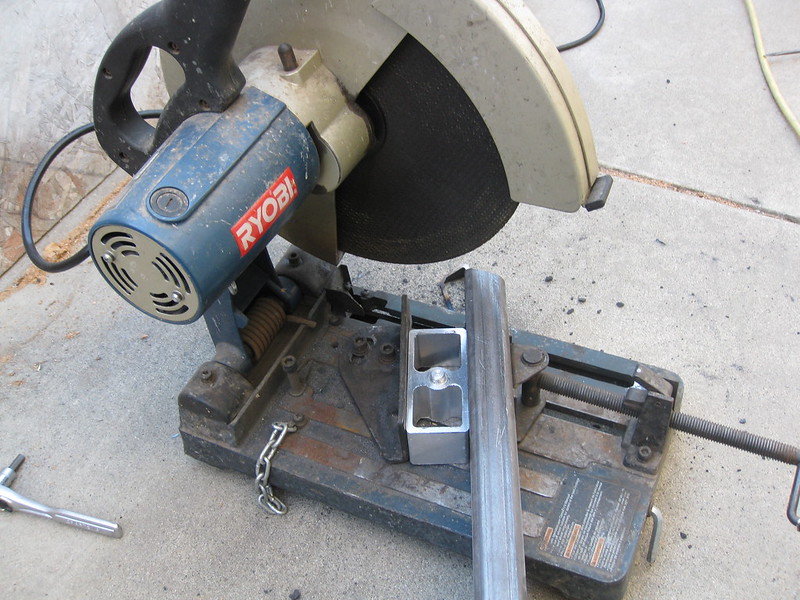
I cut out the steel with a regular chop saw. It took forever to grind through 2" x 5" x 1/4" tubing but at least I got nice, straight cuts with it. Then I tacked it all together when I thought it was ready.

Tomorrow, I'll finish up with how I bolted the crossmember in. Exciting stuff!
No comments:
Post a Comment