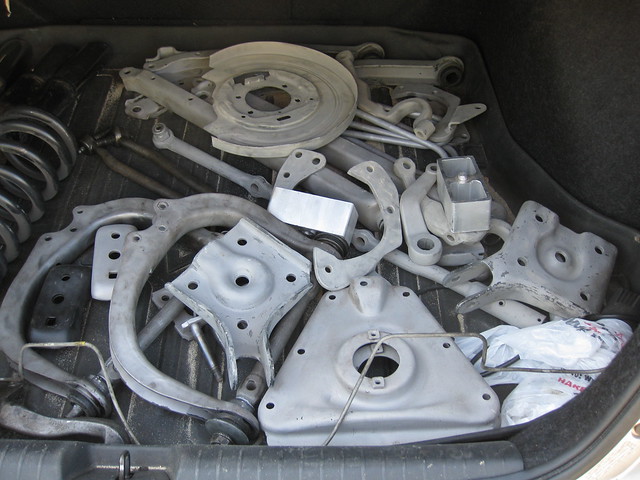
Spent a couple days blasting, scraping, brushing, trying to get old POR-15 off most of my suspension parts. I guess I might have left it alone if it wasn't peeling just enough to look crappy. That stuff really sticks. In the end, a combination of chemical stripper followed by sandblasting did the best.
My dad and I were also able to press all new bushings into the control arms. Some of them still wanted to spin in the arms after installation, so I put a few tack welds down to keep them in place. Finishing those up was timely, since I need the control arms back together before I can accurately mock up my new engine crossmember.
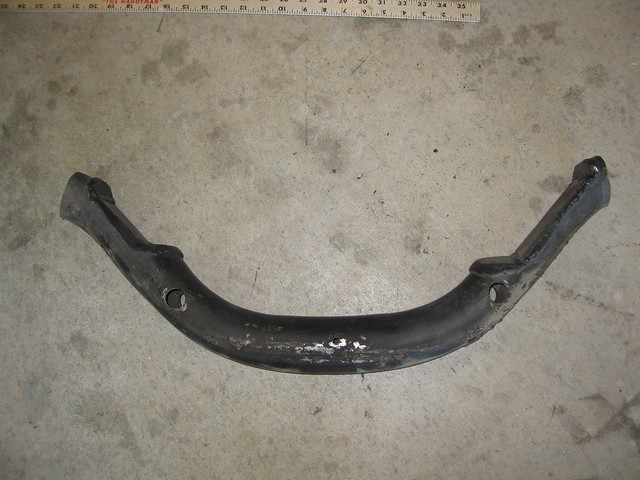
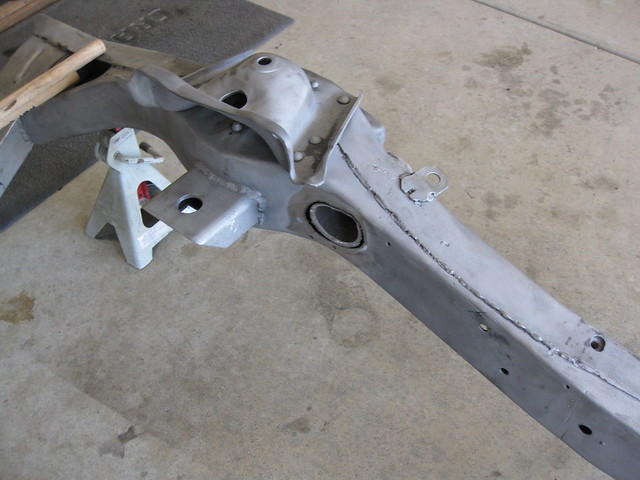
Here's the old one, as well as the aftermath. I cut the crossmember out with my dad's new portable bandsaw, which worked really well. I'm sure I'll be finding lots of reasons to borrow that thing down the road. Unfortunately, I couldn't get too close to the framerails with the bandsaw. I had to finish up with the angle grinder.
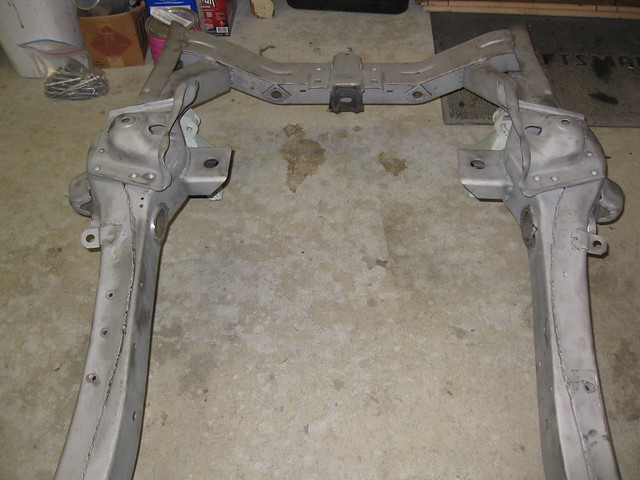

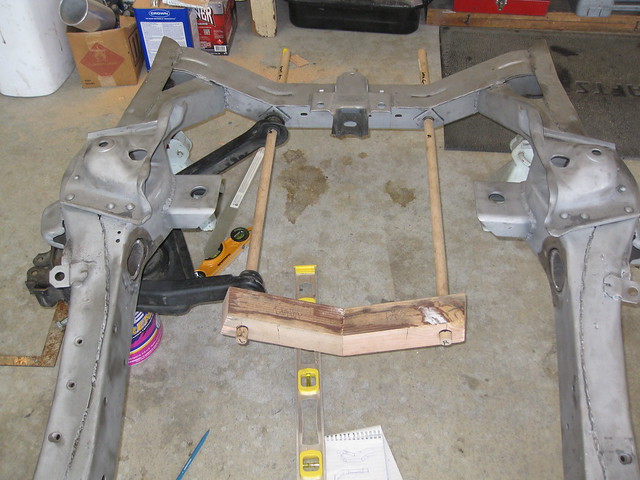
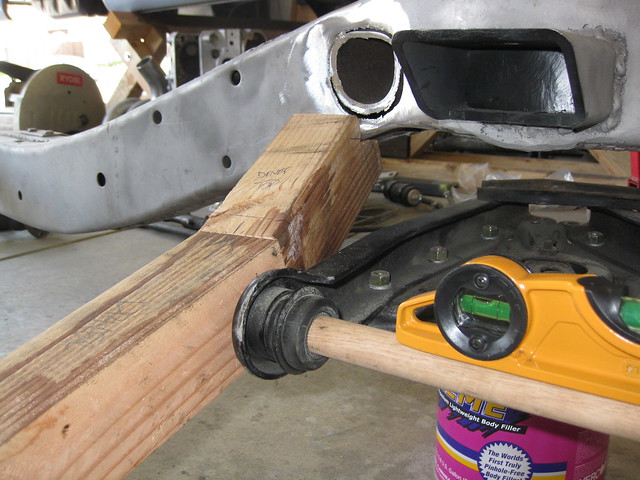
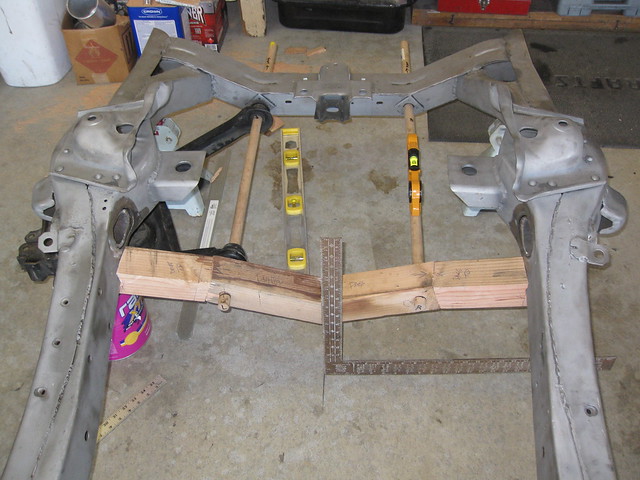
Here's my first shot at a crossmember. I took a ton of measurements before cutting the old frame apart, and this new "V" seemed to be the best way to make a new one that would still support the control arms, clear the oil pan and reasonably clear the headers, and have as few weld joints as possible. I picked up some 2.5" O.D., 1/4" wall steel tubing to use, as the original piece was about 2.75" and I couldn't find anything that size. I thought a 1/4" spacer to take up the gap would work just as well. For mockup purposes, I took a 4x4 post (leftover from the body support project) and ripped it down in the table saw to 2.5x2.5.
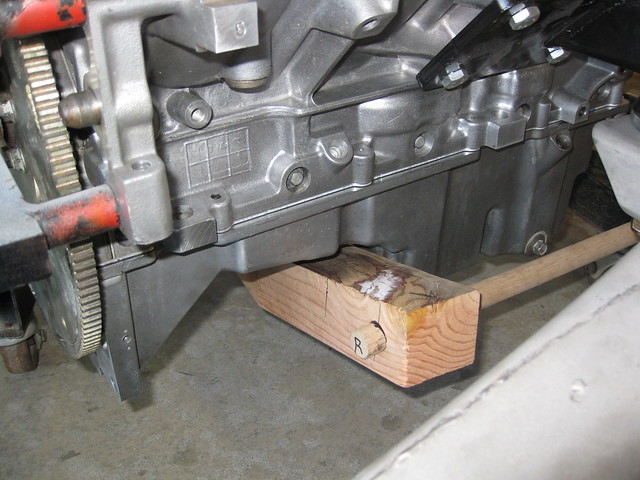
I dropped the engine back in to check my clearances. The oil pan is way closer than it used to be, but the V is as flat as I can make it. This makes the rest of the crossmember able to clear the exhaust even better.


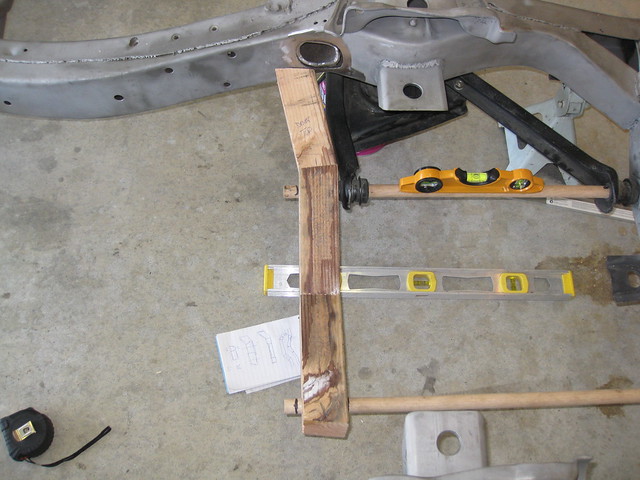
Figuring out the legs connecting the V to the framerails was way more complicated. I wanted them to be as low as possible to stay away from the headers. But they couldn't get too low because then the crossmember would interfere with the steering. Also, they couldn't point too far forward because the control arms might hit when the suspension was at full compression.
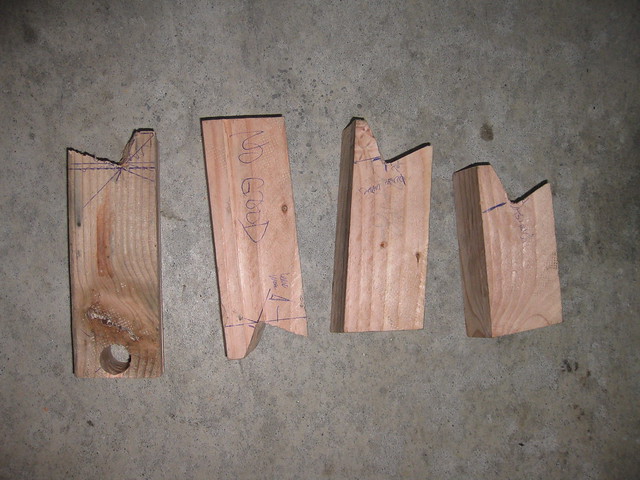
So, I started playing around with angles.
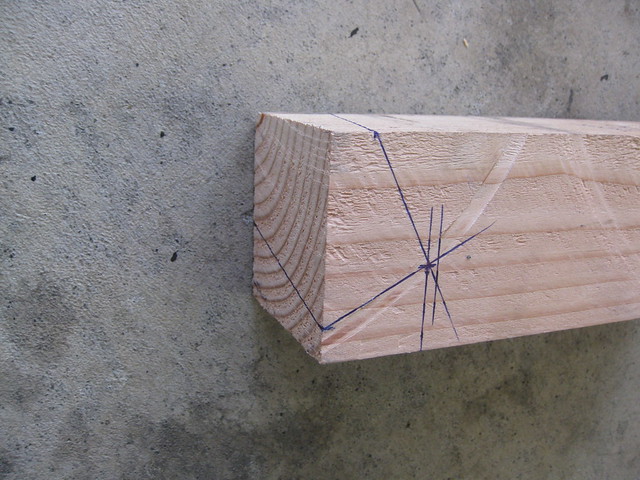
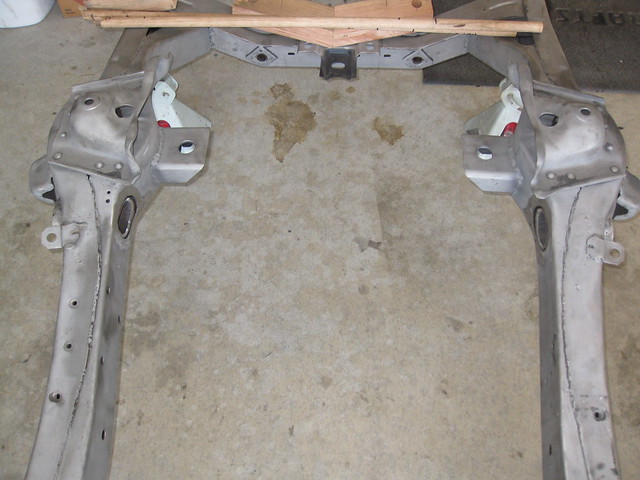
It took me a few tries to get the shape figured out.
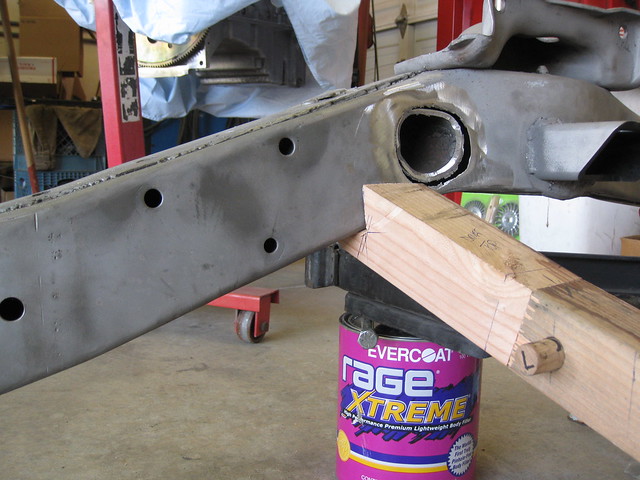
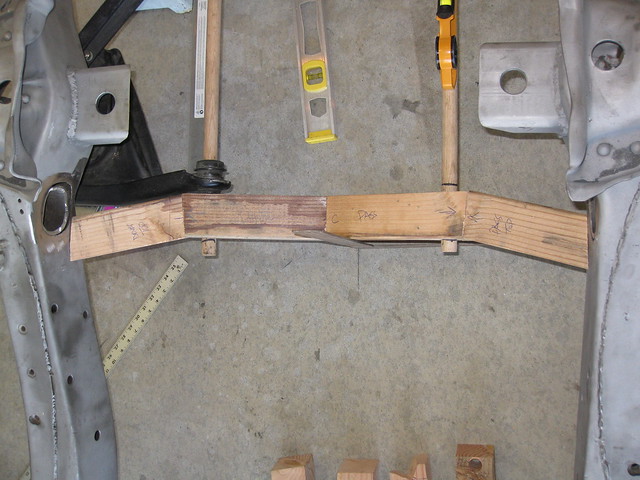
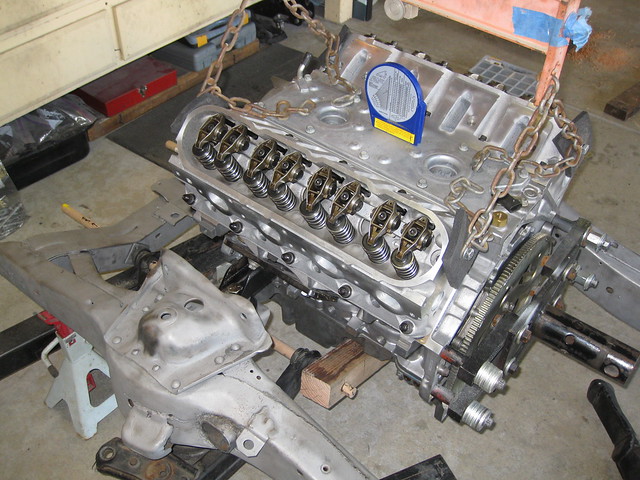
That's what I ended up with. I still don't know for sure whether the tie rods will clear, but now that I have the parts back home I can find out. I'm happy with the way the legs meet the framerails underneath and at the side, and I think exhaust clearance will be decent. It will certainly be better than before.
More tomorrow.
No comments:
Post a Comment