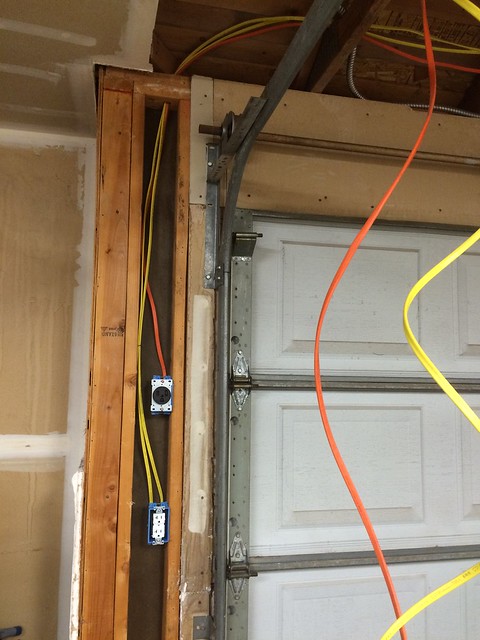
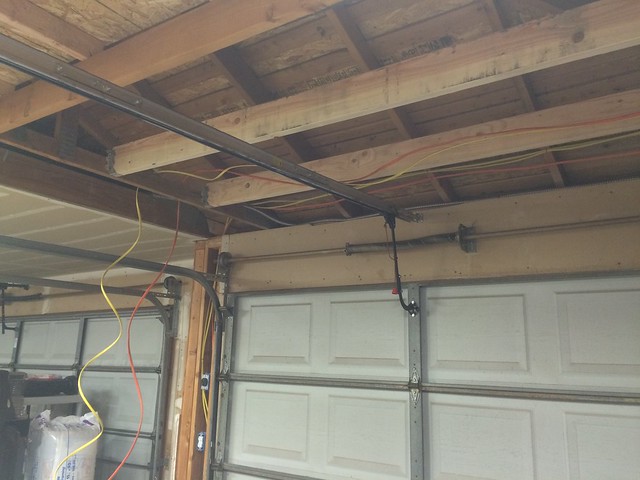
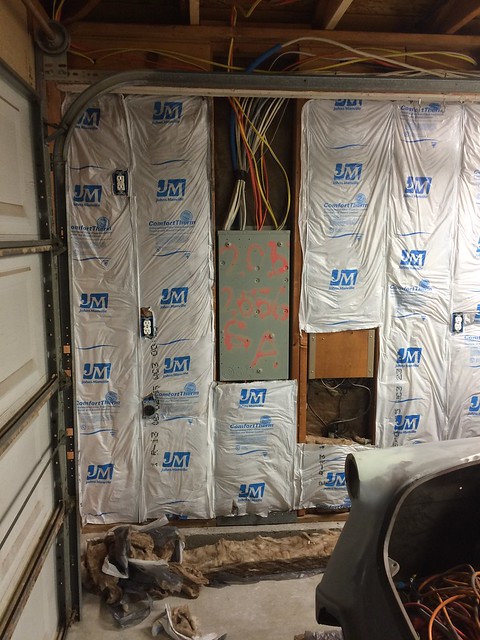
I started moving down the outside wall. My dad and I added another 20A 110V circuit and moved the 220V out from under the panel to the next bay over, so it could be a little higher off the ground and closer to the big door where I'd need it most.
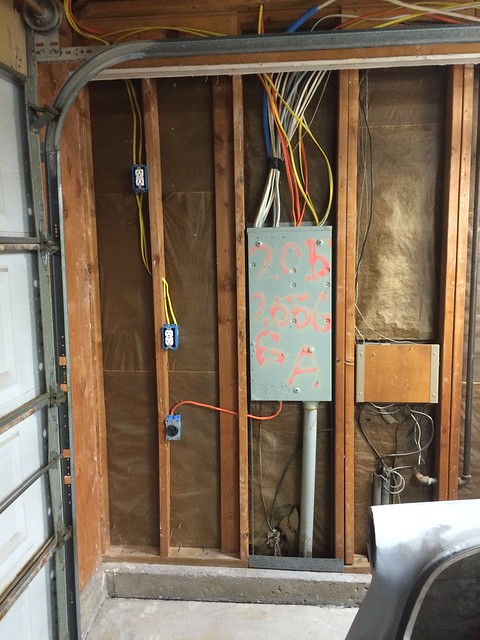
Here's where the third 220V receptacle was placed. My air compressor will be bolted to the ground in that corner between the garage doors.
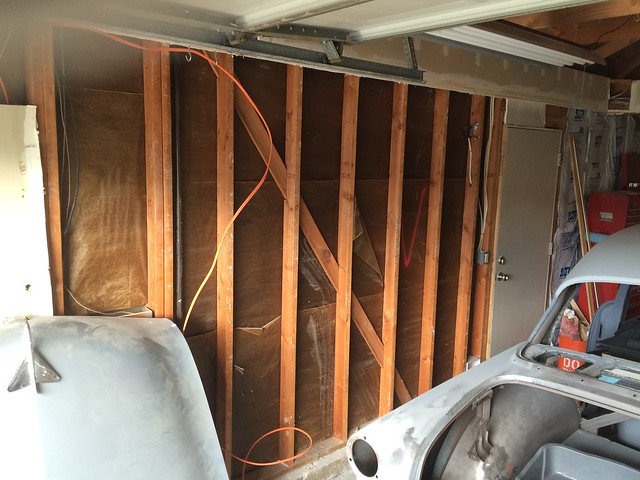
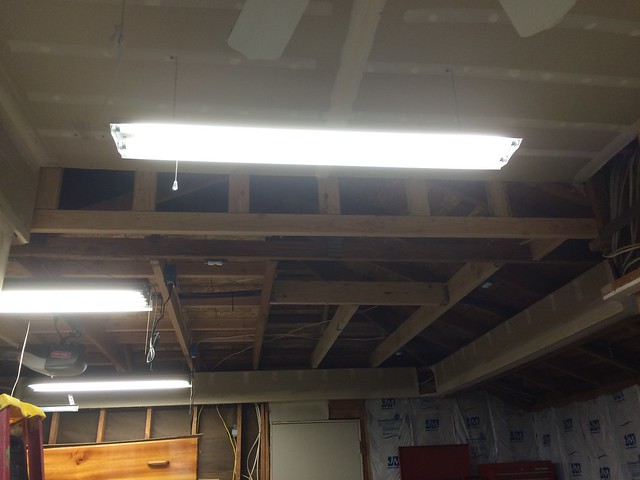
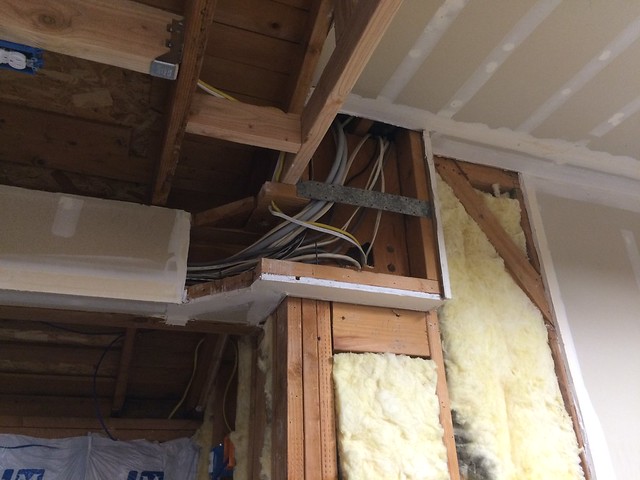
I had been wrestling with the concept of insulating the ceiling or attic for a while. I wanted to do one or the other because only doing the walls would help with sound deadening but not do a whole lot for heat, and a more comfortable garage temperature was my primary motivation for doing this work at all. I just couldn't decide whether to insulate way up high under the hip roof - and leave the space under the roof open to the garage below - or close off the space and simply insulate the horizontal ceiling. There were pros and cons for both, but I ultimately decided to frame a ceiling that matched the height of the 2-car garage, sheetrock it, and insulate with at least R-19 behind it. So, this picture is the first one I took after making the call and starting to frame.
I know this post is nominally about demo, but I'm on a roll and have 15 minutes left on my lunch break. I think I'll keep going with the story for a bit.
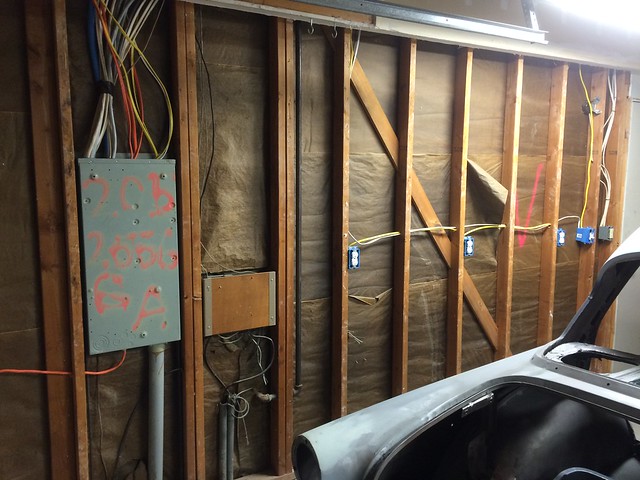
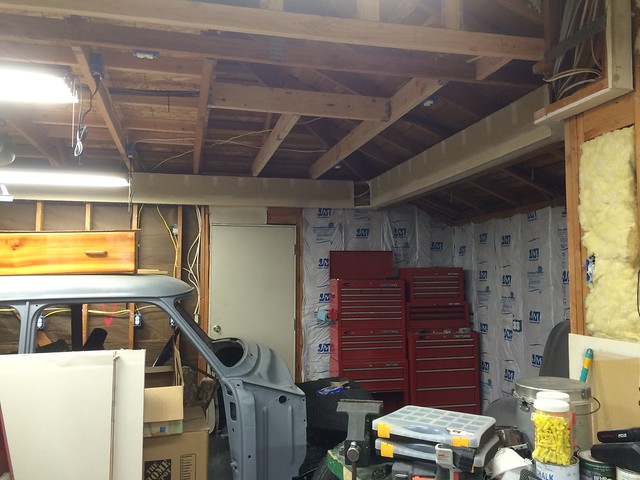
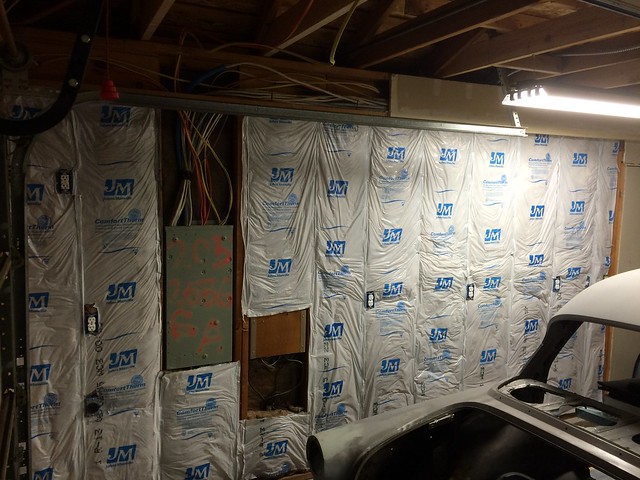
The ceiling in the entire garage is mostly one height, with the part under the upstairs bedroom being about a foot higher than the rest. Thankfully, the existing truss and three joists across the open hip roof space were hung with the bottom edges at about the same height as the neighboring finished ceiling. I started framing the ceiling in the front of the garage, leaving a space for attic access. I also wired up (with Dad's help) a few more switched plugs and changed the arrangement to a 3-way switch, with one on the wall near the middle of the garage and one by the back door in case I wanted to hit the lights if I was coming in from the side yard. Some days I focused on framing, others I did some insulating on the outside wall.


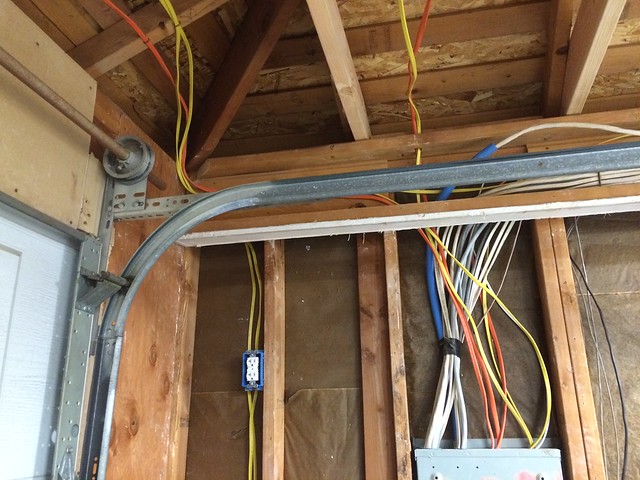
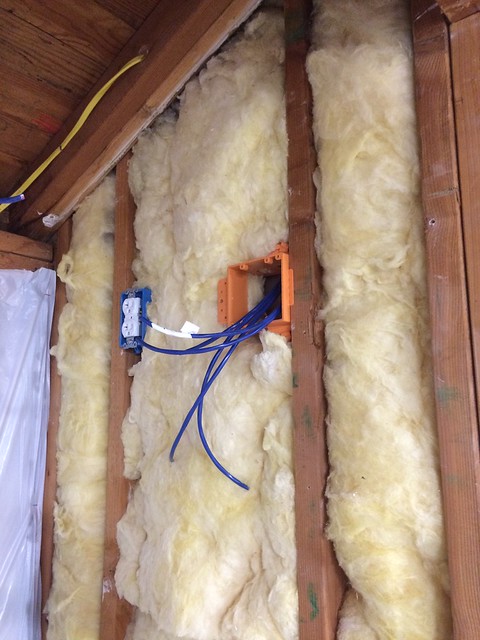
And finally, when the ceiling was pretty much framed and I was ready to start sheetrocking the walls, I ran the all-important speaker wires from where my receiver and TV will sit to the four corners of the garage. Plus a pull cable in case I want to expand the setup to the far side of the garage one day.
No comments:
Post a Comment