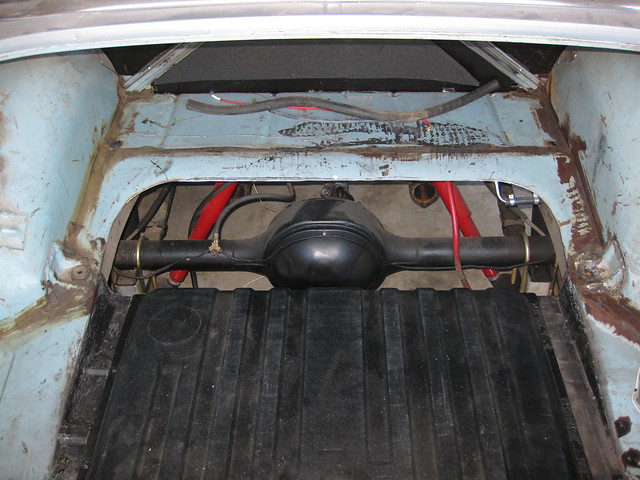
I started by making the rest of my trunk floor. It used to look like this, with the gas tank set farther forward:
Then, at some point last summer, I decided that the way I put the tank in there was pretty stupid and that it should really be as far back as possible. I saw a Ford on tv or on google images somewhere that had the fuel filler in the trunk but nicely mounted and upholstered right near the trunk latch. I wanted something really clean like that, so I took the tank out and started cutting.
Well, before I started cutting I spent hours removing the sound deadener (shiny tinfoil-looking stuff) that was around the tank. I couldn't cut or weld anything with it stuck on there. I learned a valuable lesson about leaving the sound deadening until the end of the project.
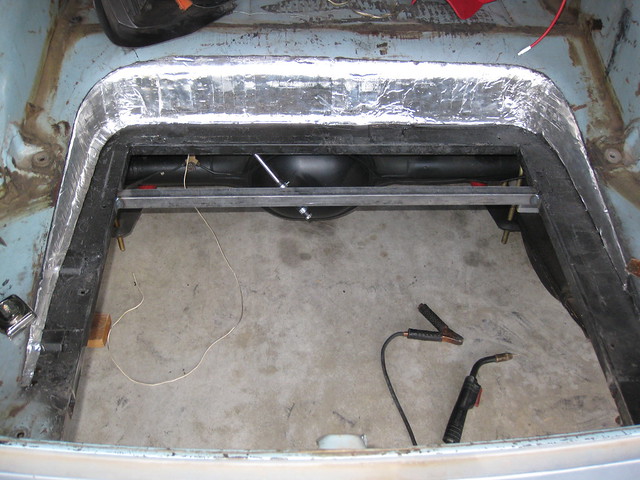
Anyway, I cut more out of the floor right up next to the trunk latch, then re-measured and added the new tubing in the picture to support the tank. I added the same tubing at the rear, although it isn't visible in the picture.
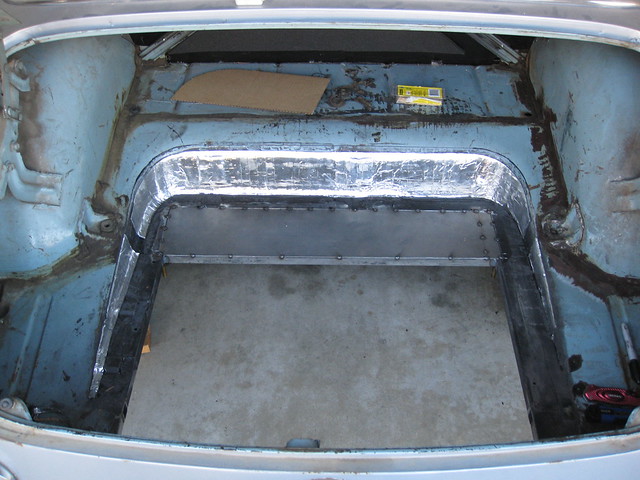
Then I got to work rebuilding the floor ahead of the tank. It was really easy - a nice, flat rectangle.
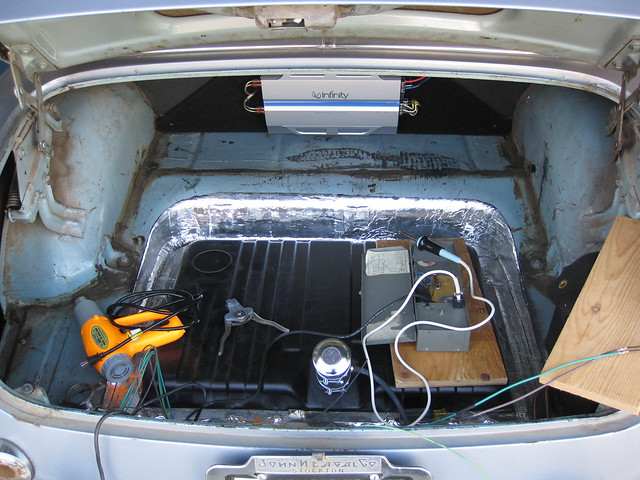
Good enough, right? I thought so for about a week. At some point, I realized that while the gas tank was definitely in a better spot, the space I had created behind the tank (I guess it's really ahead of the tank - I mean the big rectangle up there) was pretty useless. I was (am) planning to cover the whole trunk with MDF and carpet after cleaning up and painting and/or spraying sound deadener. That open space would just be covered, and even if I made some kind of cool secret compartment, it wouldn't hold much. I thought about mounting the stereo amps down there but they'd get hot and adding fans is too much work.
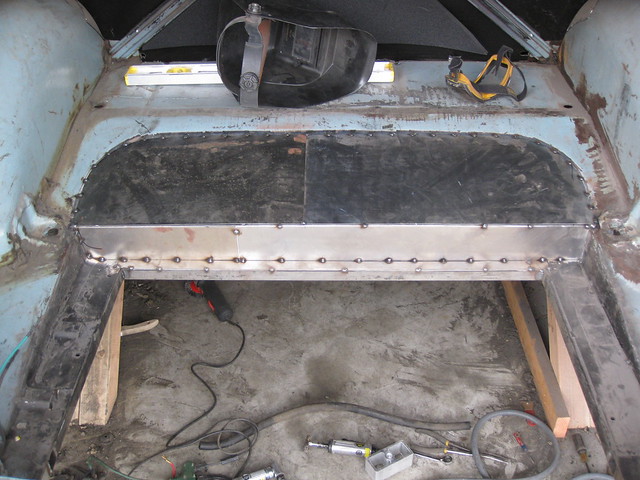
So, I tore that shiny new rectangle out, along with some more of the floor.
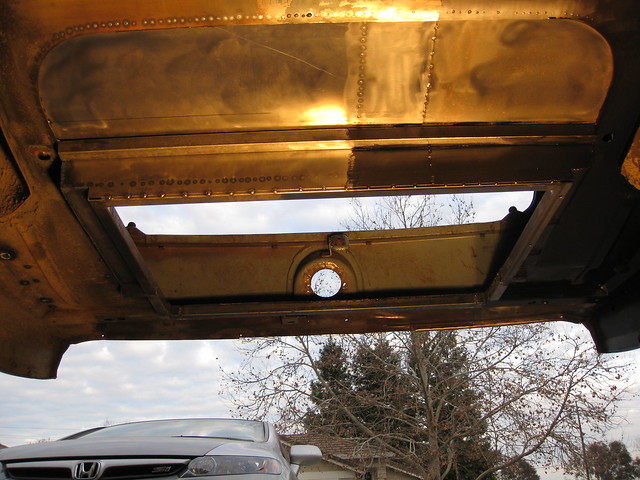
I thought the space would be better utilized under the car instead of in the trunk. I could maybe make a cleaner fuel pump/filter/regulator setup, or even do a cool crossover with a pair of exhaust resonators (this is still plan A). Either way, this is how the trunk still looked when I woke up this morning.
I wasn't too concerned with pretty angles or curved floors because again, I'm covering this all up eventually. So I went with the simplest idea and just made the "shelf" behind the backseat continue straight out toward the rear of the car. I welded in another piece of square tubing for support, and to give me something to weld the sheet metal to besides another piece of sheet metal. Then I just cut and added the vertical part of the floor and tacked it in.
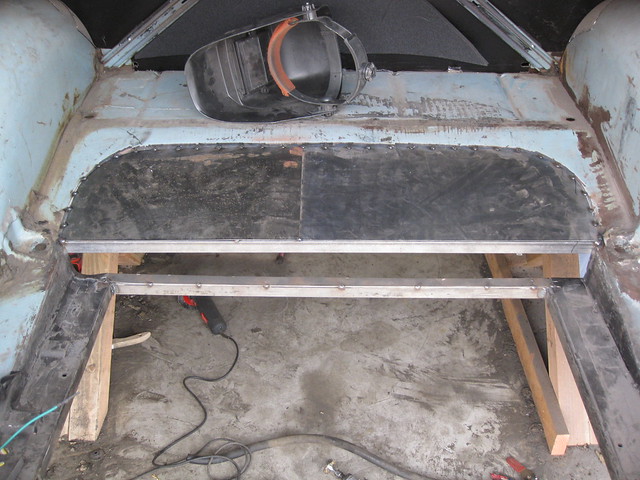
If the horizontal braces in the first picture look a little uneven, it's because the lower one isn't level. It got tweaked when the body was being raised off the frame. I spaced it back out before I welded in the vertical sheet metal.
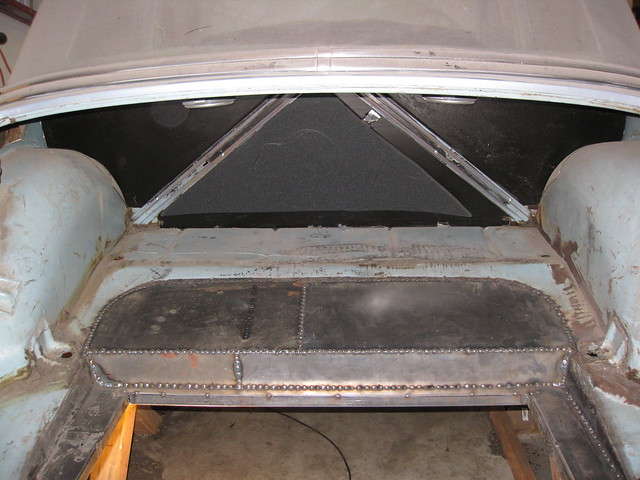
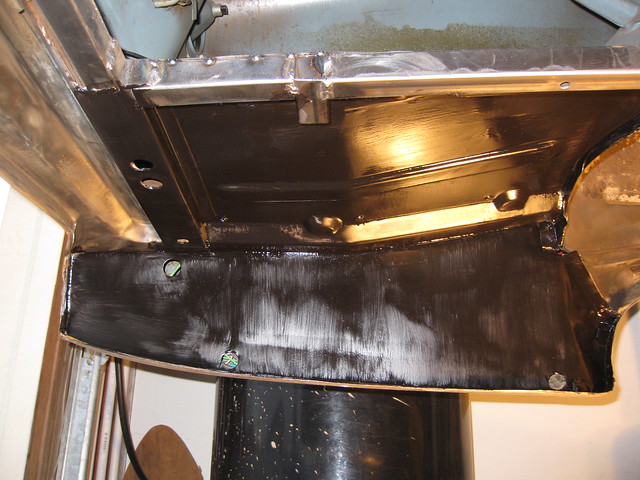
Since I already had the welder out, I took the time to patch a few other small holes in the trunk and fill a bunch of old holes (battery box hold-downs, battery cable pass-throughs, factory holes for who-knows-what, etc.). Again, I wasn't planning on doing all that today but I had the momentum going and went with it. Now the trunk is sound and ready for finishing.
But first, I still need to finish the undercarriage.
I got back under the car and did one last, quick pass with the wire wheel on the driver side of the body. I wanted to get the paint on there before it got dark (and cold) outside, plus I probably won't be able to do any more painting until the weekend and I didn't want the bare metal to start rusting up. This is what I got done during the last hour of work on the car:

Just a little more cleaning and painting under the car and I'll get to move on to something more fun...and cleaner.
No comments:
Post a Comment